Sliding into trouble

Advertisement
Better to butter

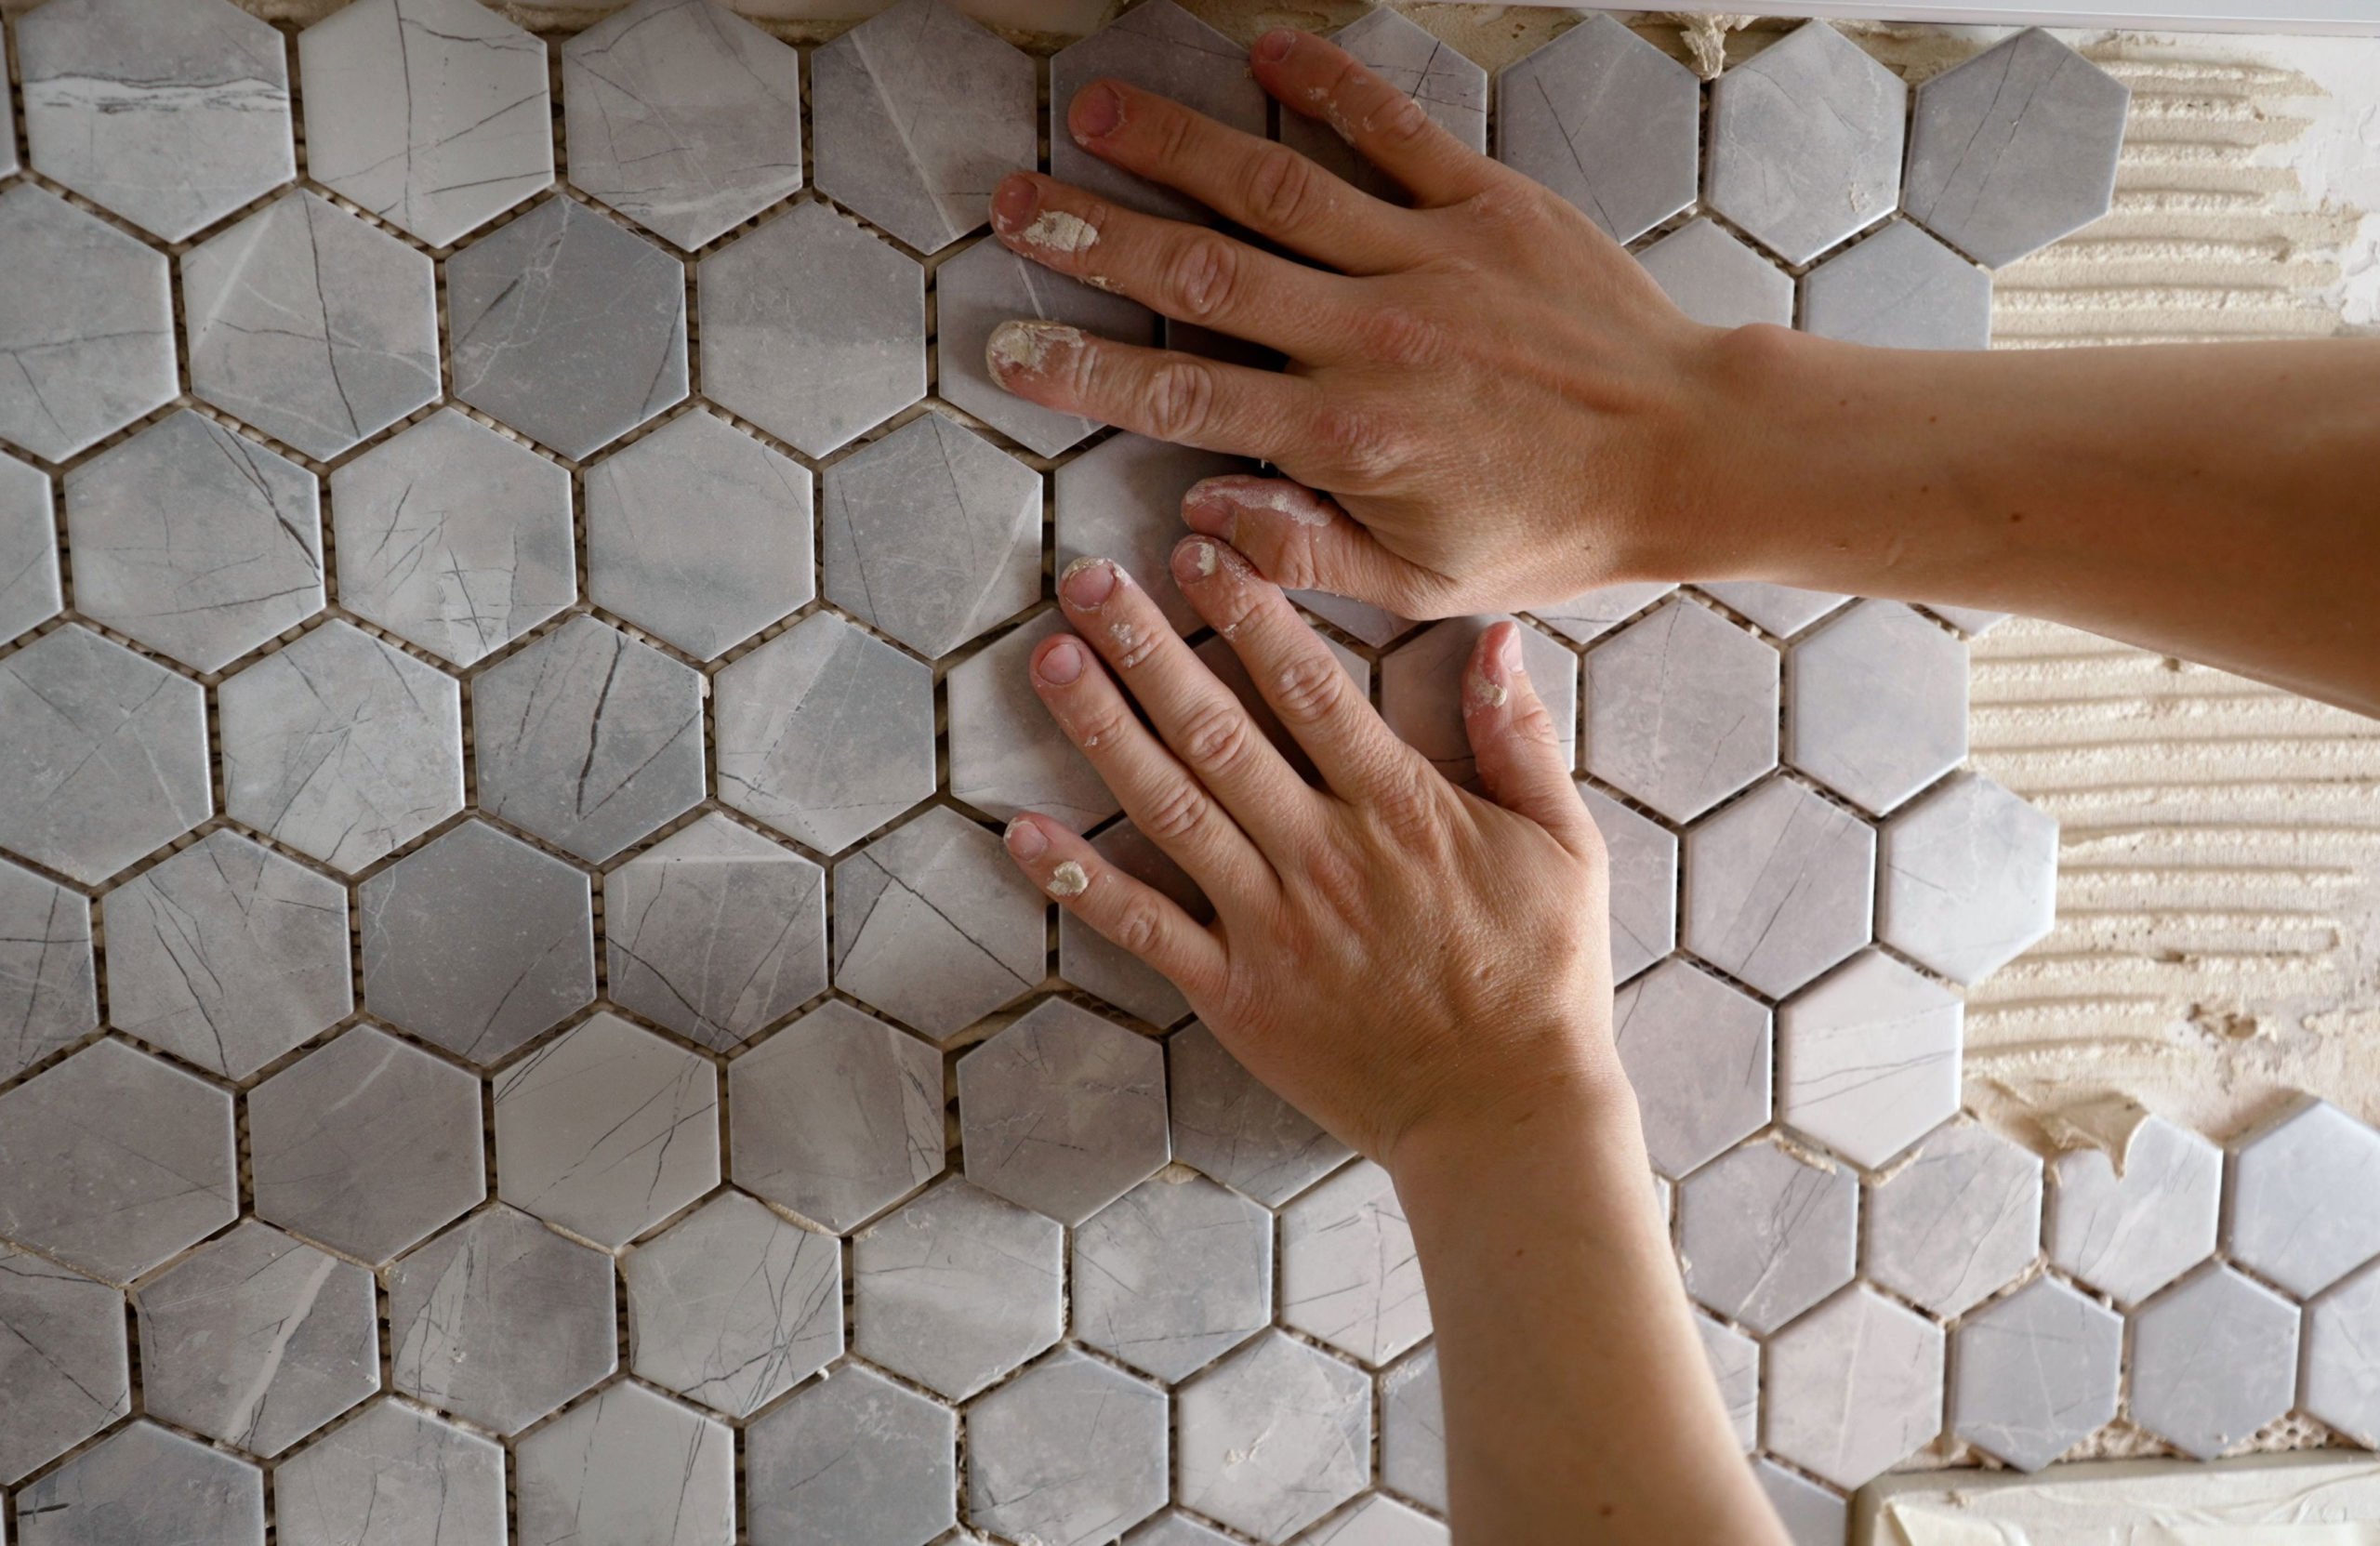
Roll over mosaics