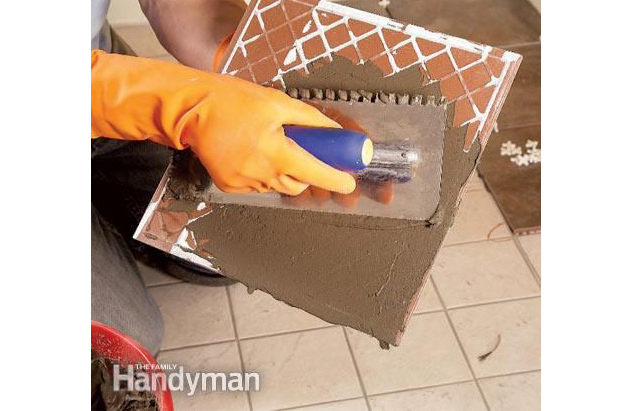
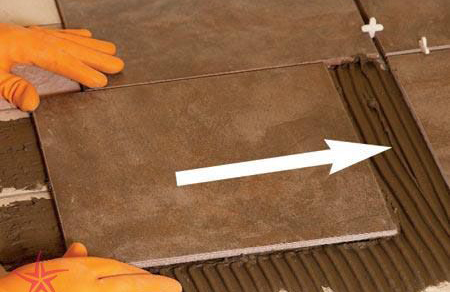
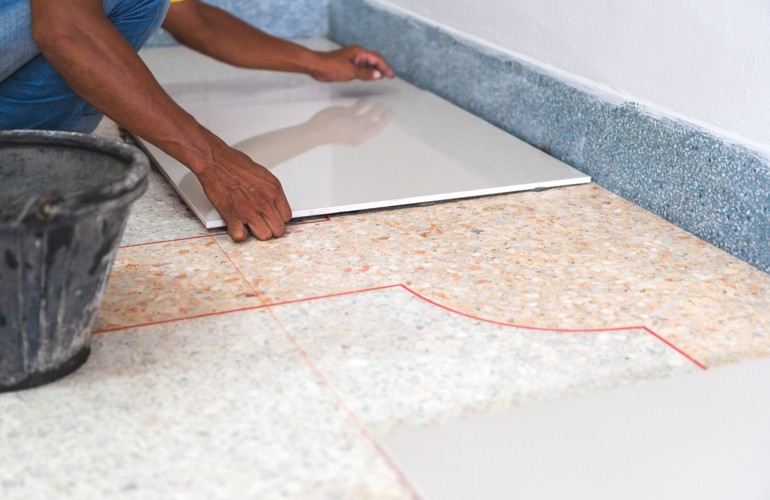
Tiling over tile
Advertisement
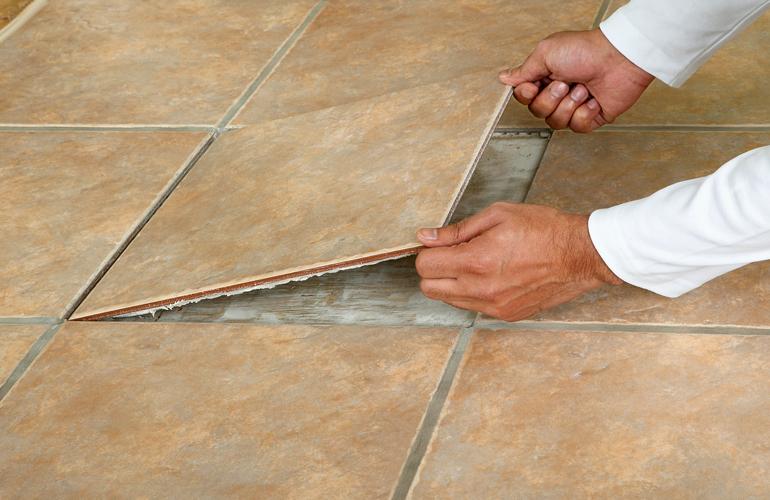
Step 1: Check the surface
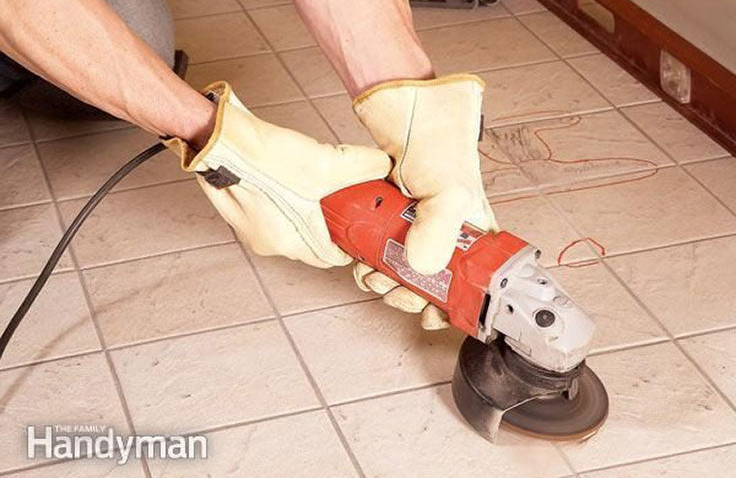
Step 2: Grind off the high spots and clean the tiles