To paraphrase Rodney Dangerfield, grout gets no respect. Grout can ruin an otherwise great tile job. And yet how to grout tile and proper grouting technique are often treated as an afterthought, like the final few half-hearted steps of a tired runner stumbling over the finish line. Grout deserves better. Your tile deserves better.
The keys to a professional-quality grout job aren’t secrets shrouded in mystery. On these pages, we’ll show you some tips and techniques on how to grout tile so your job goes more smoothly and give your tile a professional-grade finished look.
Tools Required
Bucket
Caulk gun
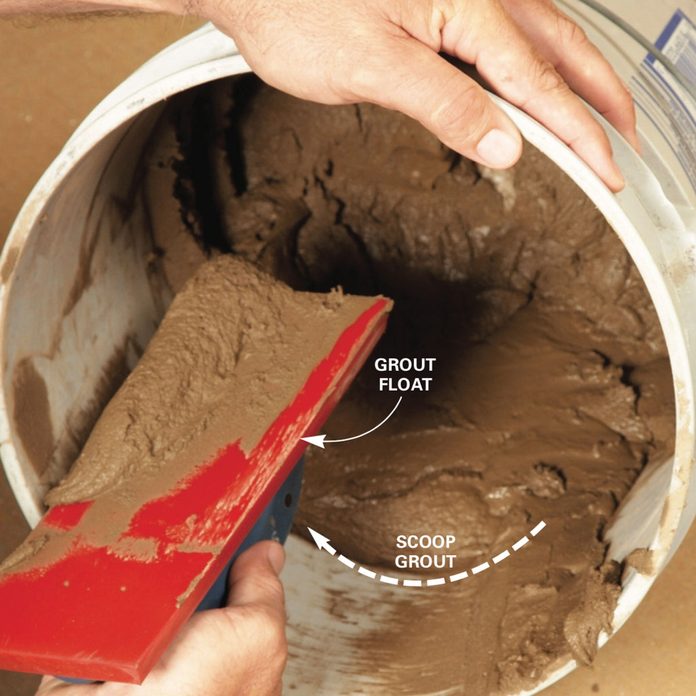
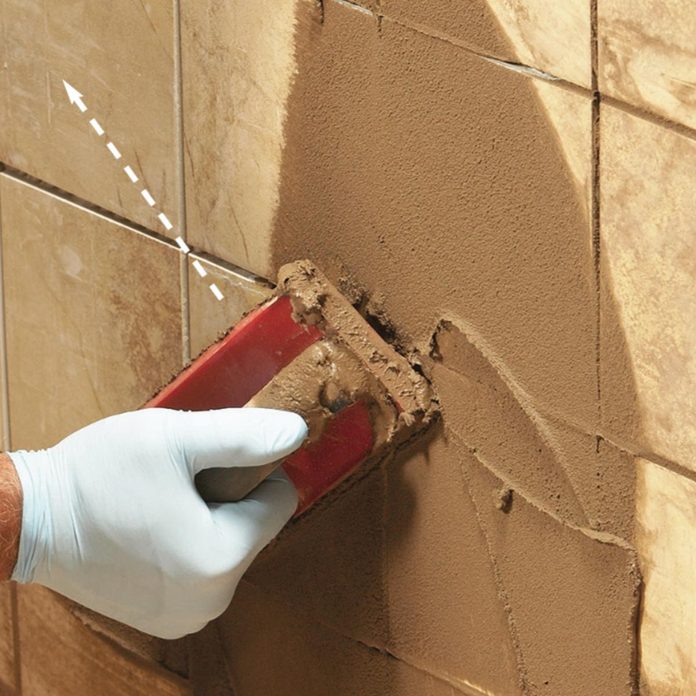
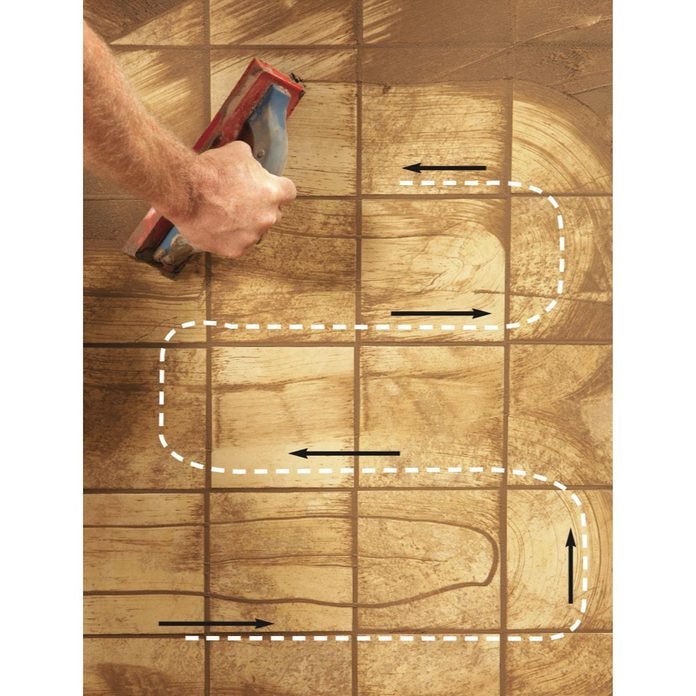
Grout float
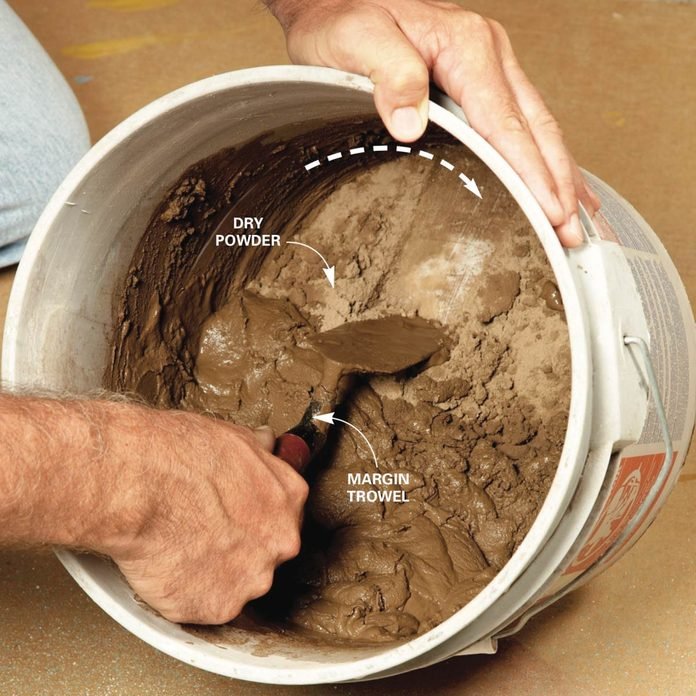
Margin trowel
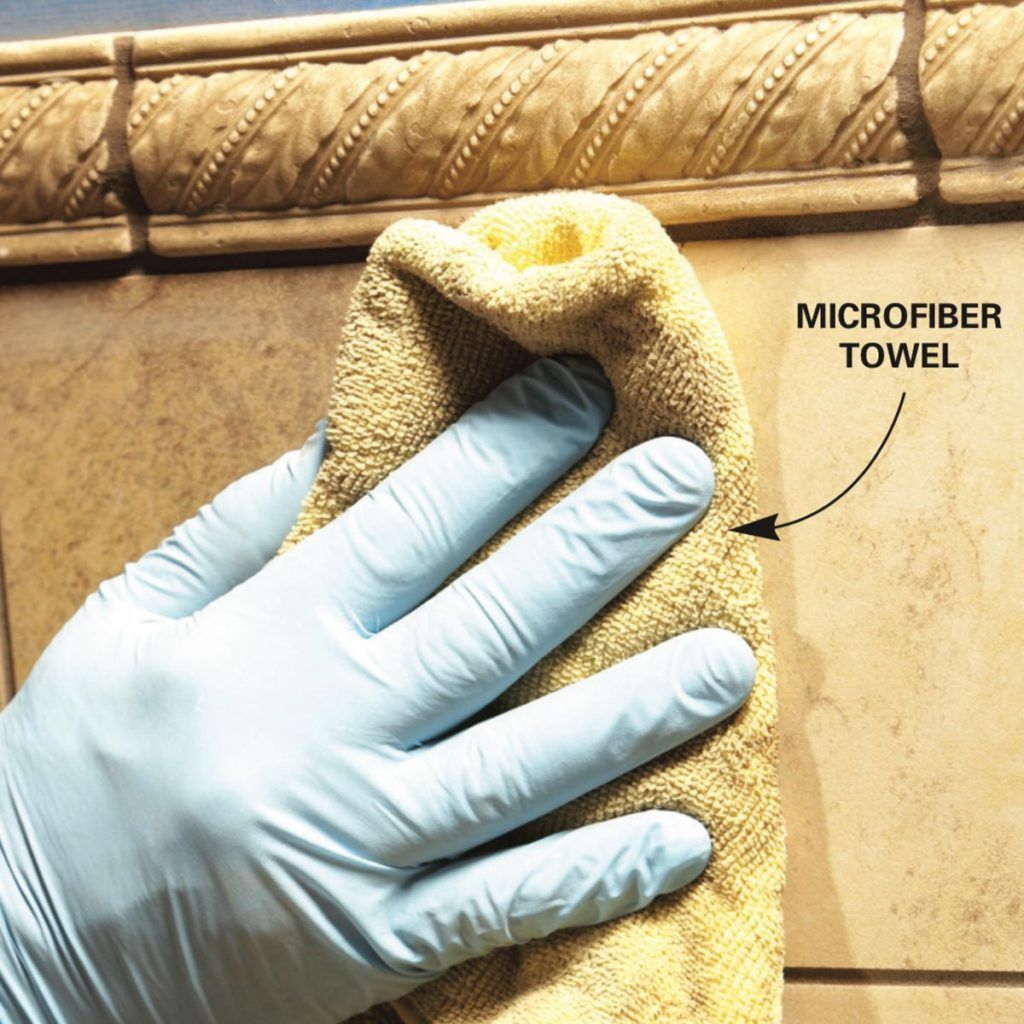
Microfibre towel
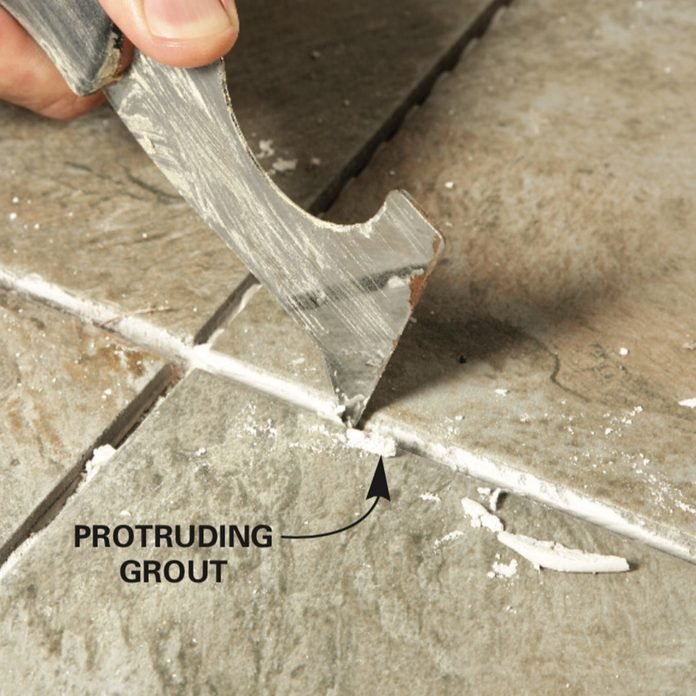
Putty knife
Shop vacuum
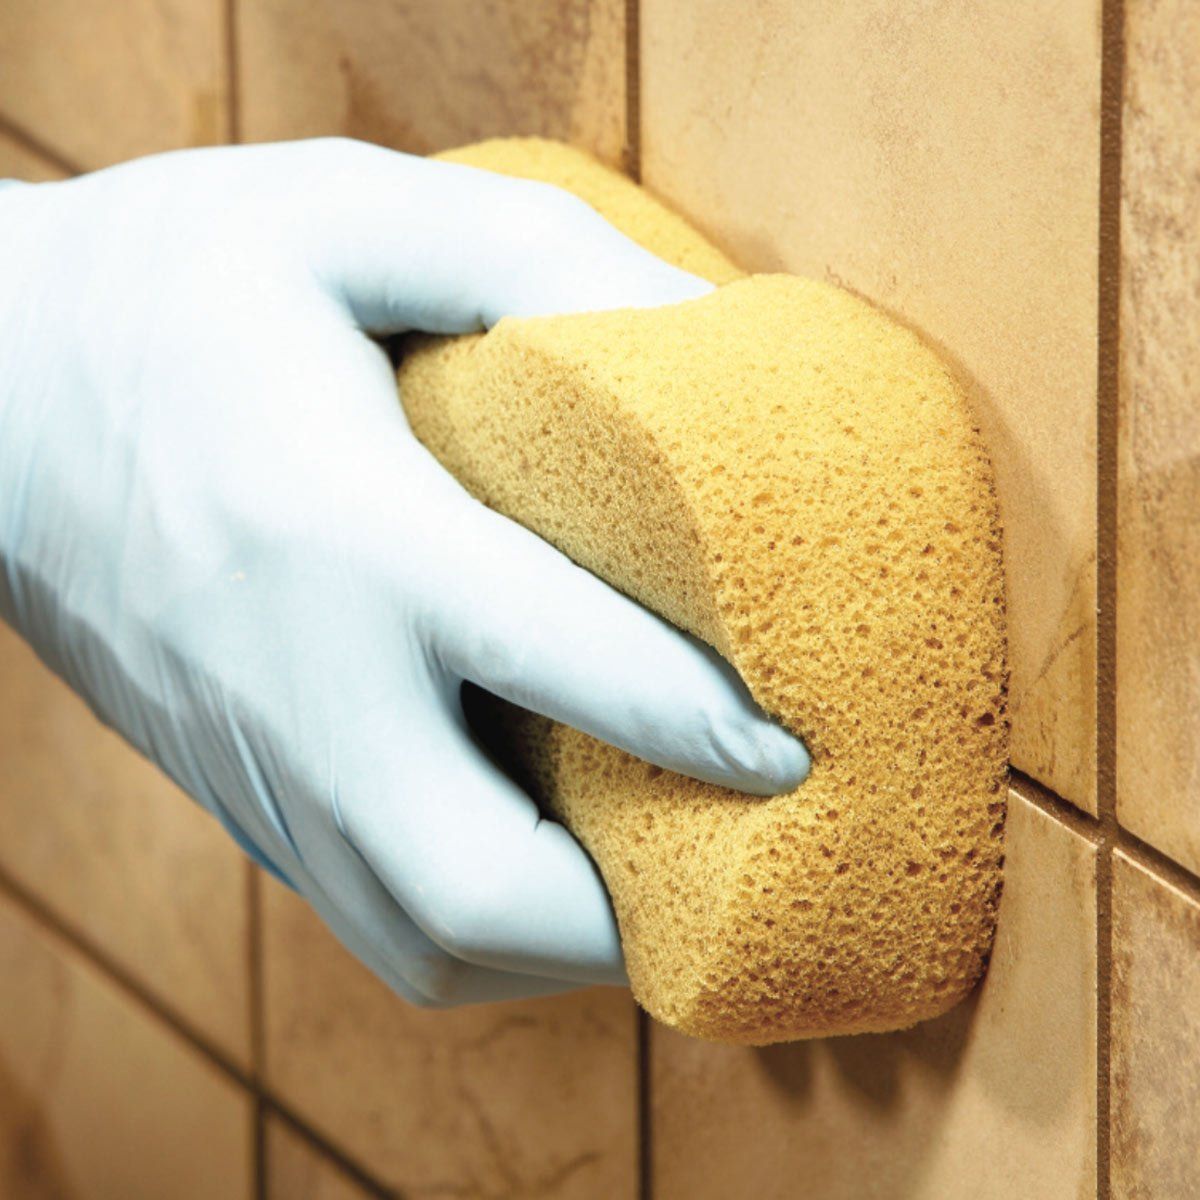
Tiling sponge
Utility knife
Materials Required
Caulk
Grout
Masking tape
Sanded vs unsanded grout
Sanded grout is stronger than unsanded grout and resists shrinkage and cracking better. As a rule of thumb, sanded grout should be used in joints larger than 3mm. Realistically, as long as you can force the grout into the joint, use sanded grout. But on soft stone tiles like polished limestone or marble, use only unsanded grout or you’ll scratch the surface.