How to build a stone accent wall

How to build a stone accent wall
FAMILY HANDYMAN

You can transform any room with a stunning stone accent wall like this. Modern materials and methods allow contractors to create the look of a traditional stone wall with a fraction of the work. In this story, we’ll show you how to install stone veneer on any interior wall of any home.

Here are four ways to decorate a wall.

Advertisement

How it works

How it works
FAMILY HANDYMAN

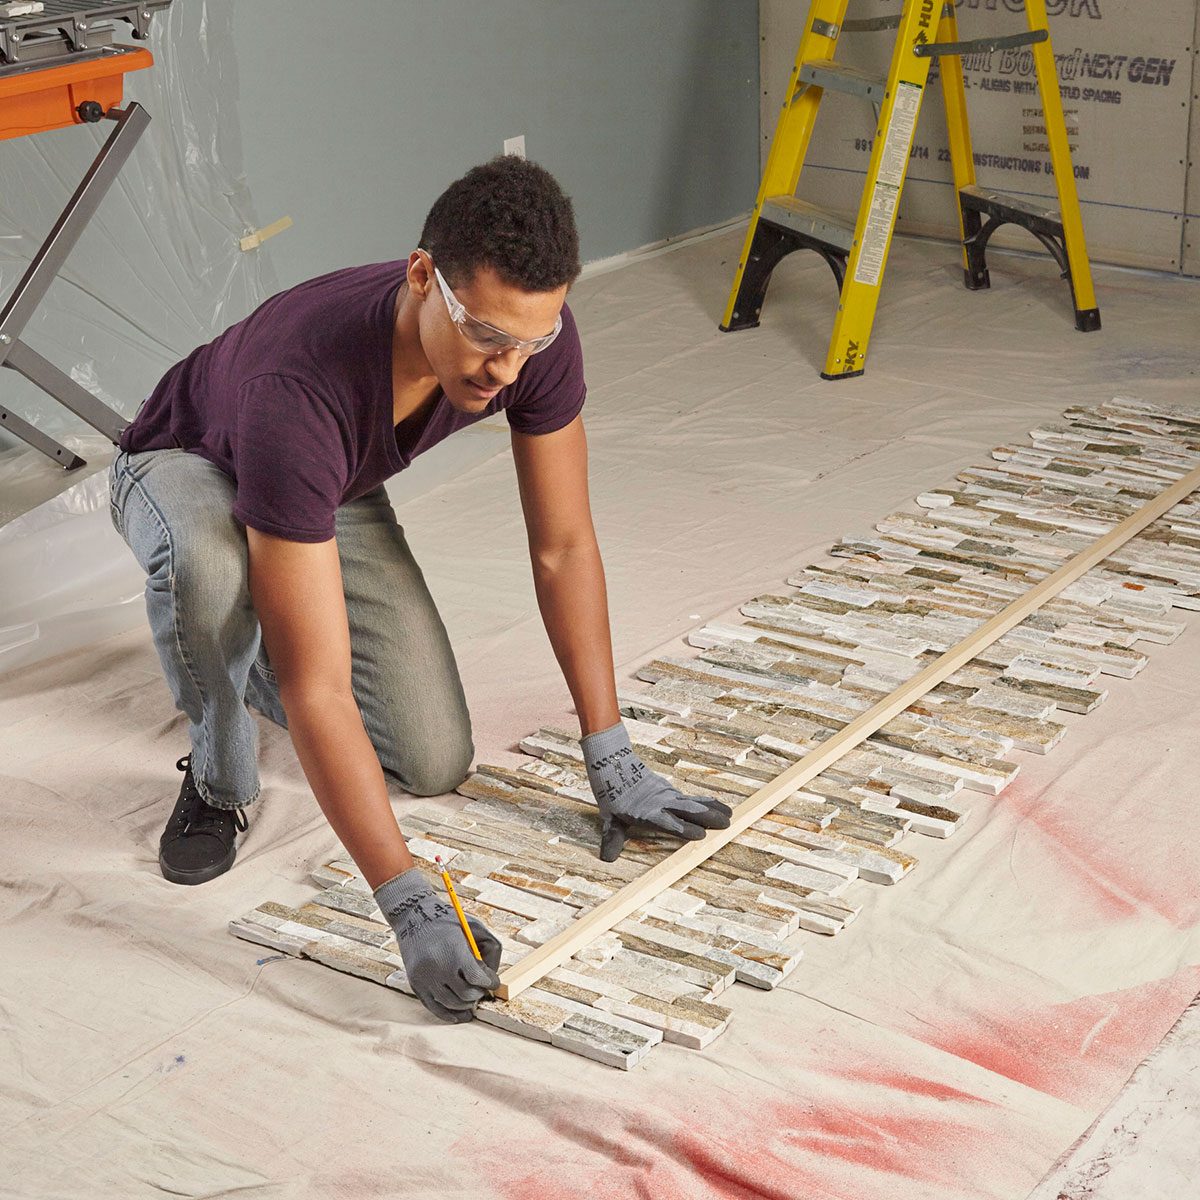
To provide a strong base for the stone, cement board is attached to the wall framing with screws. Thin-set adhesive bonds the stone panels securely to the cement board for a worry-free installation. The existing plasterboard can stay or can be torn out first. Ledgestone panels like the ones shown here don’t require mortar – just stack them on the wall.

Getting started – room preparation

Installing the stone will go a lot smoother and easier if you take some time to prepare the space. Start by moving everything out of the room. Parts of this job can be dusty, and you don’t want to have to clean everything later. What you can’t move out, cover with sheets of painter’s plastic. Cover carpeted flooring with drop cloths. Protect hardwood and tile floors with a layer of cardboard or thin hardboard before covering them with drop cloths.

Pry off the baseboard trim on the wall where the stone will go, and on adjacent walls. If you’ll be reinstalling the same trim, pull the nails from the back of the trim with an end cutter or a locking pliers. If you have chair rail or crown moulding, you’ll have to remove these, too.

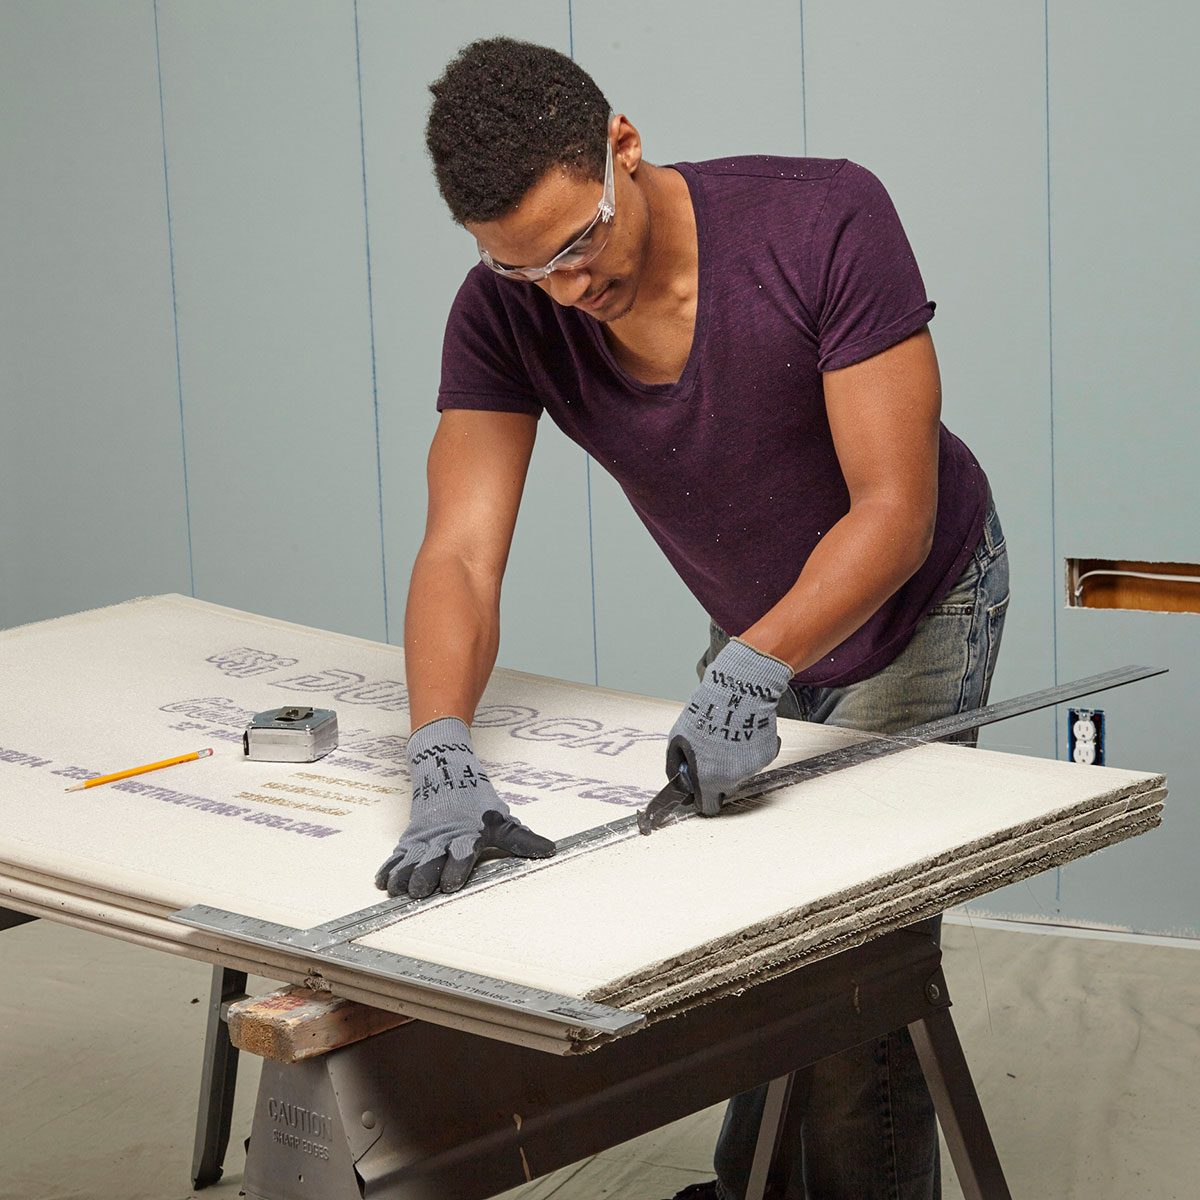
To save a little time and effort, we’re showing how to install the new cement board on top of the existing drywall. But if you want to add outlets or sconce lights or do other extensive wiring, it may be easier to remove all the plasterboard from your wall.

If you decide to leave the plasterboard in place, mark the centre of each stud with a chalk line so you’ll know where to drive the cement-board screws. First use a stud finder or some other method to locate the centre of each stud at the top and bottom of the wall. Then stretch a chalk line between the marks and snap the lines.

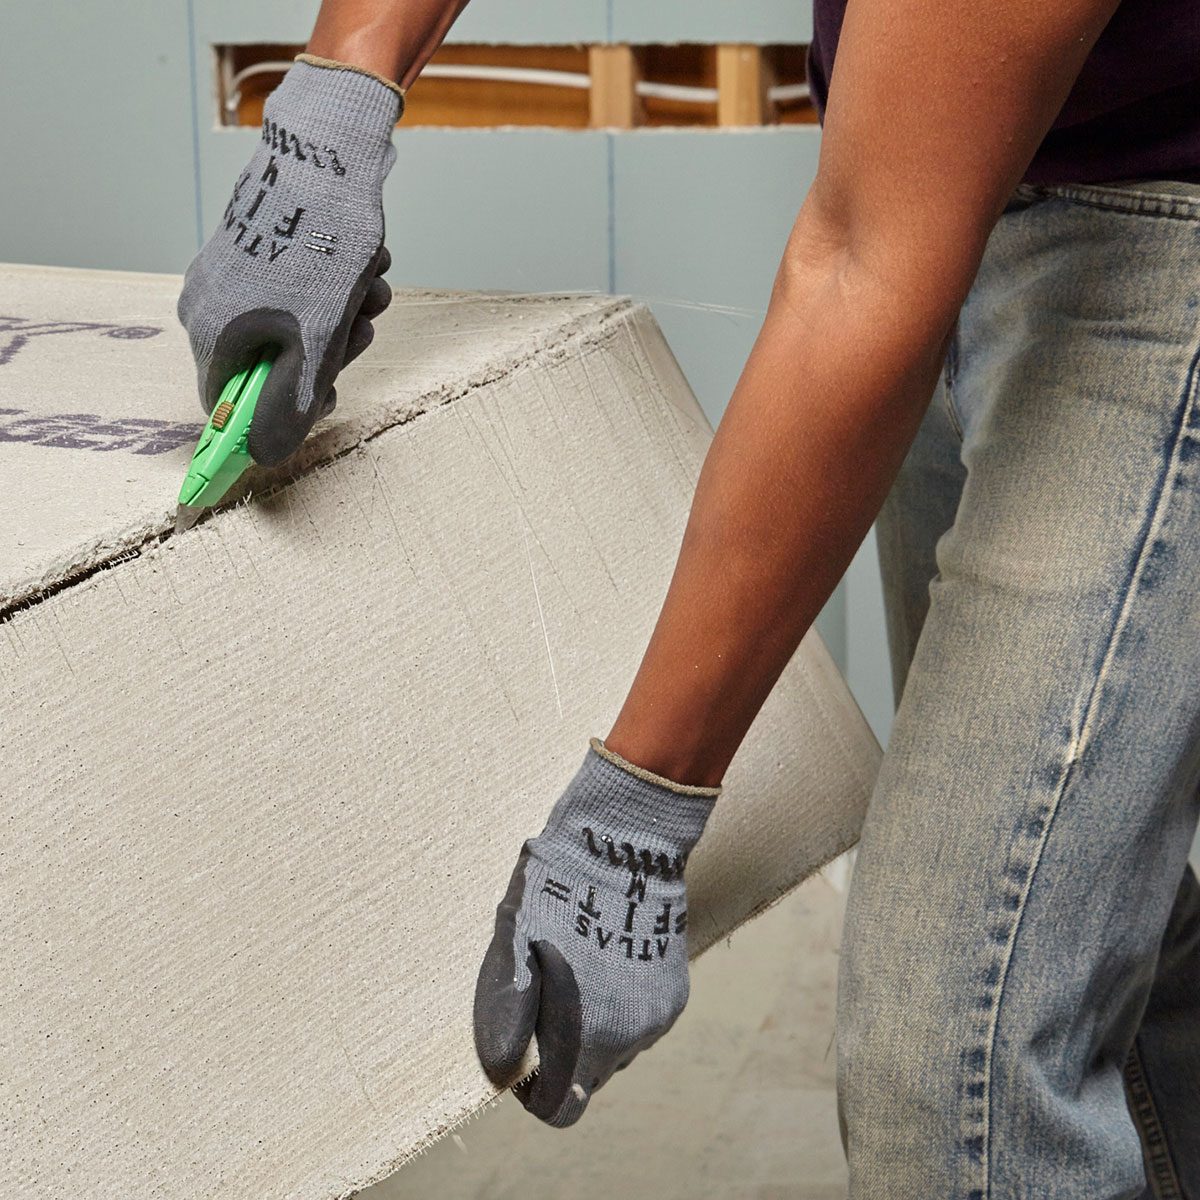
How to hang plasterboard: follow our pro tips for cutting and installing.

Score the cement board

Score the cement board
FAMILY HANDYMAN

Mark the cement board and line up your plasterboard square with the mark. Drag the tip of the scoring tool along the edge of the square to score the cement board. Repeat two or three times until you cut through the fibreglass mesh reinforcing.

Break the board

Break the board
FAMILY HANDYMAN

Bend the cement board to snap it along the scored line. Then cut through the mesh on the back of the board with a utility knife. Use the utility knife to clean up the cut and create a straight edge.

Since you’ll be adding cement board and stone to the wall, existing switches and outlets will have to be moved out to the surface of the stone. There are a few options for doing this. We added electrical box extensions (see below).

Be sure to turn off the power to the switch or outlet before doing any work on them. When you add a box extension, it’s possible that the old wires connecting the switch or outlet will be too short. If your wires don’t extend 80mm past the face of the box extension, add pigtails.

Discover 18 things your electrician wishes you knew.

Screw cement board to the studs

Screw cement board to the studs
FAMILY HANDYMAN

Cut the cement board, making sure the ends of the sheets are centred on a stud. Use your utility knife to clean up the cut end by carving off any protruding chunks of cement. Attach the sheets with 60mm screws spaced every 200mm. Be sure to stagger the seams.

Break out outlet openings

Break out outlet openings
FAMILY HANDYMAN

Mark the outlet location on the cement board. Score all four sides and then score an “X” through the centre. Tap with a hammer to create the outlet hole. Then clean up the edges with your utility knife. Remember, you’ll be covering the cement board with stone, so this hole doesn’t have to be very accurate.

The final step in the cement-board installation is to reinforce the seams with self-adhesive mesh tape covered by a layer of thin-set. Apply the tape to the seams. Then mix a small batch of thin-set to about the consistency of peanut butter and trowel it over the tape.

Figure horizontal and vertical starting spots

Figure horizontal and vertical starting spots
FAMILY HANDYMAN

To figure out the side-to-side layout, start by measuring between the walls. Then lay a row of stone on the floor, a little longer than the distance between the walls. Use your tape measure to see what the last cut would be if you started with a full stone on one end. If the last stone will need to be cut less than 25mm long, plan to cut several centimetres off the first stone to allow for a wider finishing piece.

To ensure that the first course is straight and level, snap a level chalk line on the wall to indicate the top of the first row of stone. Use a level to check to see whether the floor is level across the width of the wall. If the floor is level, use the measurement you determined using the measuring stick to mark the distance from the floor to the line at each end of the wall, and snap a line. If the floor isn’t level, measure up from the low side and level across the room to make a mark at the other end. Then snap a line between the marks. See where to snap the line below.

Tile installation: learn how to tile over existing tile.

Avoid skinny rows on the top and bottom

Avoid skinny rows on the top and bottom
FAMILY HANDYMAN

You’ll need to figure out the horizontal cuts where the stone meets the floor and ceiling. It’s tempting to measure down from the ceiling and start your stone so that you’ll end up with a full piece against the ceiling. But doing this is likely to cause you problems. So instead, plan on cutting both the top and the bottom rows to fit against the floor and ceiling.

Start by measuring the distance from the floor to the ceiling. Then cut a 1×2 or other spare piece of lumber to this length. You’ll use this measuring stick (called a ‘story pole’) to determine the best stone layout. Arrange stone on the floor to create a stack a little longer than the length of the story pole. Set the story pole on the stack of stones and move it up or down until you find a position where both the top and the bottom stones will need to be cut to fit, without leaving a sliver on either row. When you’ve found a good spot, mark the stone at the bottom of the stick. Measure from this mark to the top edge of the bottom stone.

In our case, this distance was 140mm. You’ll use this measurement to position the starting chalk line. Mark the height of the first row of stone on each end of the wall and snap a level chalk line between the marks to indicate the top of the first row.

Cut ends with a tile saw

Cut ends with a tile saw
FAMILY HANDYMAN

Mark the stone and set it on the sliding table of your tile saw. Line up the mark with the blade. Turn on the saw and simply slide the table toward the blade to cut through the stone.

Check out our essential guide to stationary power saws.

Cut the first row of stone

Cut the first row of stone
FAMILY HANDYMAN

Mark the stone pieces to fit between the chalk line and the floor. Align the mark with the tile saw blade and cut along the line. If your saw won’t cut the full length, flip the stone around and finish the cut from the opposite end.

Find out how to build a dry stone wall.