Building your own deck

Building your own deck
FAMILY HANDYMAN

Deck building is one of my favourite DIY projects. But whenever I start planning one, I’m reminded of the head-scratching work required before I can start swinging a hammer. Over the years I’ve refined critical steps and fixed common gaffes. Here is my process, along with a few tips, to help you nail your deck building project from start to finish.

Advertisement

Start with a sketch

Start with a sketch
FAMILY HANDYMAN

I start off every deck build by drawing the shape and proportion of the deck as well as the orientation of the decking. It’s helpful to include property landmarks: your house and doors, shed, fences, etc. I use graph paper to maintain scale.

Here are our 11 best tips for planning patios, decks, outdoor kitchens and bars.

Mind the overhang

Mind the overhang
FAMILY HANDYMAN

When you finalise your deck size, shrink it by 38mm on all sides that don’t attach to a house. This will be the dimension of your deck framing. A 13mm skirt covers the framing and the deck boards will hang over that by 25mm.

Check out our video on how to build a steel framed composite deck.

Use a guide

Use a guide
Shutterstock

Deck planning involves many details. Even after building many decks, I still refer to a deck construction code guide to be sure I remember everything. The charts and diagrams help determine important spans, timber sizes and fastener requirements. If it’s not in this guide, your local building official is the final authority.

Get the hangers right

Get the hangers right
FAMILY HANDYMAN

Joist hangers are another critical connection. They transfer the load from the joists to the beam and ledger. If you’re using 2×12 joists, you need 2×12 hangers. Joist hangers for decks must also meet corrosion standards with a special G-185 coating (some manufacturers label this as ZMAX or Triple Zinc). Stainless steel versions are available for decks built near salt water. When you fasten hangers, nail through every hole in the hanger with the right-size nail specified by the hanger manufacturer.

Learn how to check a deck frame.

Digging footings

Digging footings
FAMILY HANDYMAN

Digging footings is the most nerve-wracking part of building a deck. Their placement needs to be spot on to keep beam and joist spans to your plan. If footings are misplaced, the whole job will be more difficult.

To execute your plan accurately, string a mason line between batter boards to get your footings to line up parallel to the house. Our deck needed 12 footings at least 1.2m deep, and we rented a track loader with an auger attachment to dig those holes. We had all footings marked, dug and ready to fill with concrete in a day.

Learn how to get the measure of any DIY job, big or small.

Flashing the ledger

Flashing the ledger
FAMILY HANDYMAN

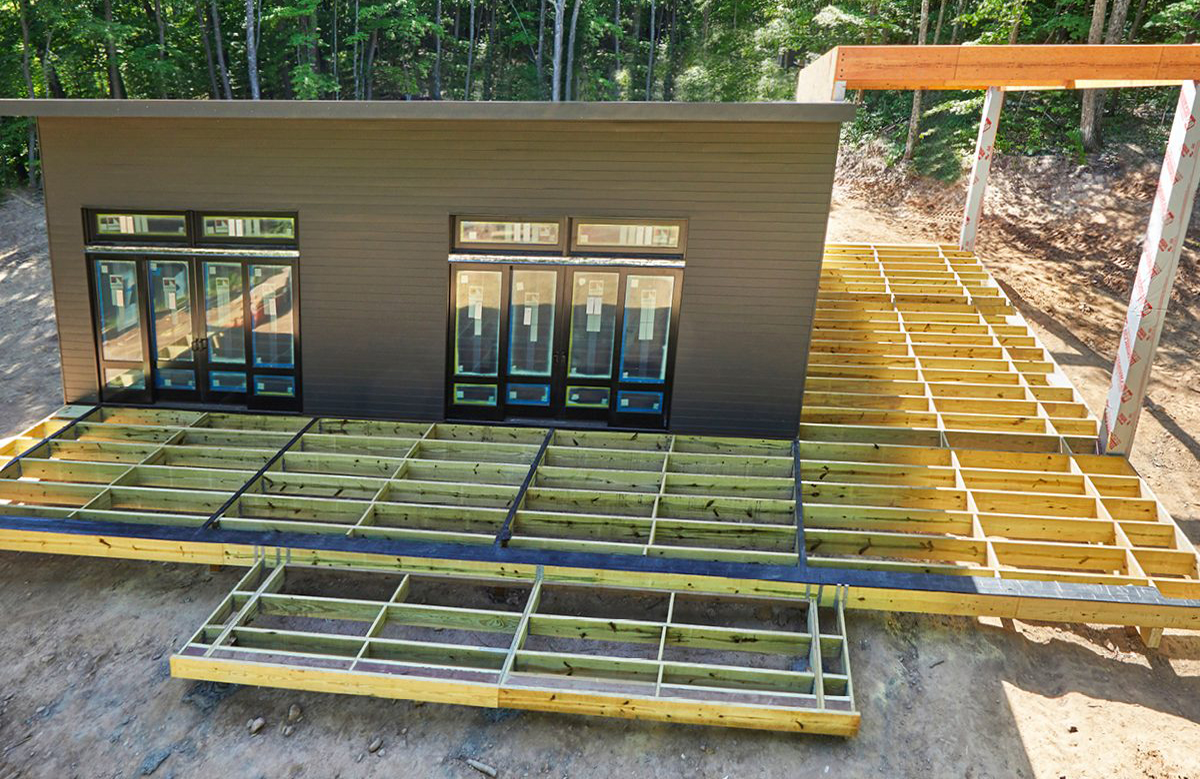
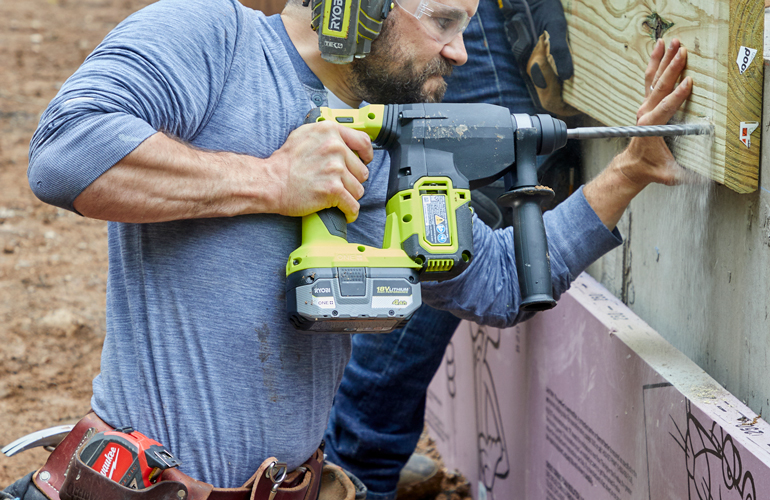
The most vulnerable part of a deck is its connection to the house. That’s the ledger board, and it needs to be flashed correctly to keep water away.

The ledger creates a long break in the armour that protects your house from the elements. Since the deck sits on top of the ledger and creates a ledge that collects rainwater and snow, it needs to be flashed and layered correctly.

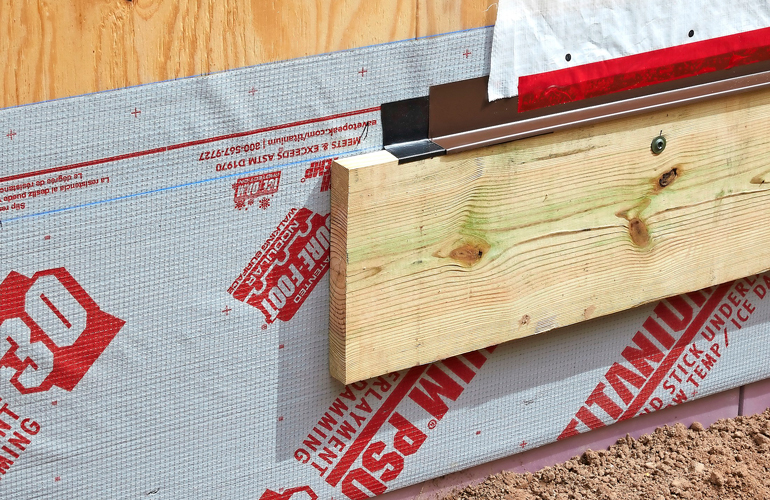
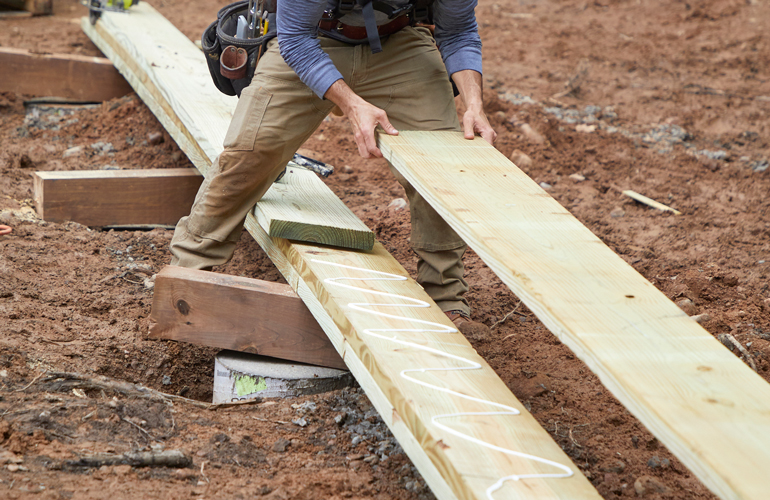
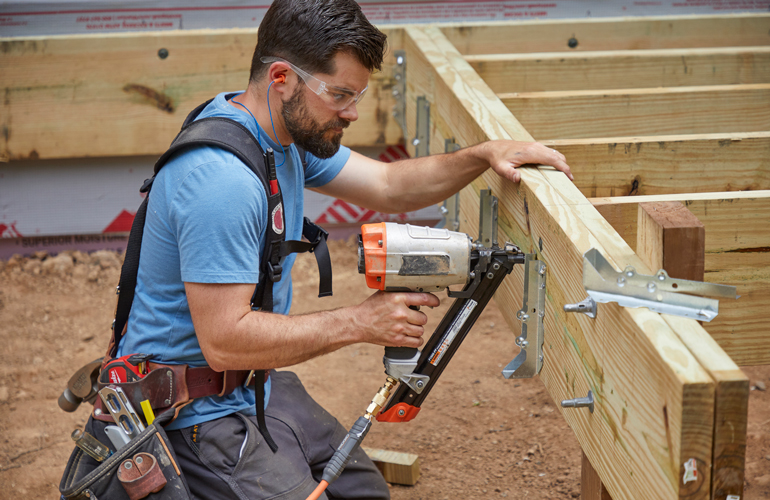
Before attaching the ledger board, roll out a strip of ice-and-water shield that will sit 100mm above the deck. Apply deck joist tape across the entire ledger – along the face, across the top, then up the wall. Cap it off with aluminium drip cap, then cover the top flange with house wrap or tar paper.

Check out this video: How To Build A Deck Part 1: Planning and Footings

Attaching the ledger

Attaching the ledger
FAMILY HANDYMAN

The highly critical connection between the ledger board and the house is made with specific fasteners and fastener spacing. You can use 13mm through bolts or 13mm lag bolts, but I prefer ledger-ready structural screws. Available at home centres, they’re specifically made for fastening deck ledgers. These structural screws need to be long enough to penetrate through the ledger, exterior sheathing and the rim joist of the house.

The fasteners should also be spaced and staggered appropriately, and that’s determined by the joist span. Check the code guide to find out what’s required for your specific build.

Check out this video: How To Build A Deck Part 2: Making the Posts

Building beams

Building beams
FAMILY HANDYMAN

Beams are laminated together from dimensional timber using glue, clamps and nails from both sides. As you nail them, use clamps to coax the boards’ tops and bottoms flush with each other. Any seams need to be staggered and land on a post. If the beam is closer than 150mm to the ground, be sure to build it using pressure-treated timber rated for ground contact.

Installing the joists

Installing the joists
FAMILY HANDYMAN

Joist hangers come in many shapes and sizes so that they can be used with different kinds of timber and deck dimensions. Make sure you’re purchasing the correct kind of joist hanger for your project.

Joist hangers provide most of the structural integrity beneath your deck boards, so make sure they’re firmly attached. Put a nail through every hole in the joist hanger, and double-check that you’re using the correct kind of nail before you start hammering them in place.

Check out this video: How To Build A Deck Part 3: Bearers and Joists