Dynamic accent wall

Advertisement
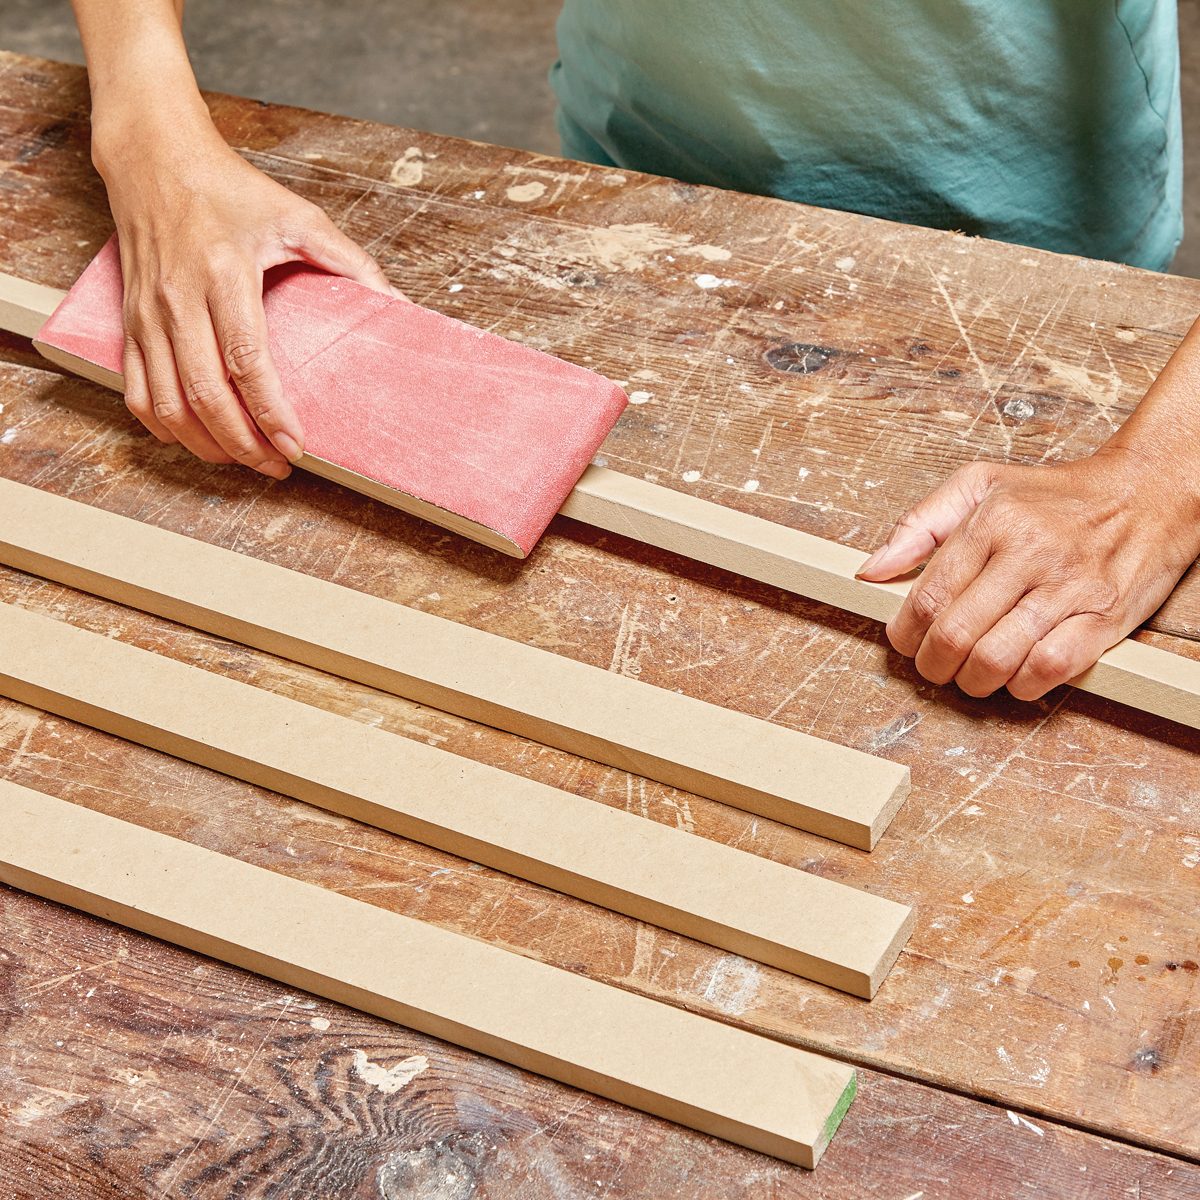
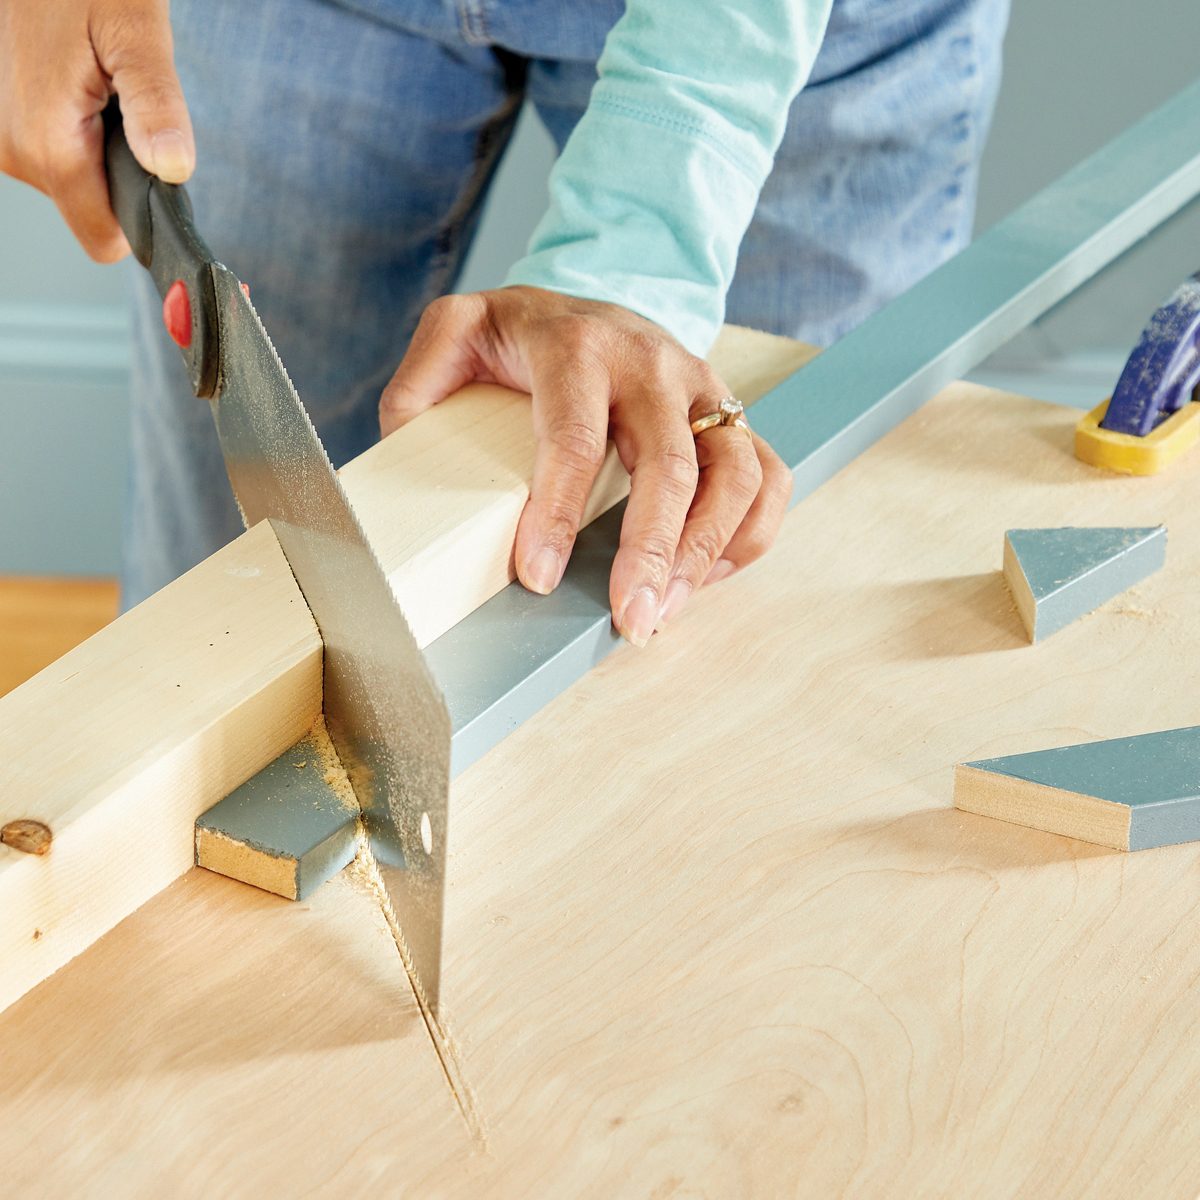
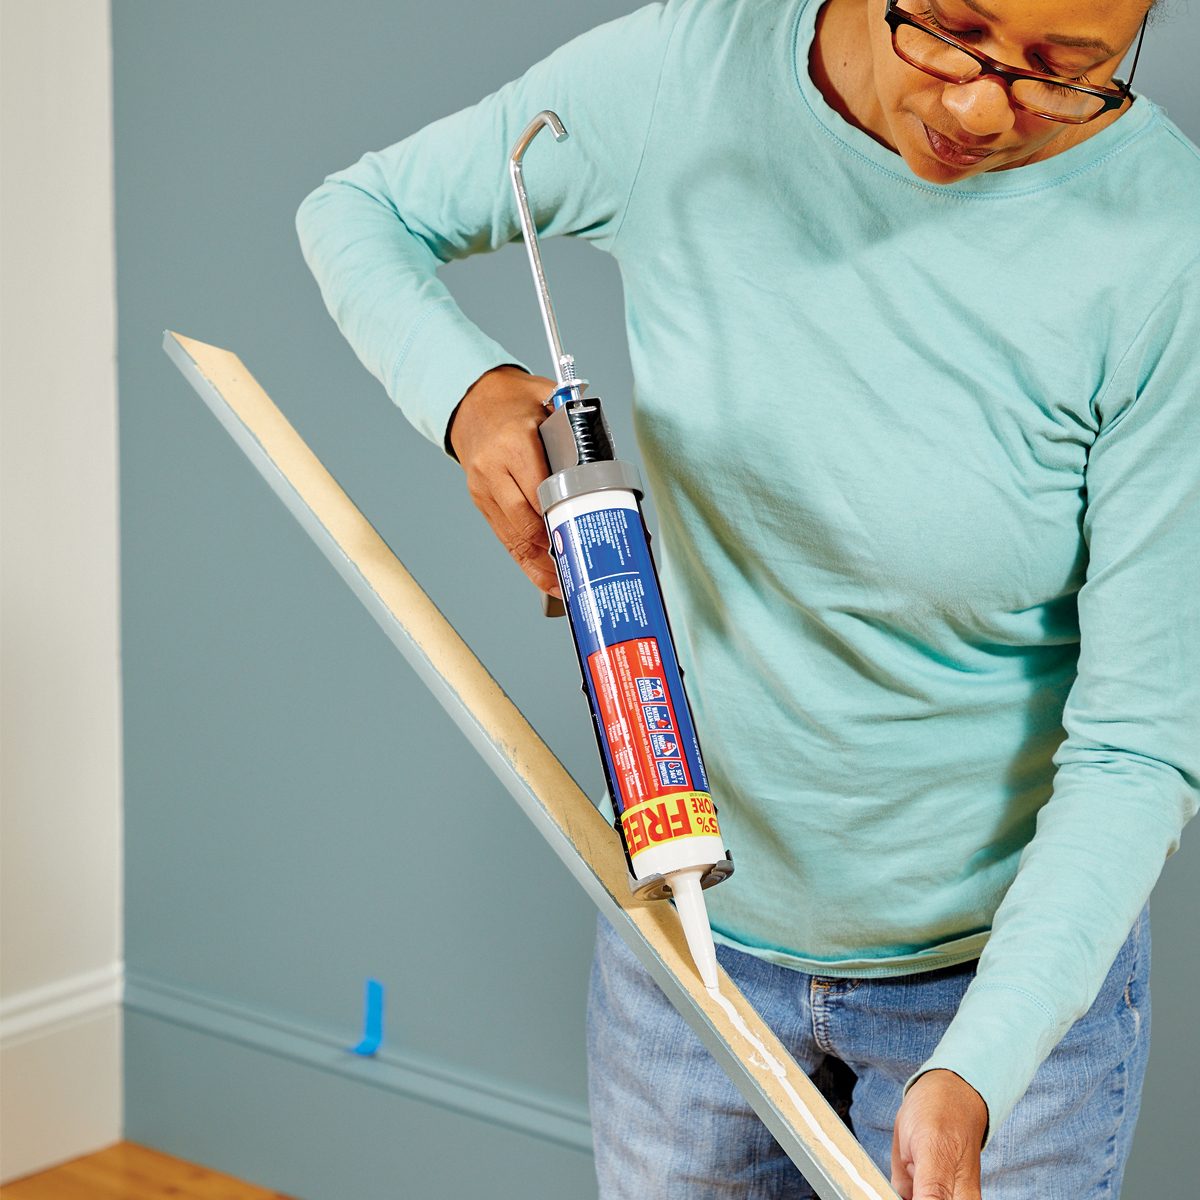
Sketch out your design

Paint the wall