Room painting project

Room painting project
Getty Images

If there’s a painting project in your near future, follow this step-by-step on what you’ll need and how to plan and execute it.

Tools required

Bucket

Drop cloths

Flexible putty knife

Long-handled roller

Paint brush

Paint tray

Roller frame

Sponge

Stepladder

Materials required

4 litres of paint

Ceiling paint

Masking paper

Paint samples

Paint stir sticks

Painter’s tape

Stain-blocking primer

Trim paint

TSP or other heavy-duty wall cleaner

2 10mm-nap roller sleeves

Wall spackling compound

Advertisement

Step 1: Choose a colour

Step 1: Choose a colour
Getty Images

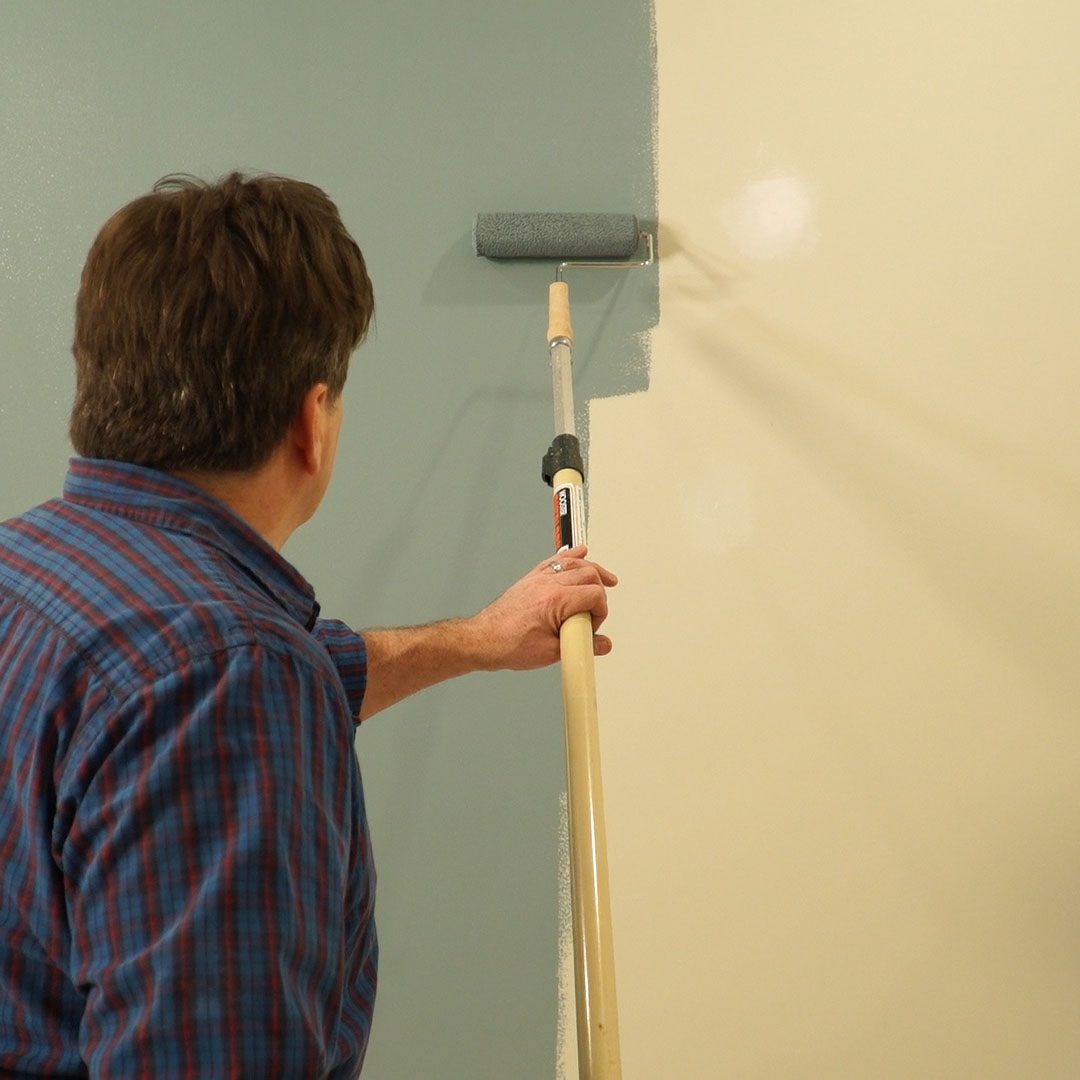
The first question to ask yourself even before you pick up a paintbrush is: How do I choose a paint colour?

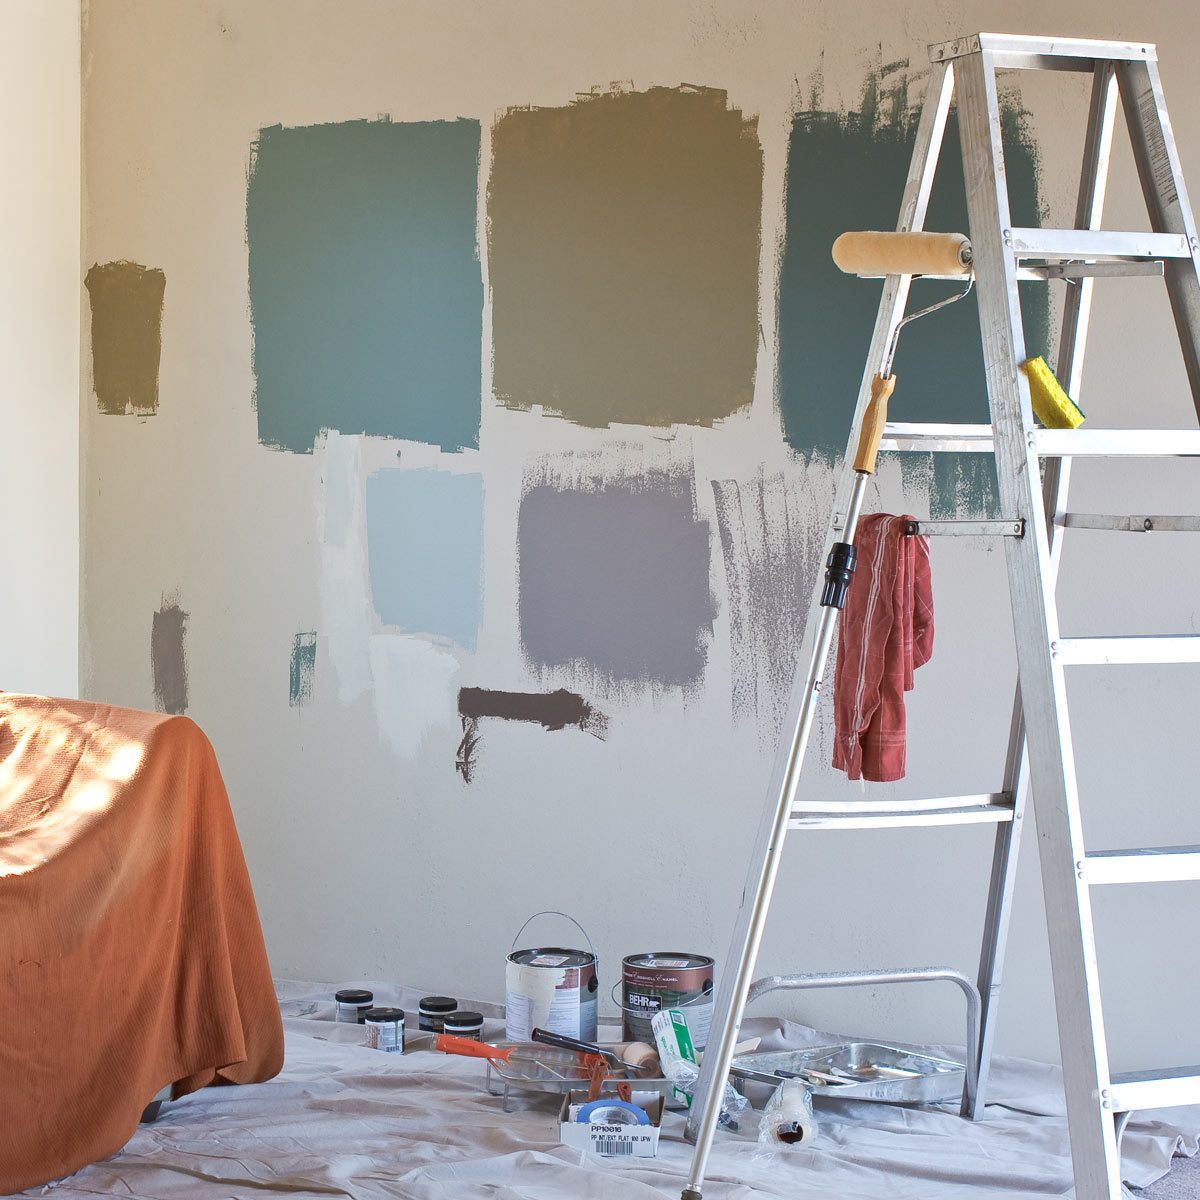
Head to your home centre or paint store and have them mix three or four colour samples for you.

Test your colour samples on different parts of the room to get a feel for the paint colours. Keep in mind different lighting in the room will change the colour drastically.

Choose a paint finish

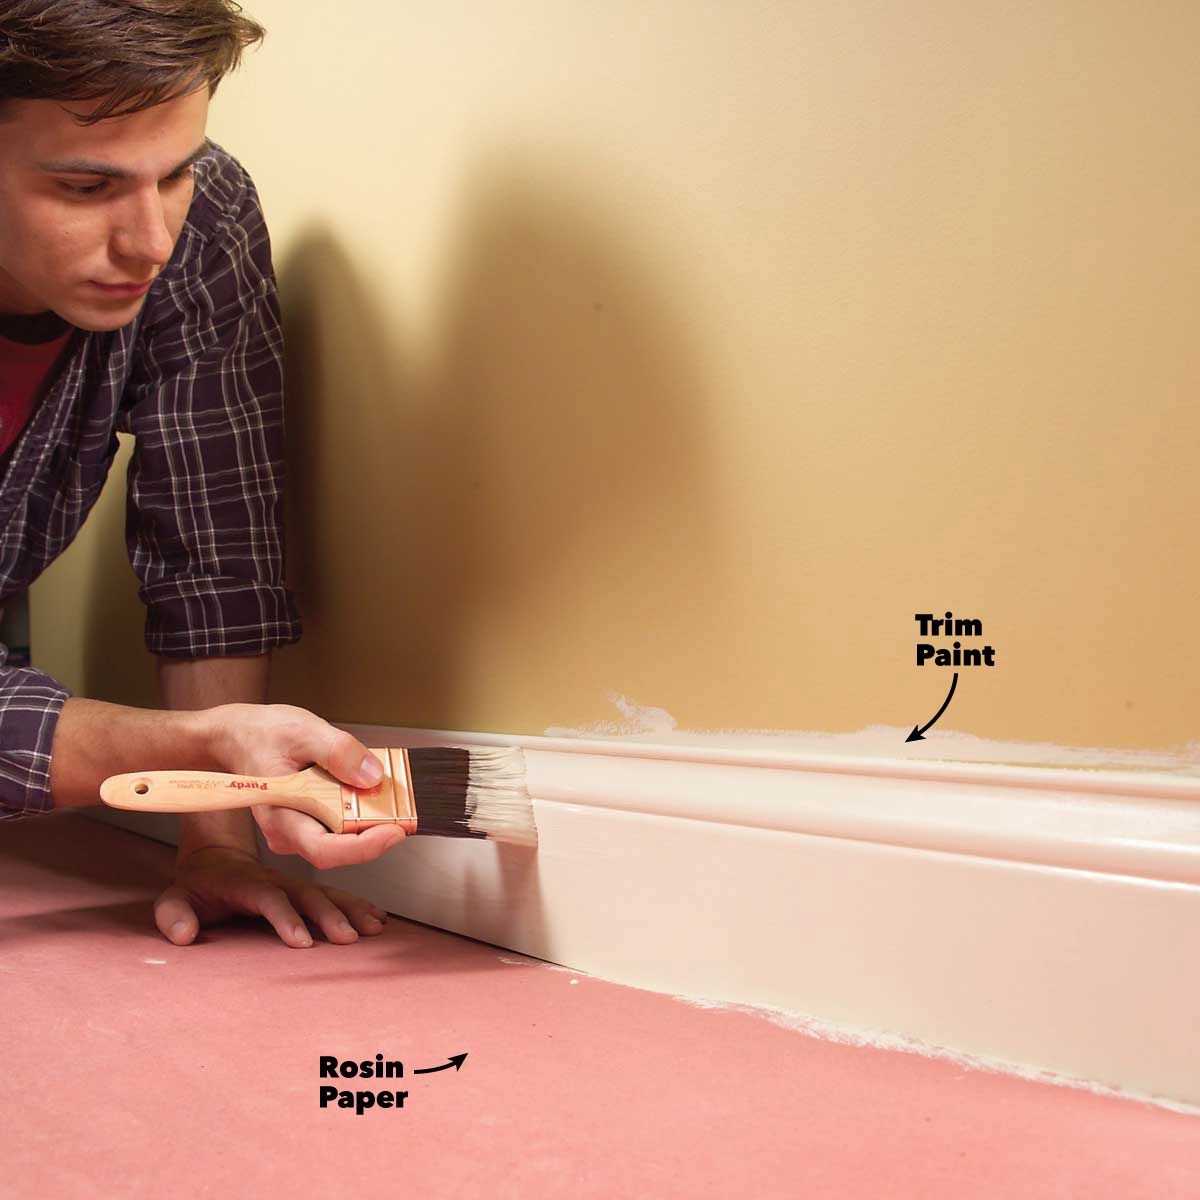
Gloss finish is the most light-reflective of any paint choice and is easily washable. Great for wood trim, cabinets and doors.

Semi-gloss finish is somewhat reflective, durable and helpful in areas that need to be cleaned regularly. Great for kitchens, bathrooms, cupboard doors, trim and utility areas.

Satin finish has just a little shine so it’s easily cleaned. Also great for high-traffic areas like kids’ bedrooms, kitchens, living rooms, entryways and hallways.

Matte and flat finishes absorb the light instead of reflecting it, so they work well on walls with imperfections. Great for bedrooms and any uneven walls, or walls with texture.

Here are 10 more tips for choosing paint colours.

Step 2: Protect your floors and furniture

Step 2: Protect your floors and furniture
FAMILY HANDYMAN

Tape down masking paper or rosin paper to the floor and carpet along the skirting boards to protect them from paint splatters and spills.

Spread a drop cloth on the floor and over any furniture in the room you’re painting. Fabric drop cloths work better for this – they’re less slippery than plastic drop cloths.

These 11 painting shortcuts do more harm than good.

Step 3: Prep the walls and trim

Step 3: Prep the walls and trim
FAMILY HANDYMAN

Before painting and patching, it’s a good idea to wash all the walls and trim with a heavy-duty cleaner such as TSP. Removing dirt and grease will let the paint stick better.

Shine a utility light at the wall to get a closer look at the defects on the surface.

Knock down any nail pops and bumps you find on the walls. Fill the holes and cracks with spackle or patching compound. Sand all patches smooth with sandpaper.

Always apply a coat of primer over the patched areas before painting.

Remove outlets and switch plates.

Read this for the painting tips professional painters don’t want you to know.

Step 4: Paint the ceiling

Step 4: Paint the ceiling
FAMILY HANDYMAN

Painting the ceiling at this point will avoid paint splatters on your walls and trim.

Pour about three cups of ceiling paint into a small container you can hold in one hand. Paint the edge of the ceiling along the perimeter of the whole room, using a 50-60mm angled paintbrush. (This is called “cutting in.”)

Use a 10mm nap roller to paint the ceiling from one end of the room to the other. Roll the paint on in the same direction, one roller width at a time, overlapping the previous row. If a second coat is needed, roll the paint in the opposite direction you painted the first coat.

Do you have a popcorn ceiling like this that you’d like to get rid of? Here are 11 tips on how to remove a popcorn ceiling faster and easier.

Step 5: Paint the trim

Step 5: Paint the trim
FAMILY HANDYMAN

In most cases, paint the trim first before the walls. Let the paint dry, then tape off the trim and proceed to paint the walls. If the top edge of your trim isn’t wide enough to hold painter’s tape, paint the walls first, let the paint dry, then tape off the walls and proceed to paint the trim.

A few things to think about before painting the trim. Are you painting just the trim or are you painting the windows and doors as well? Painting a door is much easier if you remove it first.

Use high-quality semigloss acrylic enamel paint with a 50-60mm angled paintbrush. Take your time, do a nice job and don’t be in a hurry.

Read these 10 tips for painting edges.

Step 6: Tape along the edges

Step 6: Tape along the edges
FAMILY HANDYMAN

Apply painter’s tape (not masking tape) along the edges of the trim before painting the walls. Taping the perimeter of the ceiling will avoid brush and roller marks, resulting in a nice clean line between the walls and ceiling.

Step 7: Cut in the walls

Step 7: Cut in the walls
FAMILY HANDYMAN

It’s a good practice to cut in one wall at a time, then immediately roll out the wall while the cut-in paint is still wet. The cut-in paint will blend much better with the wall paint.

As was mentioned in Step 4, pour about three cups of paint into a small container you can hold in one hand. Paint along the edges of trim and skirting boards as well as around the perimeter of the ceiling, using a 50-60mm angled paintbrush.

Pro tip: Wrap your brush in plastic wrap or put it in a freezer bag to keep it from drying out between cut-in coats.

Here are some more little-known painting hacks from the experts.

Step 8: Roll paint the walls

Step 8: Roll paint the walls
FAMILY HANDYMAN

Be sure to stir the paint with a paint stick before you start.

Fill the roller tray a little over half-full with paint – too much paint in the tray may spill over.

Load the roller with paint from the paint tray and roll paint on the wall from the skirting board to the ceiling. Roll straight back down without reloading the roller to ensure the wall is covered.

Again, load the roller with paint and start a new row overlapping the previous one. Paint the full height of the wall. The edges of the roller tend to leave paint build-up lines. Roll back over the lines and blend them in with the rest of the paint.

Step 9: Peel tape and clean up

Step 9: Peel tape and clean up
FAMILY HANDYMAN

Before peeling the tape from the trim and baseboards, score along the edge of the tape where it meets the wall using a flexible putty knife. (See photo.)

Always thoroughly clean your brushes and rollers with hot soapy water.

Pro tips:

Have good light when painting – natural daylight is the best light.

Always stir the paint for a good five minutes before painting.

Gather all the tools for the entire project before starting your project.

Avoid paint freckles — wear a hat and paint clothes.

Keep your paintbrush and rollers fresh in a sealable plastic bag.

Keep a photo folder on your phone or computer of all the different paint labels.

Sign up here to have Handyman’s favourite stories straight to your inbox. 

Source: Family Handyman