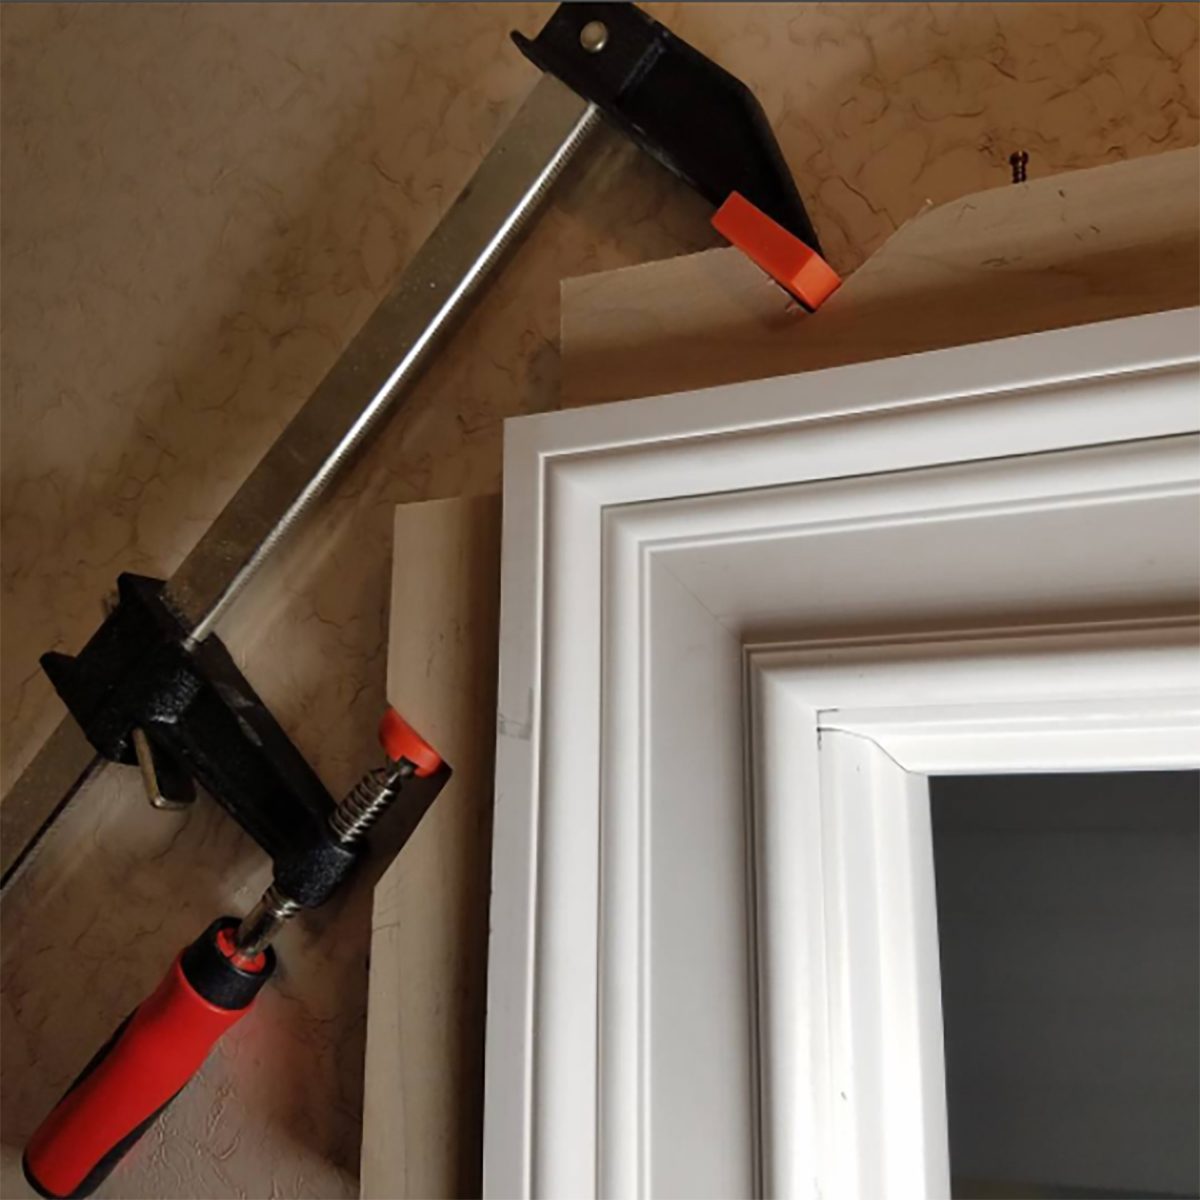
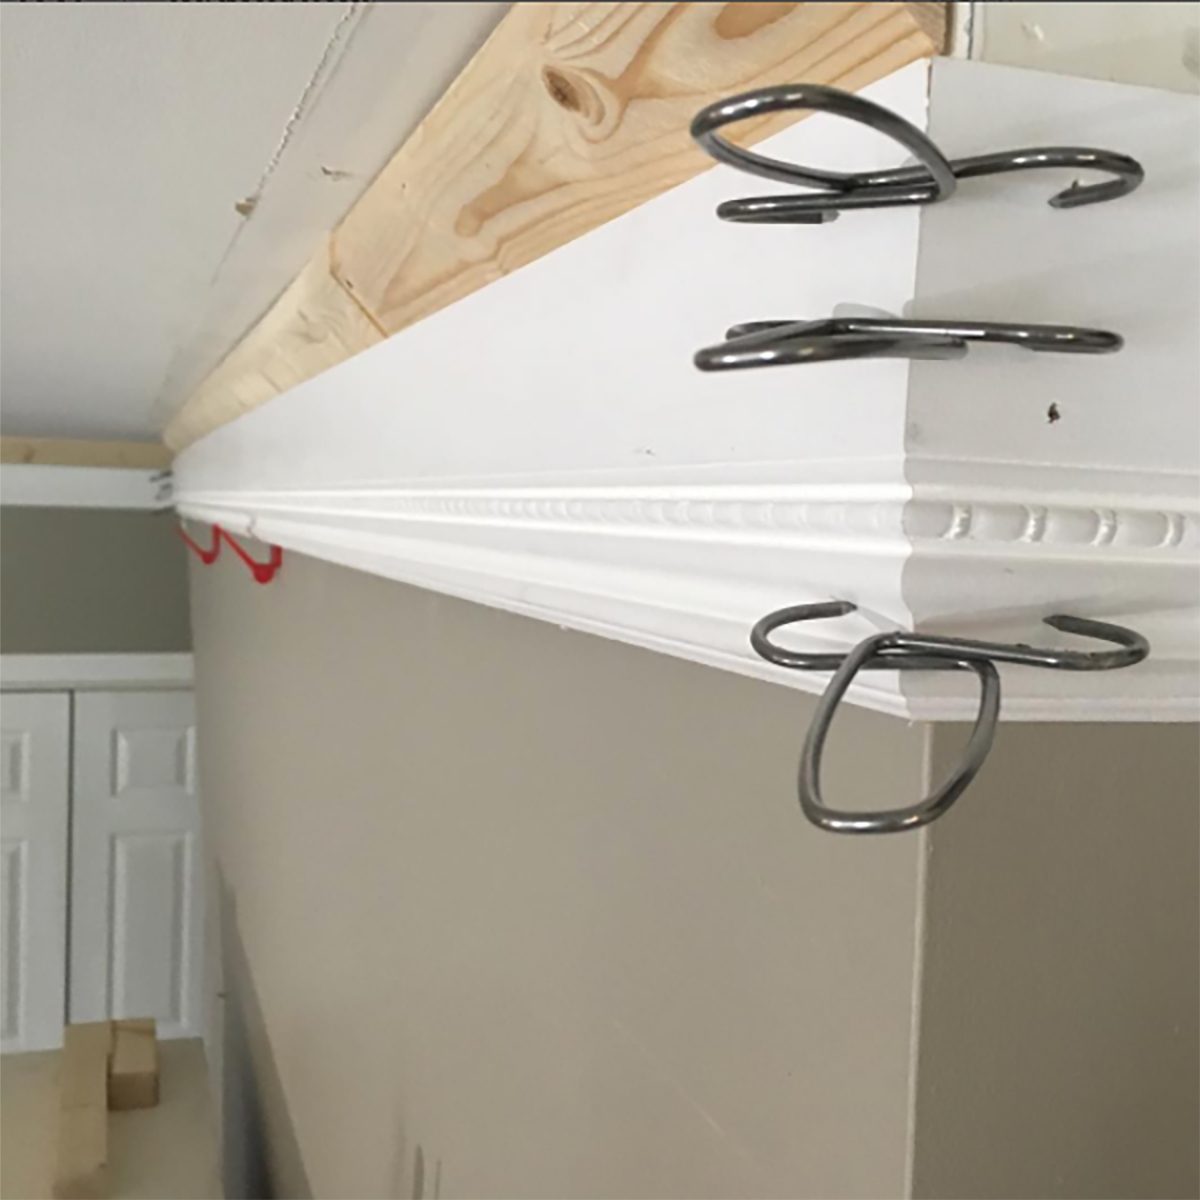
Install a nailer
Advertisement
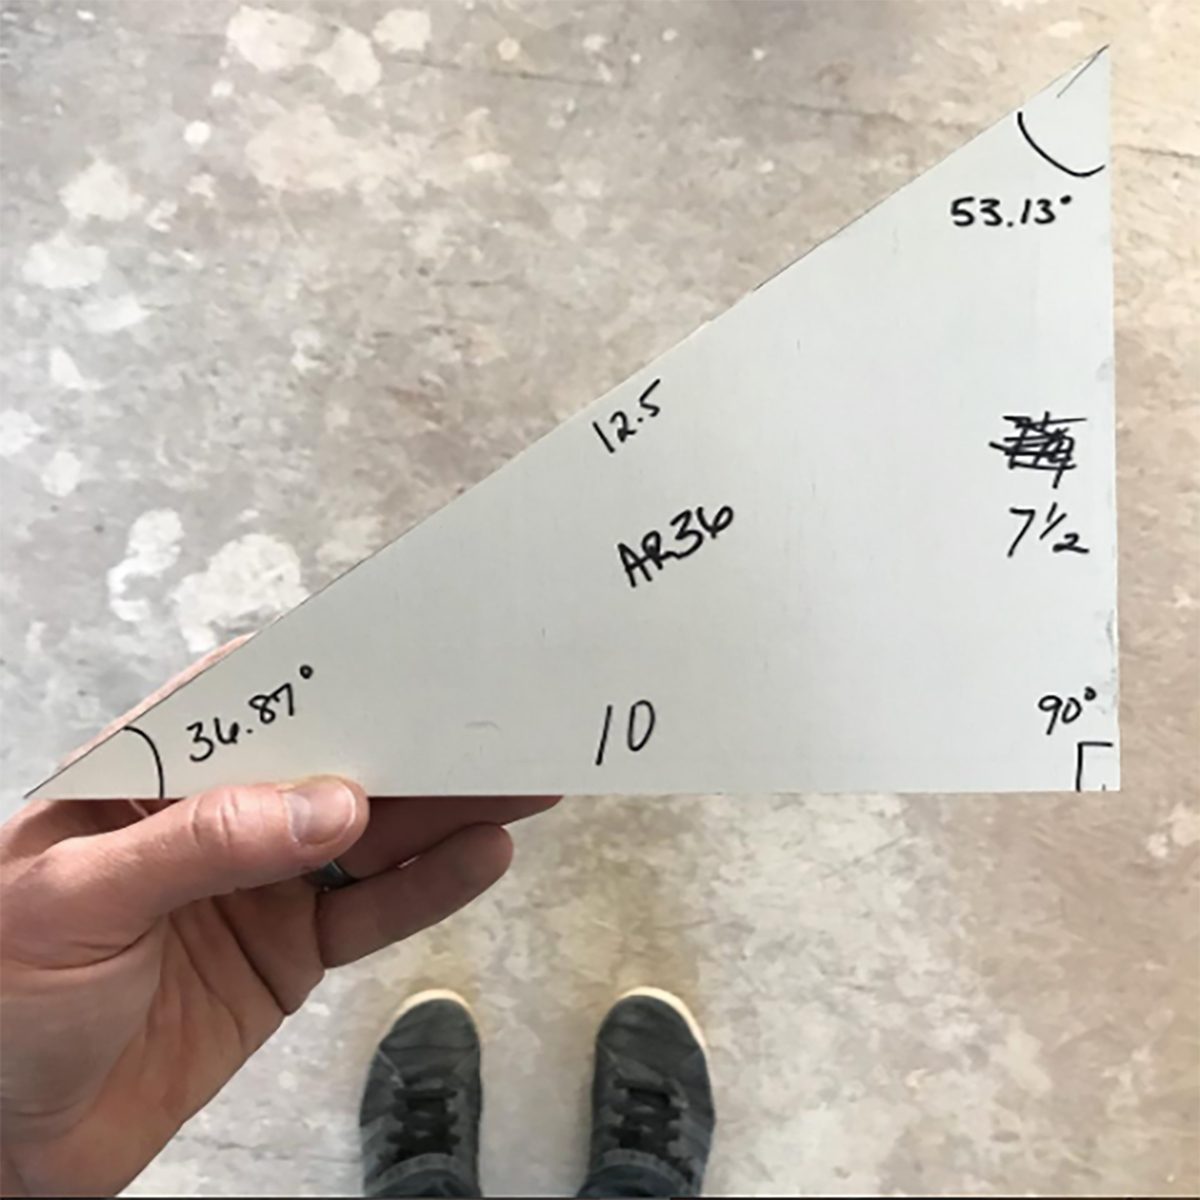
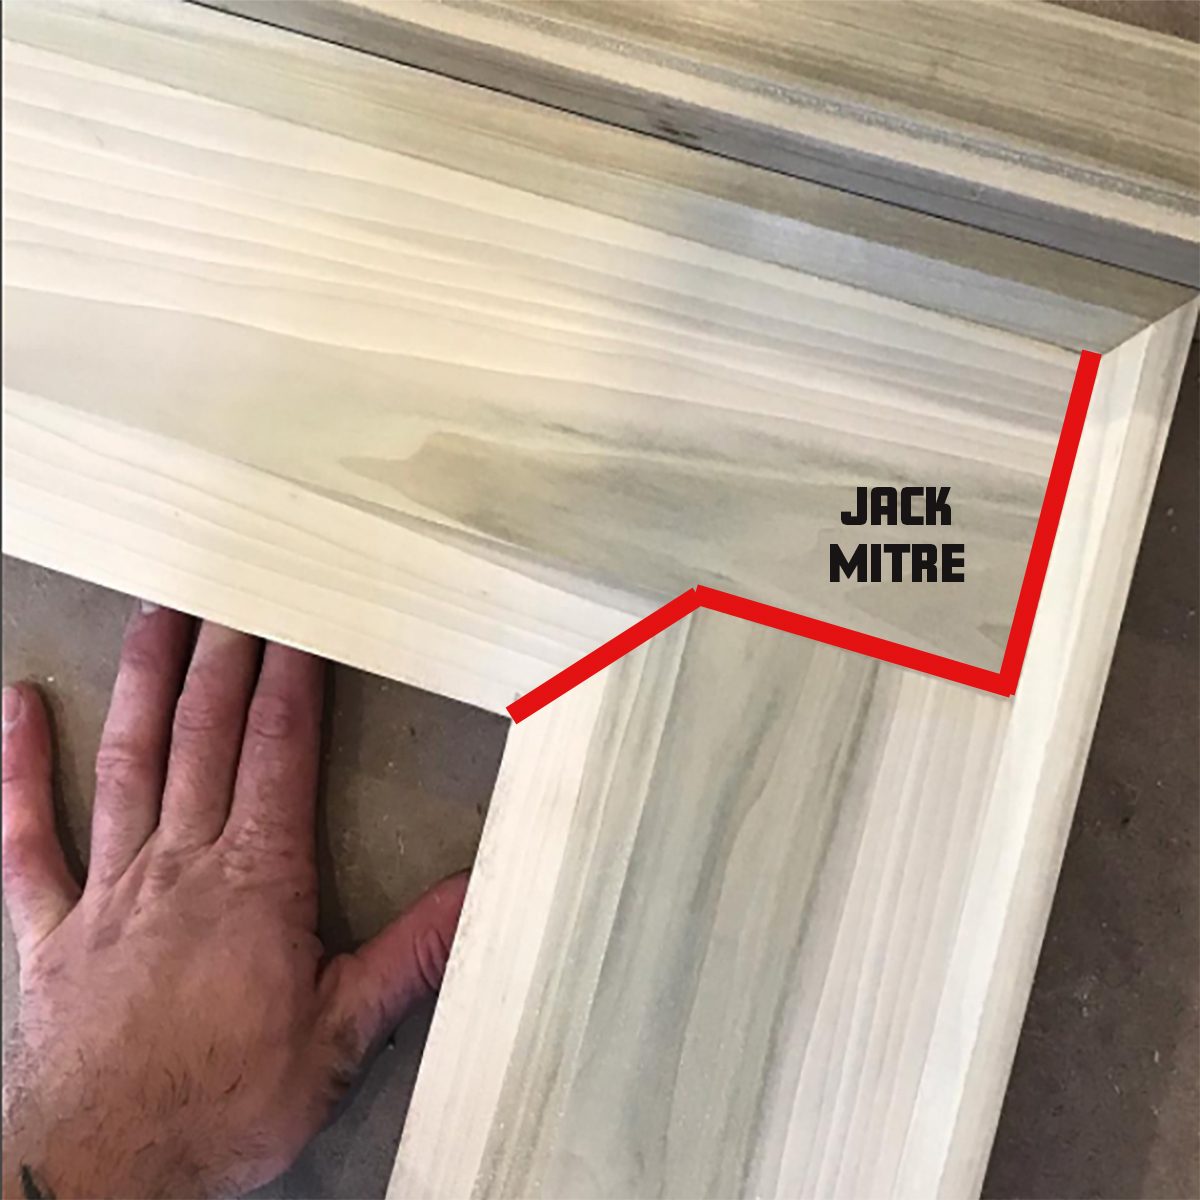
Consider using a jack mitre
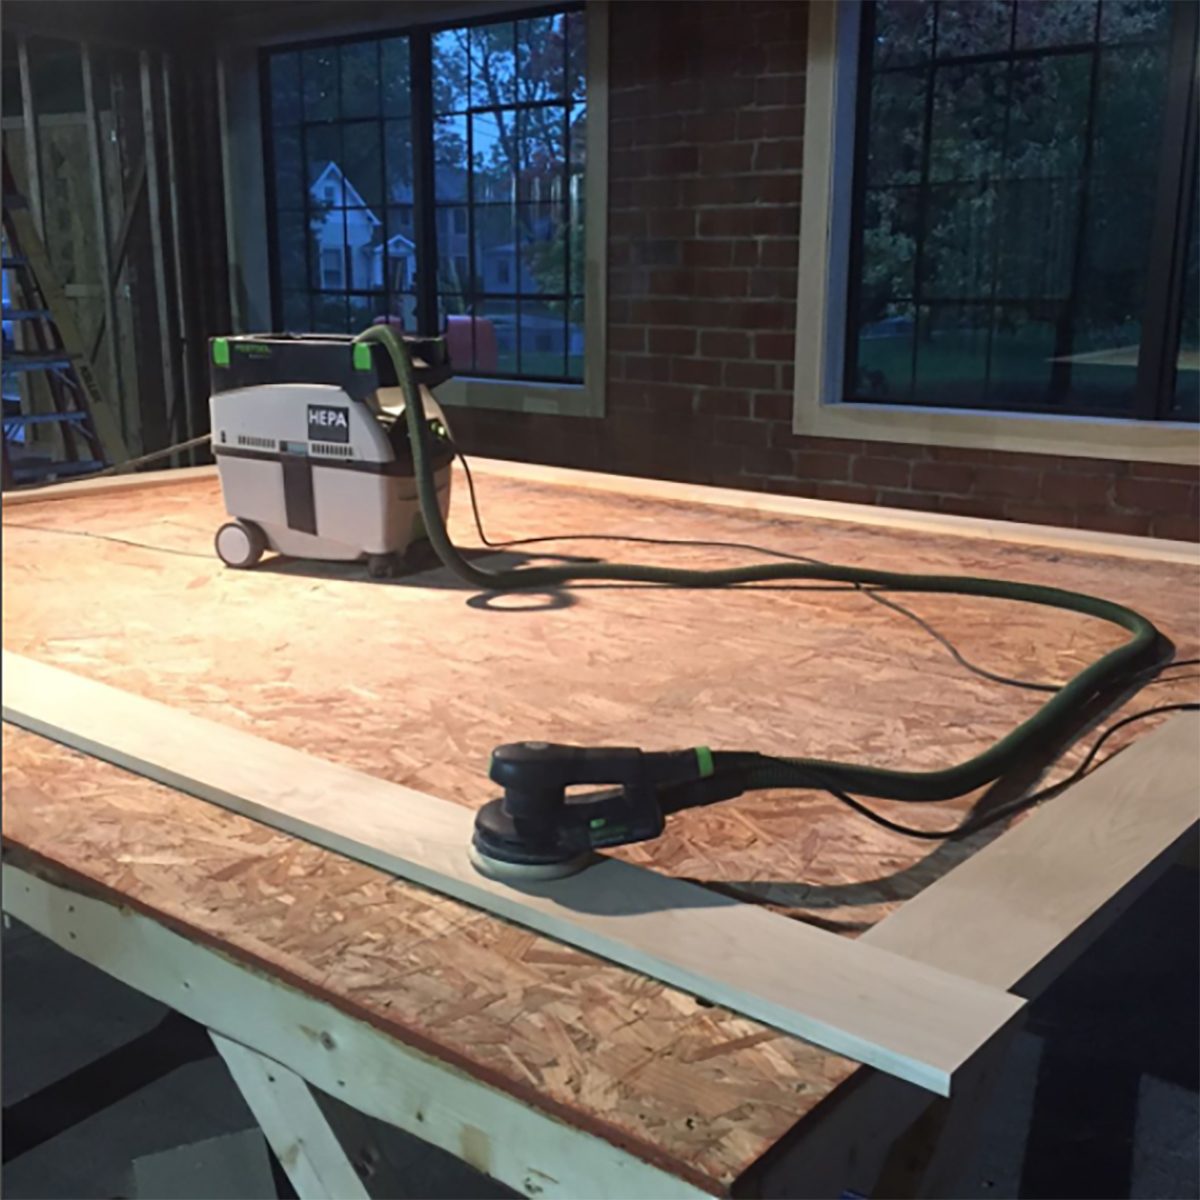
Build a large assembly table