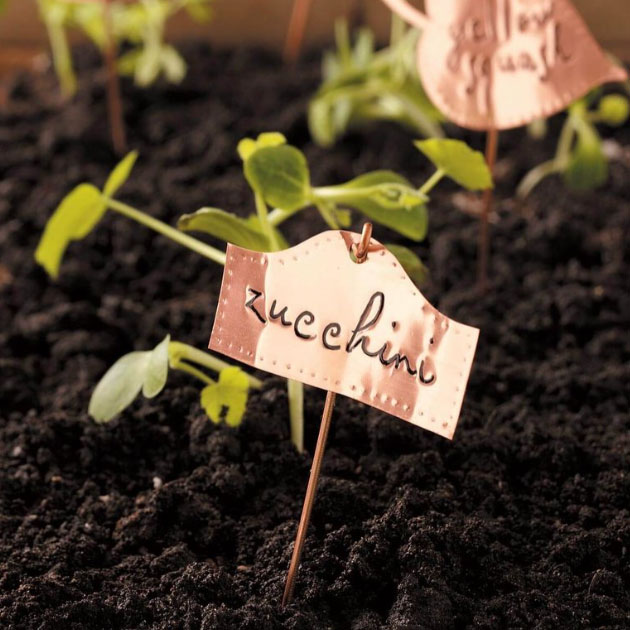
Finding plant markers that can withstand sun, wind and rain is a challenge. And you want them to be attractive, easy to make and reusable year after year. These cheap, durable plant markers are the perfect solution. Don’t limit yourself to the shapes shown here. Be creative!
Safety first!
When working with a soldering gun or torch, keep a fire extinguisher or a bucket of water close by. It’s better to have it nearby and not need it.
Remember that the metal stays hot for a while after it’s been heated. Handle finished pieces with pliers until they cool.
Materials required
36-gauge copper sheets
12-gauge wire
Paint marker, extra fine, black
Coloured paint marker (optional)
Transparent tape
Clear enamel spray
Tools required
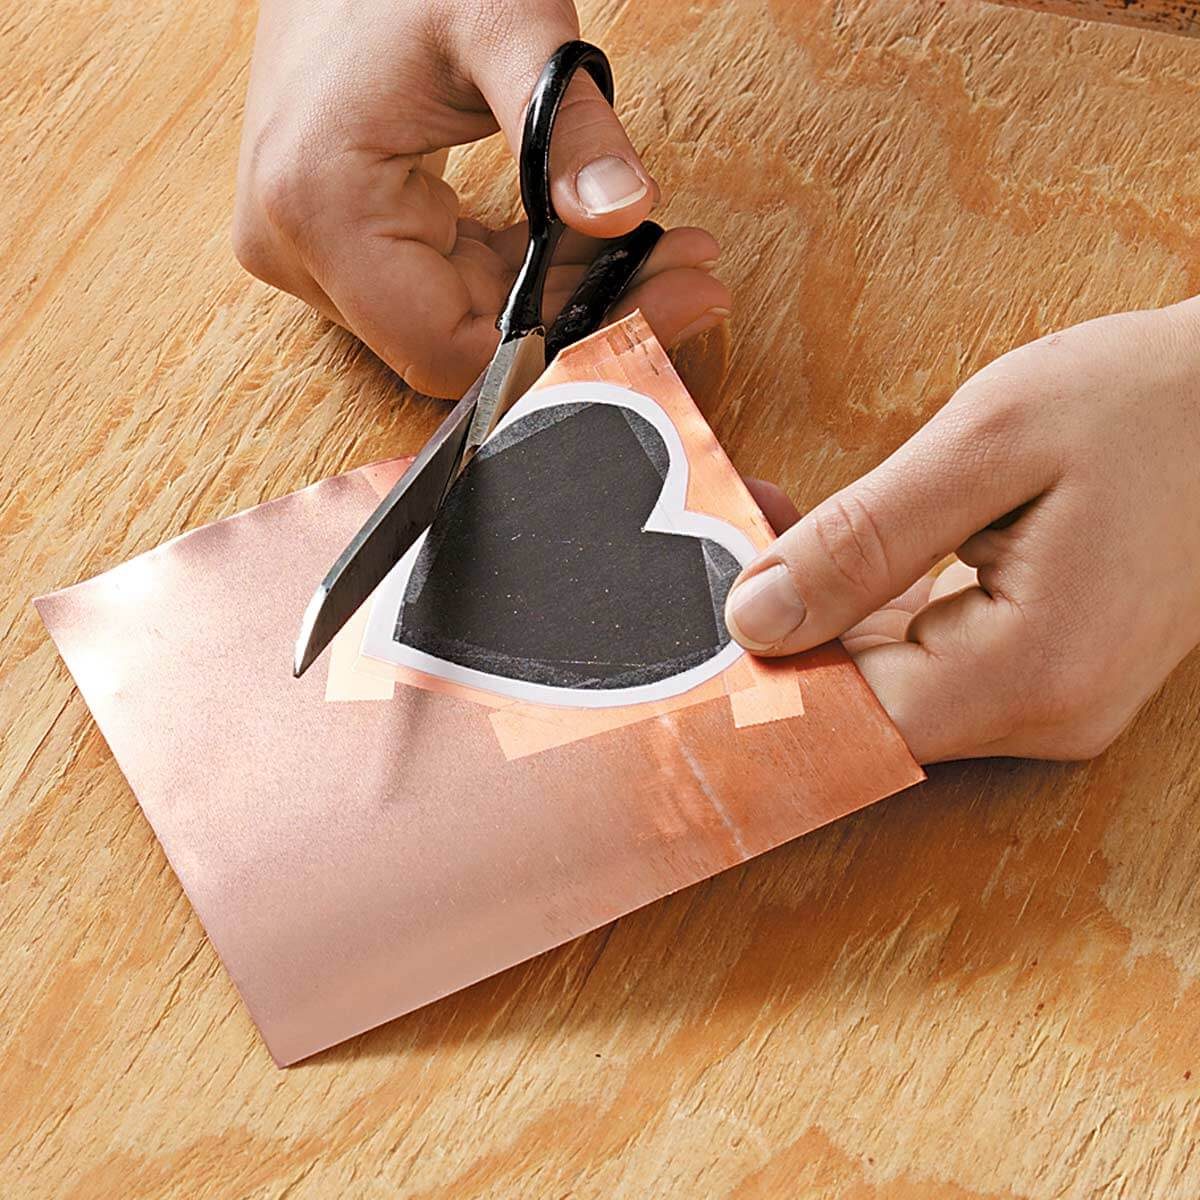
Scissors
Side cutting pliers
Small rubber or plastic roller (optional)
Soldering gun or mini torch (larger torches are not recommended for this small project)
Solder and flux
Incombustible soldering surface
Fine sandpaper, 220-grit
Fine steel wool