Wood chisel basics

Wood chisel basics
FAMILY HANDYMAN

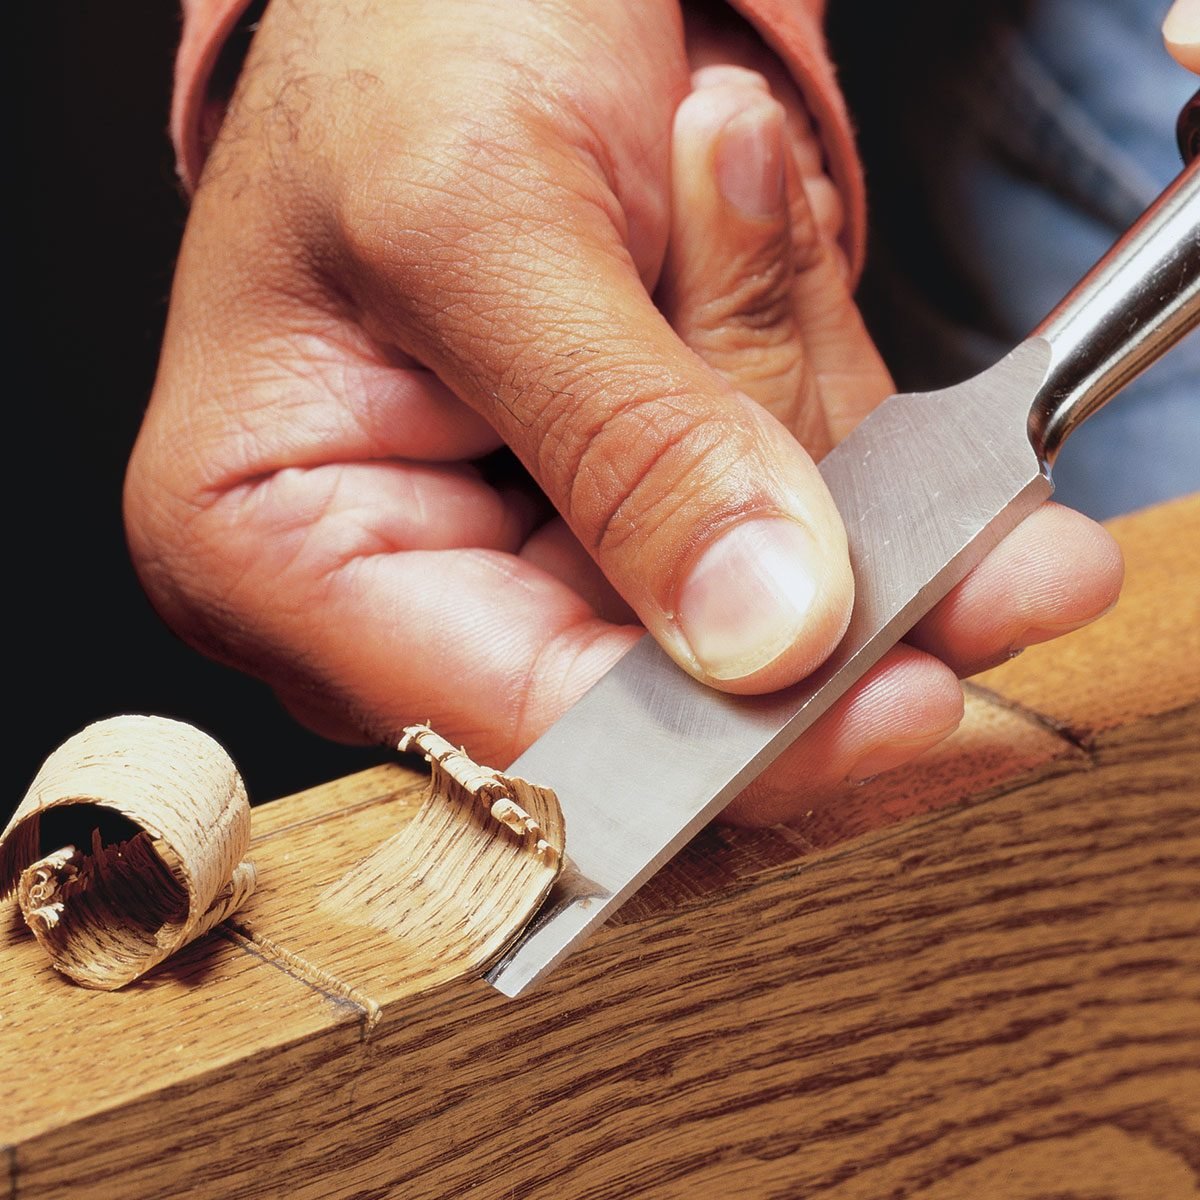
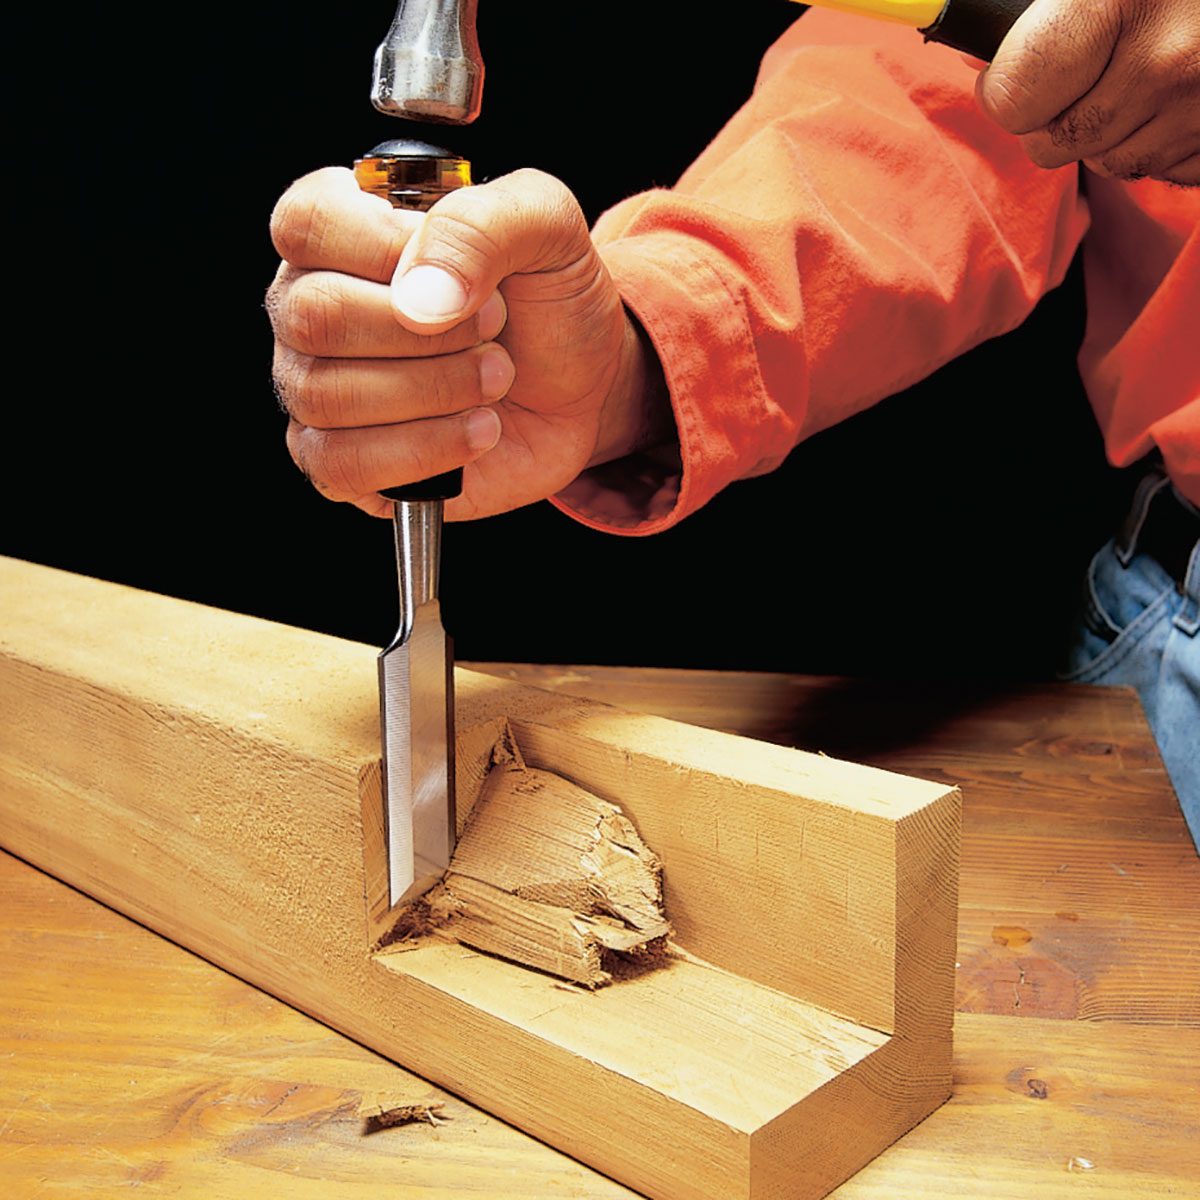
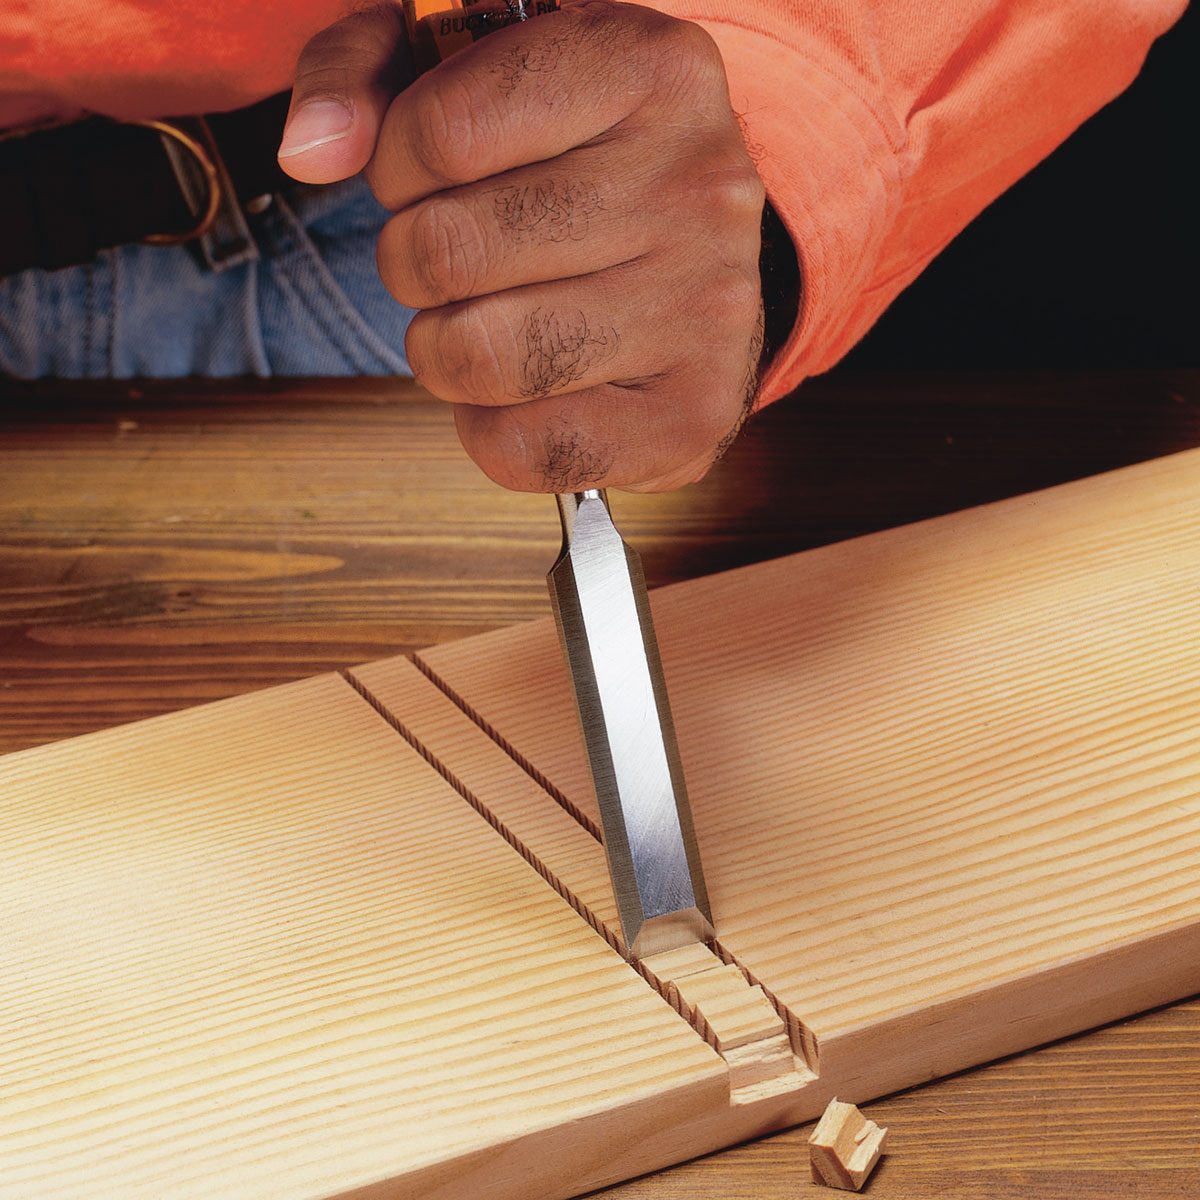
You may not need one often, but when it comes time to carve out a recess for a hinge or strike plate, nothing beats a razor-sharp chisel. Here we’ll show you some basic chiselling techniques and sharpening tips so you’ll be ready for any chiselling task with a woodworking chisel set.

Start with a new sharp 19mm chisel for all-purpose use. Keep your old dull chisel handy for jobs like cutting nails or scraping caulk. Buy one with an impact-resistant plastic handle. You can pound on these with a hammer without damaging them. Good-quality chisels don’t cost much, and if you have a little extra cash, buy three – 12mm, 19mm and 25mm – for a good starter set.

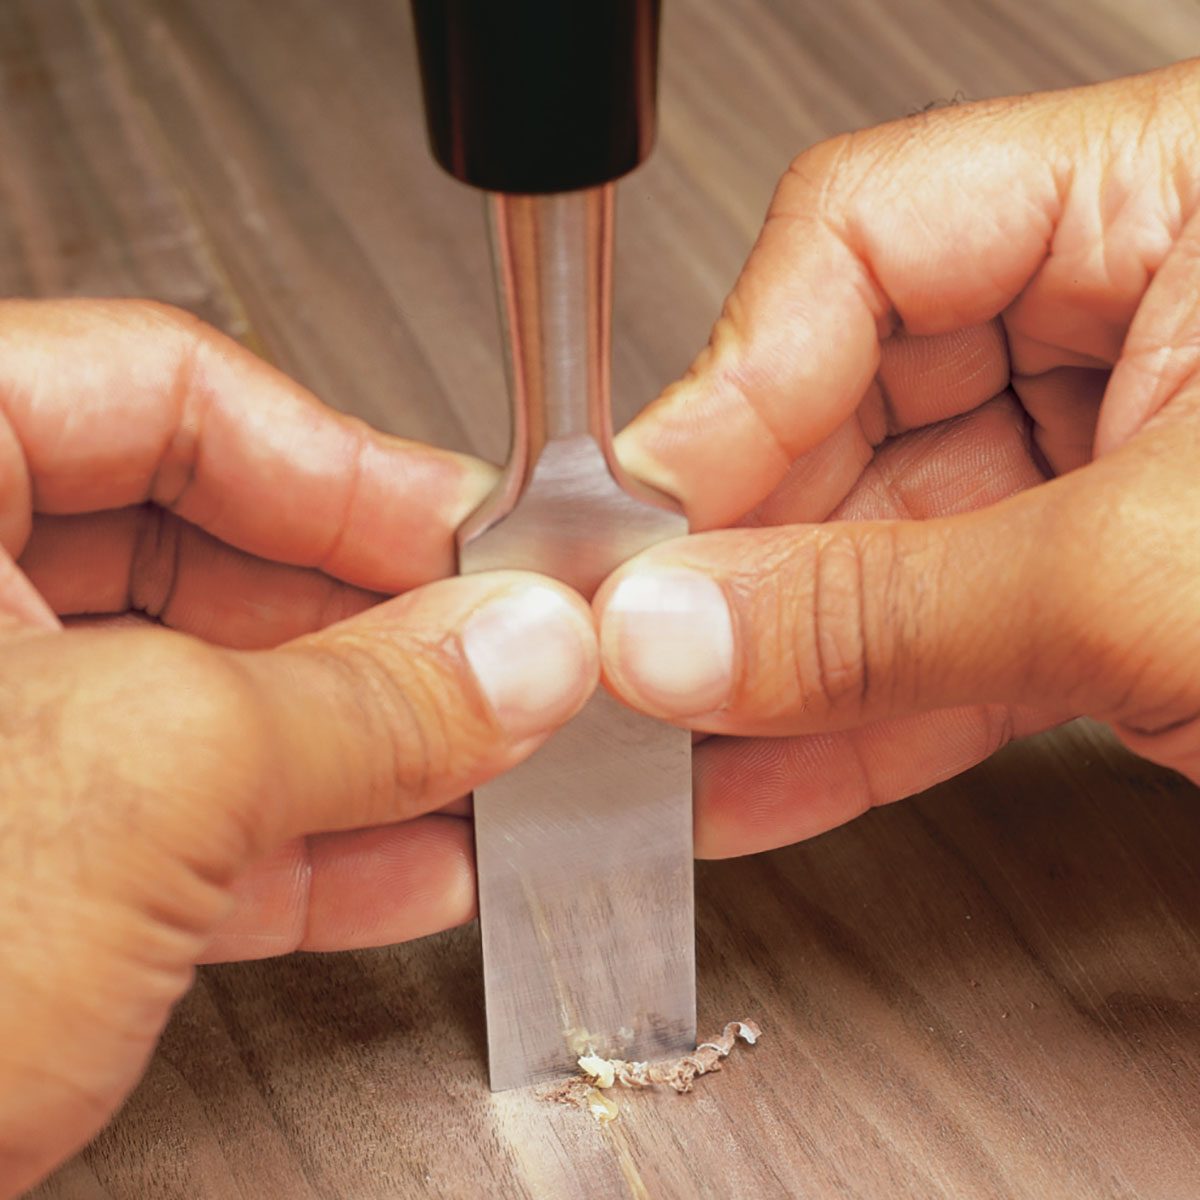
Keep in mind that even brand-new chisels will need sharpening. Put your chisels in a sock or a special canvas roll between uses to protect the cutting edge.

Here are 10 woodworking joints you should know.

Advertisement

Mortise cuts

Mortise cuts
FAMILY HANDYMAN

Start recesses or mortises by outlining the area with a sharp utility knife or by making a series of shallow chisel cuts perpendicular to the surface. Skip this step and you risk chipping wood outside the mortise. After you’ve carved your outline, remove thin slices by tapping the chisel with a hammer, bevel side down, to carve out the wood inside the perimeter.

Pro tip: Chiselling with the grain can sometimes have disastrous results. If the grain runs deeper into the wood, it’ll direct the chisel too deep. Stop and chisel from the opposite direction if you feel this happening.

Check out these 20 secret clamping tricks from woodworkers.

Paring cut

Paring cut
FAMILY HANDYMAN

Pare thin slices of wood to flatten the bottom of an open recess. Keep the back of the chisel flat on the wood. For easier slicing, pivot the chisel as you cut to move the blade in an arc.

If the recess is open on one side, like a hinge mortise, flatten the bottom by paring off thin slices with the back, unbevelled side of the chisel held flat to the wood. In general, when you’re shaving into a piece of wood, face the bevel down. When you’re flattening a cut and have access from the side, face the bevel up and hold the back of the chisel tight to the surface.

These are the 10 most common woodworking mistakes beginners make

Chopping cut

Chopping cut
FAMILY HANDYMAN

Chop out large amounts of wood by slicing off small amounts with each cut. Strike the chisel with a hammer and chop down about 12mm. Then chisel from the end to remove the piece before continuing. Your chisel must be sharp for this cut.

Chop and pare

Chop and pare
FAMILY HANDYMAN

Chisel out dadoes and other more precise joints a little at a time with a series of shallow cuts rather than driving the chisel too deep. Use a hammer or mallet for rough work or press with the heel of your hand for lighter cutting chores or finer cuts.

Scrape a glue joint

Scrape a glue joint
FAMILY HANDYMAN

Scrape glue joints or other imperfections from wood projects by holding the blade at a right angle to the wood with the back of the chisel facing you. To remove thin shavings, support the blade with your fingers and press down while you draw the chisel toward you.

Pro tip: Scraping requires a perfectly flat, sharp edge so that the chisel can scrape cleanly without leaving scratch marks in the wood.

Follow these tips on how to glue wood.

Sign up here to have Handyman’s favourite stories straight to your inbox.

Source: Family Handyman