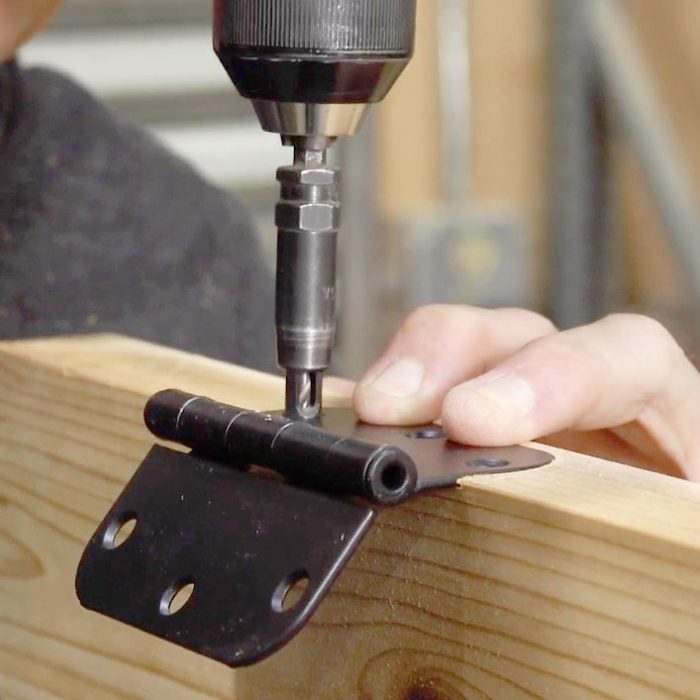
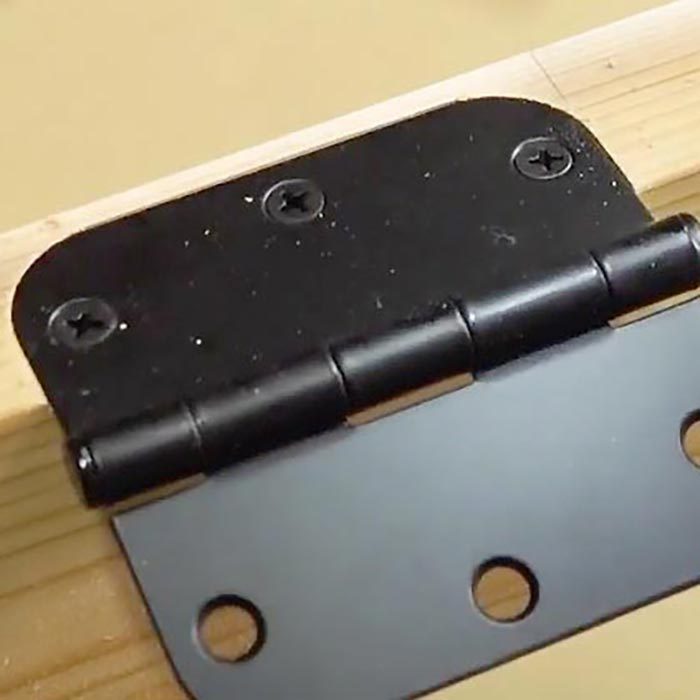
Recessed hinges
Advertisement
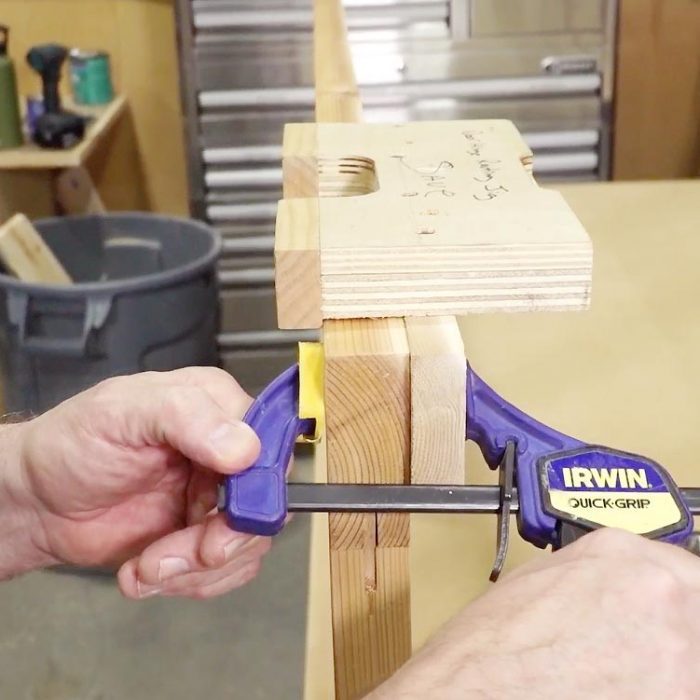
Door hinge template
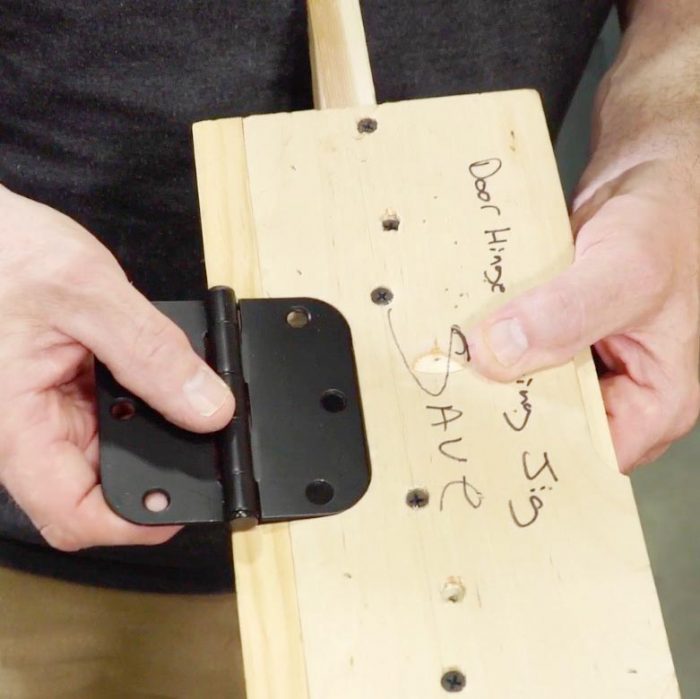
Hinge layout