Chalk paint crazy

Chalk paint crazy
SIRTRAVELALOT/SHUTTERSTOCK

Once you discover the joy of chalk paint, it’s hard to stop. (This is coming from a person who has chalk painted a dresser, a baby’s changing table, a four piece bedroom set and much more.)

Follow these simple steps for redoing a painted china cabinet with chalk paint – the process can apply to most wooden furniture pieces.

Advertisement

Step 1: Decide on the number of coats

Step 1: Decide on the number of coats
Shutterstock

It’s good to think about early on, for paint-buying purposes. If you’re going for the distressed look, one coat of paint may be all that’s needed. If you want a bright, new-furniture look, more coats are best. It will typically take two to three coats of a good brand of chalk paint to fully cover wood furniture.

Step 2: Prep the area

Step 2: Prep the area
Shutterstock

My favourite chalk paint brands are non-toxic, odourless and safe for indoor use, so you can comfortably tackle your project indoors, if preferred. Paint does splatter, however, so make sure to use a good dropcloth to cover your floors.

Another fantastic thing about chalk paint: Even stray splatters rub off easily with a wet cloth if you catch them quickly.

Step 3: Clean and repair the cabinet

Step 3: Clean and repair the cabinet
Getty Images

Before you get your Annie Sloan on, size up your furniture and fix any dings. Wood filler is your friend when it comes to cracks, holes or gouges. Chalk paint goes on so smooth that you won’t even be able to tell where those imperfections once were.

The cabinet should be clear of cobwebs, dust or mould before starting. Wipe the cabinet down with a wet cloth and a small amount of gentle dish soap. Let it dry before moving on to the next step.

Here are 6 hacks to remove water stains from wood.

Step 4: Tape the edges

Step 4: Tape the edges
Shutterstock

Use painter’s tape to create clean lines along unpainted surfaces, like window panes or inside drawers. It’s a good idea to take out drawers and paint them outside of the cabinet to ensure total coverage of all the nooks and crannies.

Good news: Your prep stops here. Part of the beauty of chalk paint is that you don’t have to sand before or between coats.

Yes, you can paint leather and here’s how in 9 steps.

Step 5: Paint and let dry fully

Step 5: Paint and let dry fully
Shutterstock

Brush the chalk paint onto your cabinet. Be generous with the amount of paint you put on your brush – if you’ve put too much in one area, it’s pretty easy to spread it out more evenly with extra strokes. Watch for drips, and smooth them with your brush.

Chalk paint dries quickly, so you can usually apply your second coat about an hour after the first goes on. But always check to ensure it’s fully dry before applying another coat or distressing.

Here are 15 tips for painting outdoor furniture.

Step 6: Distress the cabinet (if desired)

Step 6: Distress the cabinet (if desired)
Shutterstock

If you’re all about making your cabinet looked weathered, now is the time to break out the sandpaper and steel wool and have at it.

Both of these tools will help you crack the surface of the dry chalk paint to reveal the wood beneath it. Start out gently. You’ll quickly see how powerful both of these tools are at removing paint. Once you start to see a weathered look that you like, adjust the amount of elbow grease used accordingly.

Step 7: Apply a protective top coat

Step 7: Apply a protective top coat
Shutterstock

There are different products you can use to protect your freshly painted cabinet, including polyurethane, a water-based polycrylic, finishing wax and more available. It’s all a matter of personal preference.

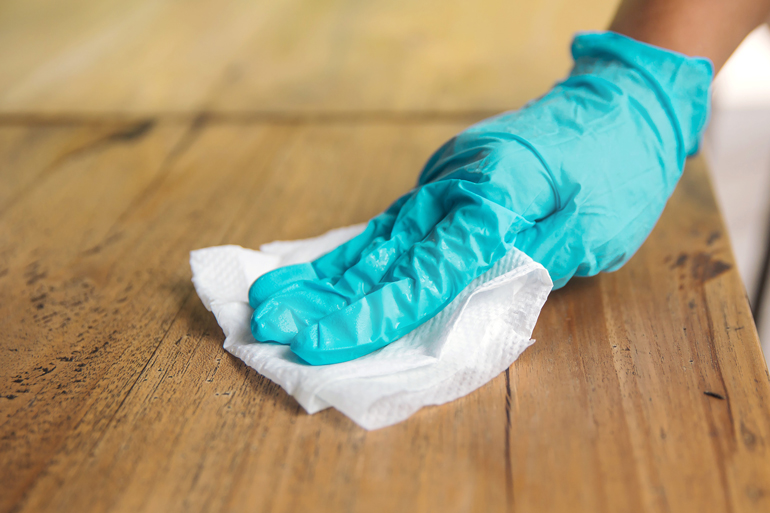
I typically stick with waxy top coats, because there’s no danger of dripping. Excess wax is easy to see and wipe off, whereas drips of polyurethane can be tough to spot before they dry. If you go the wax route, apply with a cotton cloth, and wipe excess from the edges with a rag as you go.

Paint-like top coats go on with a brush. Watch out for drips and runs, and bear in mind that you may need to apply two coats.

Sign up here to have Handyman’s favourite stories straight to your inbox.

Source: Family Handyman