Glass yoghurt jars make great candle containers

Glass yoghurt jars make great candle containers
FAMILY HANDYMAN

Glass yoghurt jars are not only great for making your own plastic-free yoghurt, they also make great little containers for all sorts of things like paper clips, nails and screws. However, we decided to fill these cute yoghurt jars with beeswax candles.

Advertisement

A word about beeswax

A word about beeswax
FAMILY HANDYMAN

Beekeepers (also called apiarists) carefully remove the beeswax when they harvest honey from their honeybee hives. They always leave enough honey for the bees to eat because it’s the bees’ main source of nutrition all winter long. When spring comes and flowers and trees bloom again, the bees collect nectar and pollen. That’s when they start making honey and raising new bees for the year ahead. Natural beeswax is wonderful to work with and it smells great without any added fragrance.

Check out our guide to backyard beekeeping.

Buying beeswax for DIY beeswax candles

Buying beeswax for DIY beeswax candles
FAMILY HANDYMAN

There are many online sources for beeswax. You can buy them in solid block form, or in chunks or smaller pellets, which melt faster and cost about the same as the blocks.

Many companies that sell beeswax also sell wicking material. It is important to use the correct diameter wicking based on the size of the candle.

Everything you’ll need for DIY beeswax candles

Everything you’ll need for DIY beeswax candles
FAMILY HANDYMAN

Here’s what you need to make 4 candles from 500g of beeswax:

4 clean yoghurt jars

500g of beeswax

Wicking material

Scissors

Flat-sided pencils or chopsticks

Paper towels, newspaper or parchment paper

Optional:

Cloth and ribbon for covering the candles

Compass for drawing circles on the cloth

Clean the yoghurt jars

Clean the yoghurt jars
FAMILY HANDYMAN

If your jars have labels attached, first soak the labels in hot soapy water. Use a bucket so the labels don’t go down the sink drain and cause a clog. After the labels are off, scrub the residual adhesive off the sides and rims of the yoghurt jars. Rinse the jars well and dry completely.

Don’t miss our 17 cleaning tricks for hard-to-clean household objects.

Cut the wicking

Cut the wicking
FAMILY HANDYMAN

The wicking needs to be long enough to wrap around a pencil or chopstick and reach the bottom of the glass yoghurt jar. Measure one and then use it as a template for the rest of the wicks.

Set up a double-boiler to melt the wax

Set up a double-boiler to melt the wax
FAMILY HANDYMAN

CAUTION: Melted beeswax is highly flammable and you should never melt beeswax on an open flame!

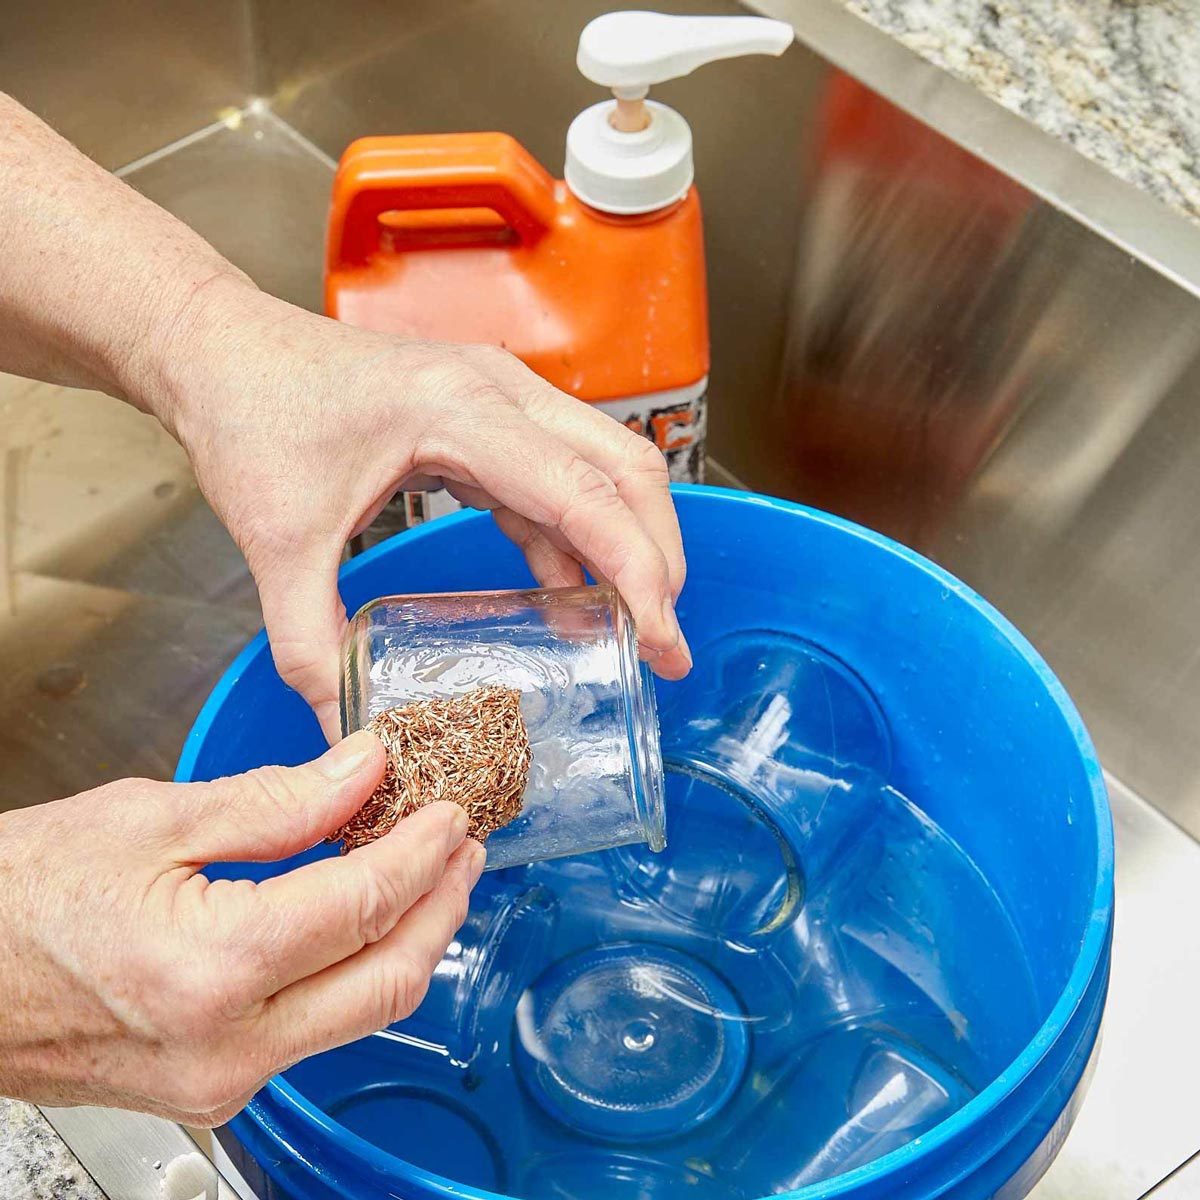
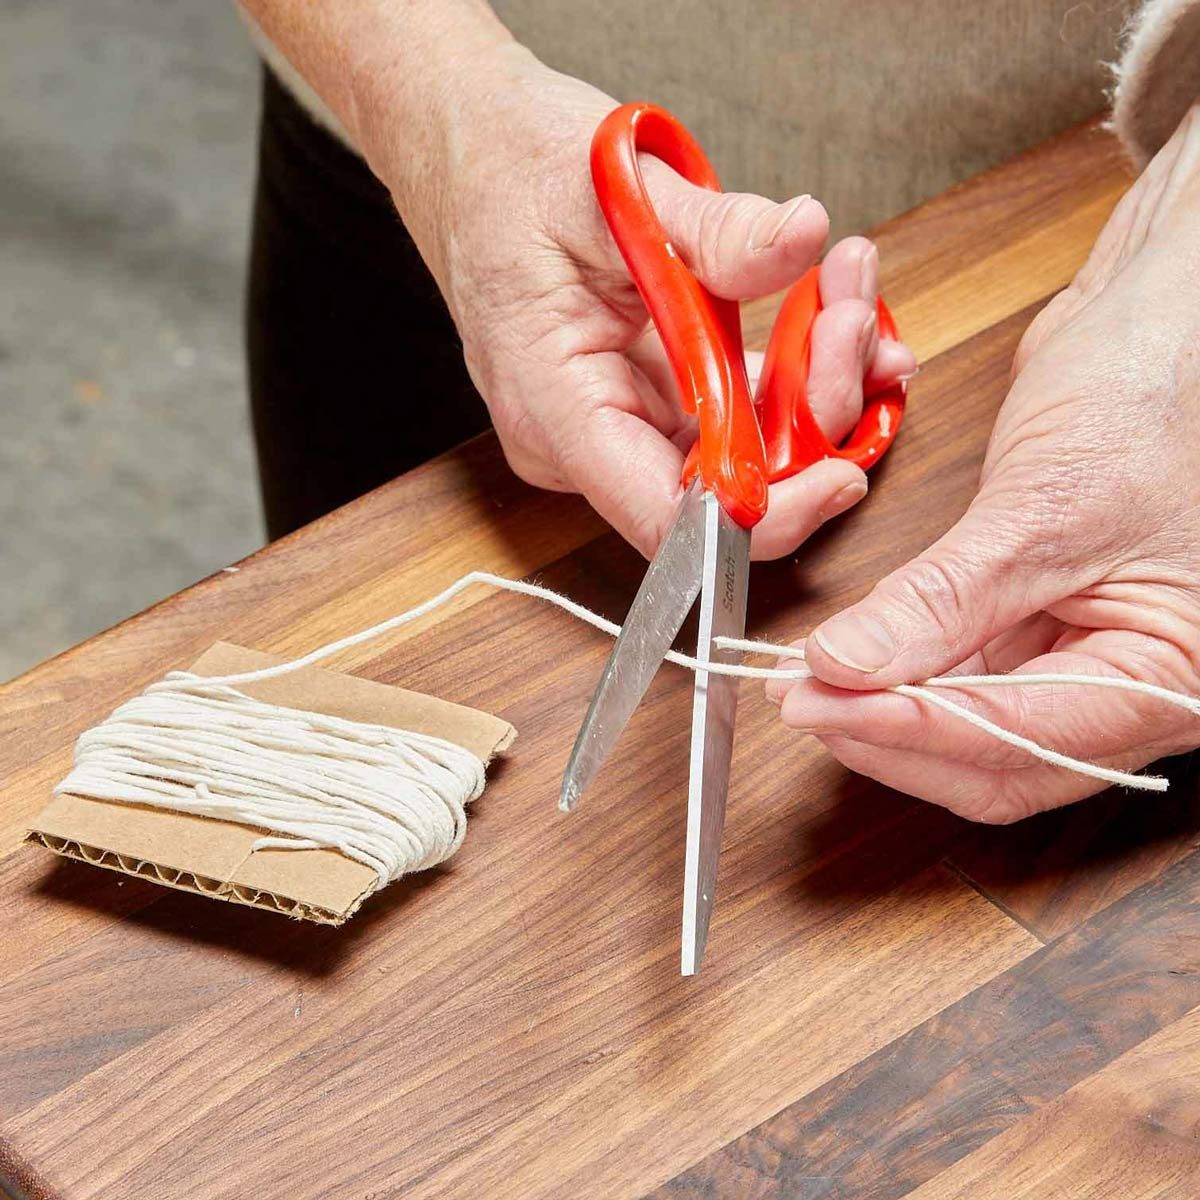
First, to break up the blocks of wax into smaller chunks that would easily fit into a container for melting, we used an old chisel and hit the beeswax blocks with a hammer (hard!).

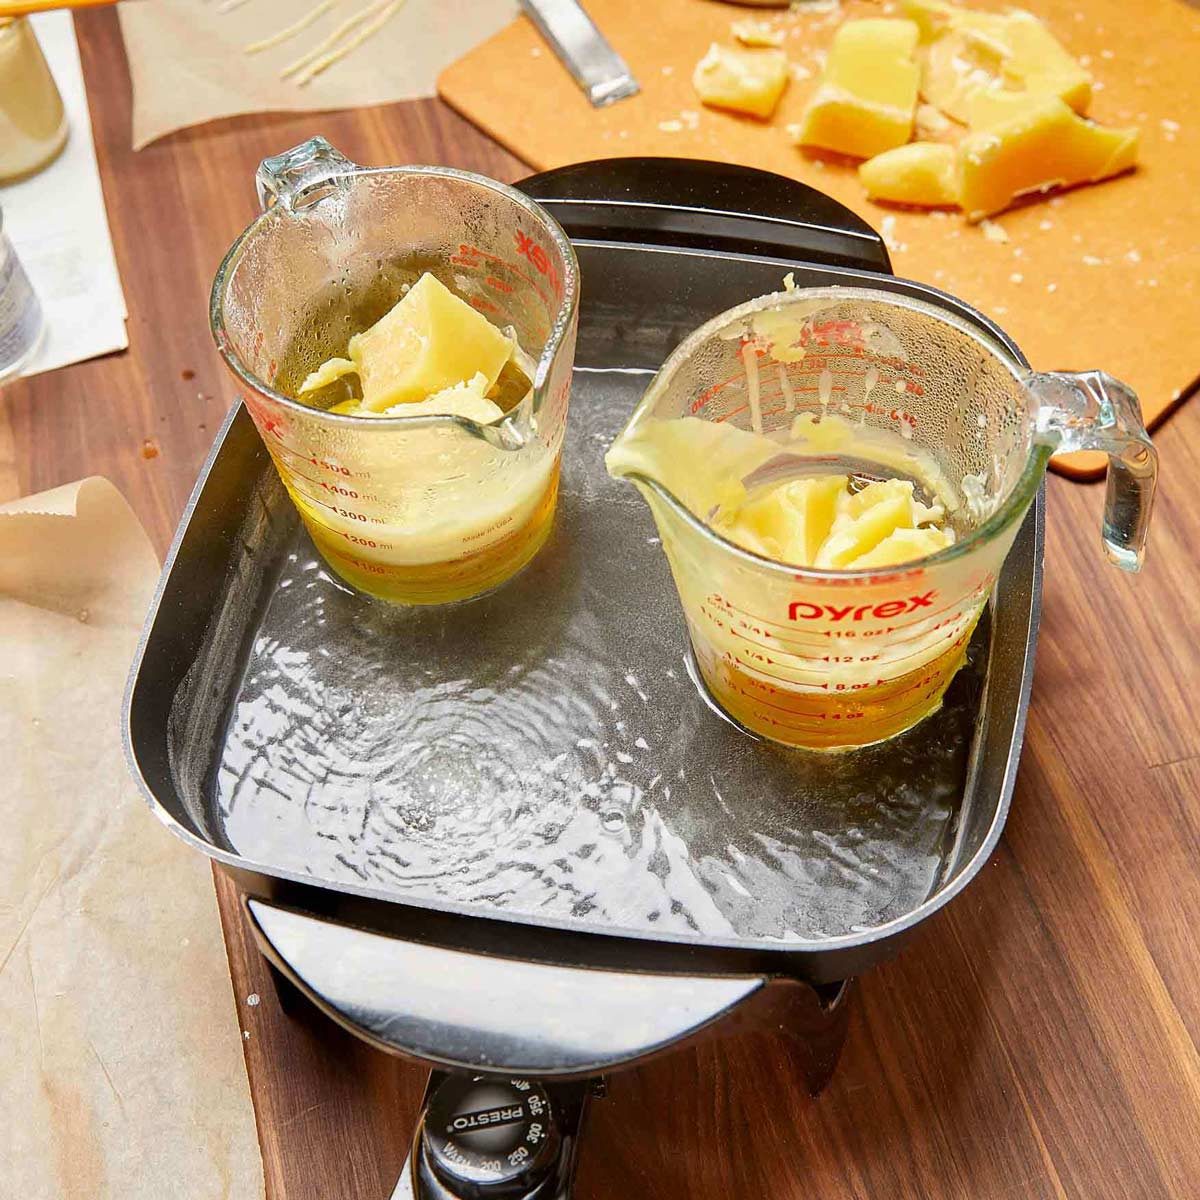
Next, always use a double-boiler setup for melting beeswax. DON’T ever use a microwave.

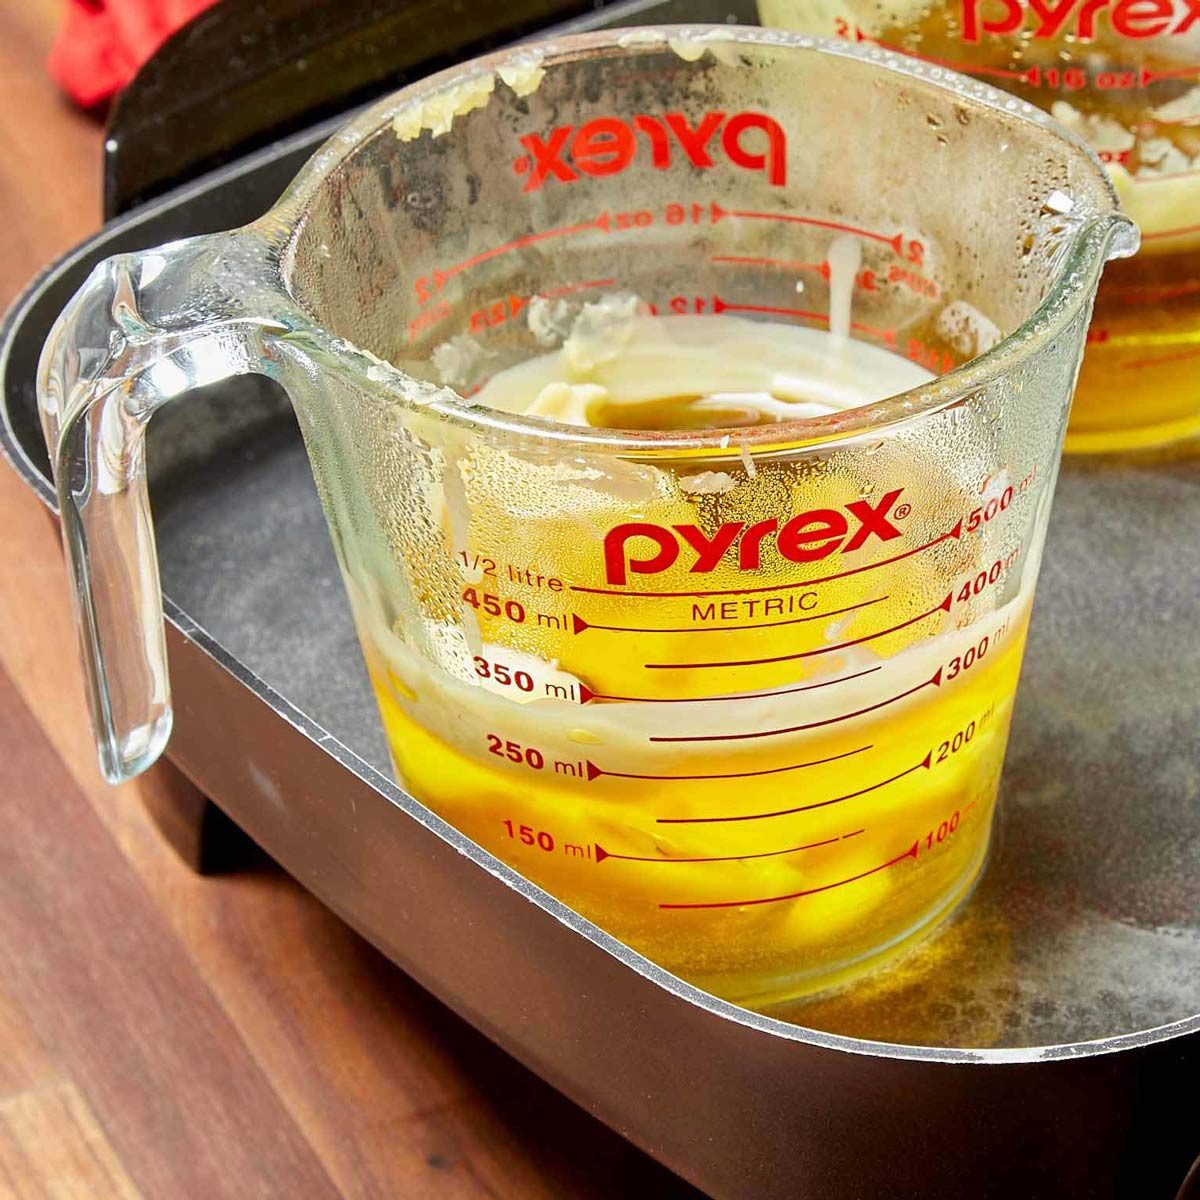
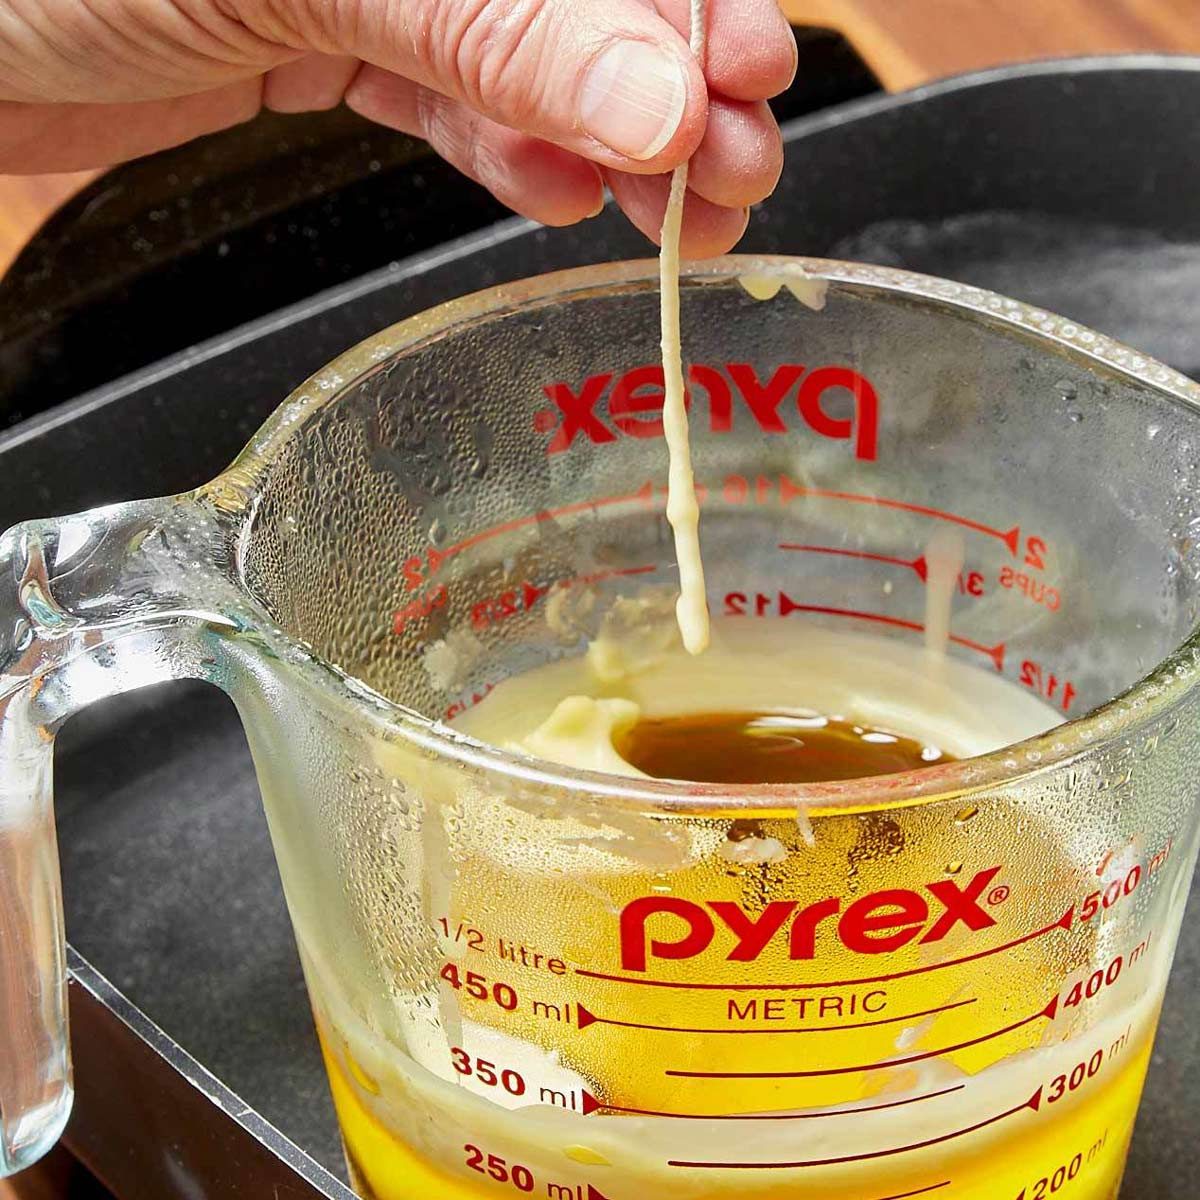
We used an electric frying pan filled with water that we brought to a boil. We placed the chunks of wax in glass measuring cups and let the handles hang outside the pan to keep them cool. Melt the beeswax slowly at the lowest heat that will keep the water boiling. Once the wax is melted, you’ll need to work fairly quickly. If you heat the melted wax for too long, it becomes discoloured.

If you don’t have an electric frying pan, you can create a double boiler with a medium-size saucepan and a smaller saucepan. Fill the medium saucepan halfway with water, then place the smaller pan on top.

Discover 20 hidden things in your home that may be a fire hazard.

Melt the wax

Melt the wax
FAMILY HANDYMAN

This step takes patience, but you will be rewarded by the lovely fragrance of beeswax as it melts. Take your time here and melt SLOWLY. The melting point of beeswax is between 62 and 64 degrees C. The flash point (when it can ignite) is 200 degrees C.

Replenish the water in the frying pan as it boils off, if needed. Use something disposable, like chopsticks, to stir the melting wax. You can burn yourself, so be careful. Don’t let kids or pets play around melting wax.

CAUTION: Melted beeswax is highly flammable

Dip the wicks for your DIY beeswax candles

Dip the wicks for your DIY beeswax candles
FAMILY HANDYMAN

Before you pour your first candle, spread newspapers or parchment paper on your work surface. Pick up a pre-cut length of wicking and dip one end into the melted wax. Let it cool for a few seconds and then dip the other end. Lay the waxed wicks on the paper to cool. If you don’t dip the wicks to make them stiff, they will float around when you pour the melted wax in the jar.

Wrap the wicks

Wrap the wicks
FAMILY HANDYMAN

Wrap one end of a waxed wick around a flat-sided pencil or chopstick, leaving the long end just long enough to touch the bottom of the glass yoghurt jar. Repeat for each jar.