Step 10: Carve the top of the leaf
Advertisement
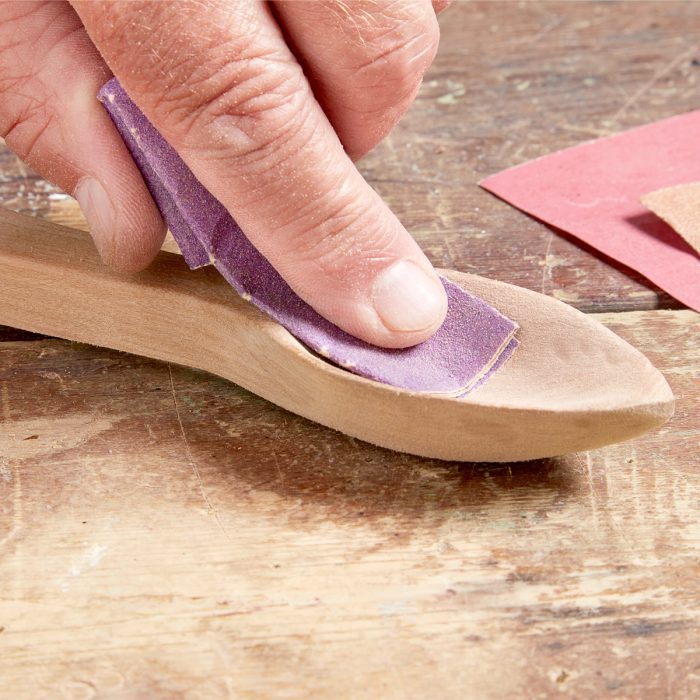
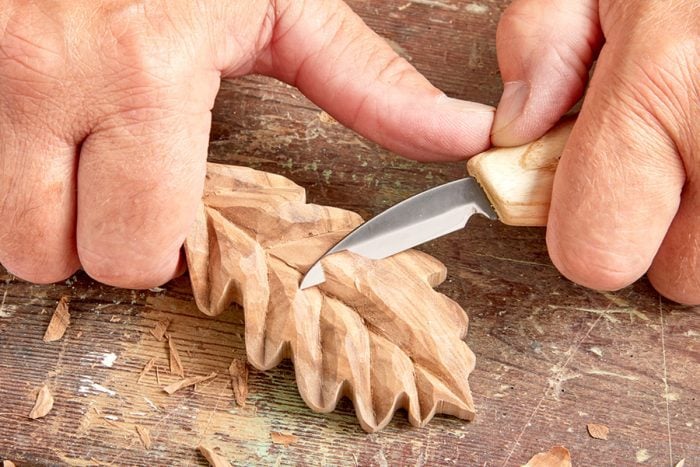
Step 11: Finish the bottom of the leaf

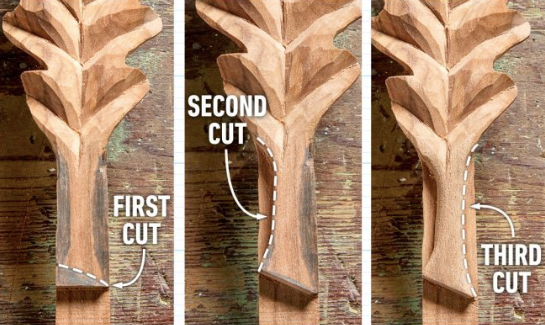
Step 12: Finish the stem