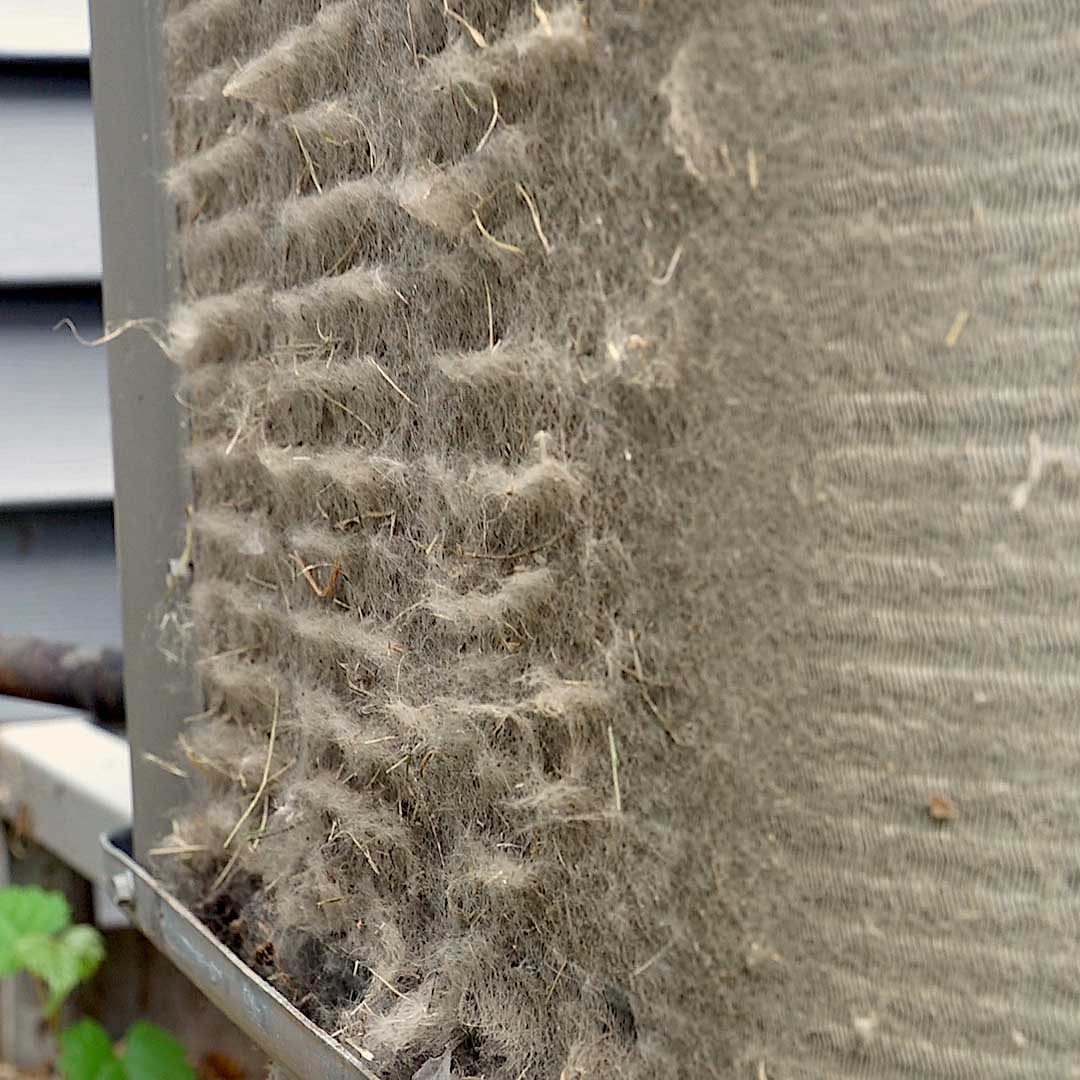
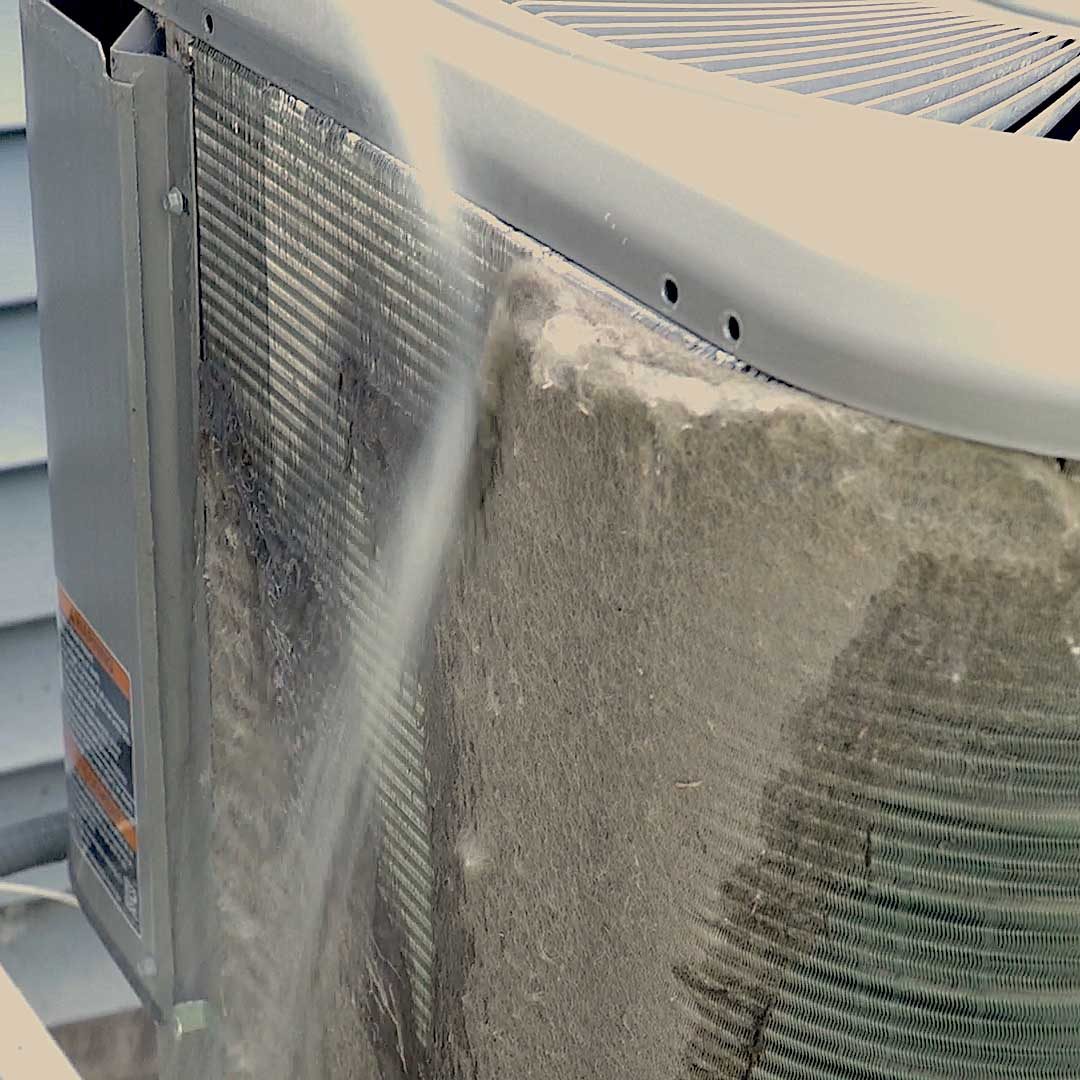
Condenser spring clean

Advertisement
Step 1: Cut the power

Step 2: Remove the screws