DIY Fireplace Shelves
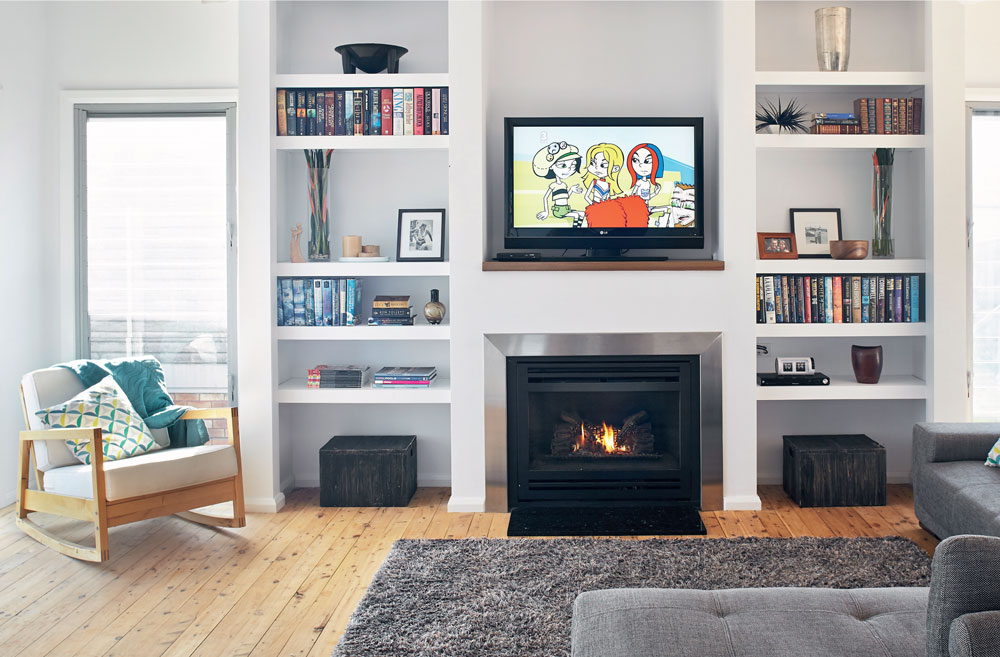
Whether you’re building an extension or doing a reno it pays to integrate display areas into the structure of rooms.
In this living area, four short stud walls were built to create two 2760 x 995 x 400mm alcoves either side of a central fireplace column.
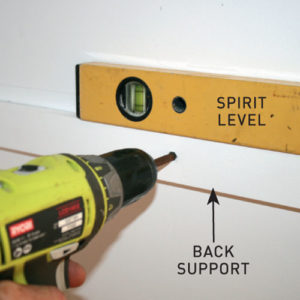
There was no complicated joinery involved, as the fascia, side and back supports were simply secured with screws to the stud framework then the shelves glued and nailed in position.
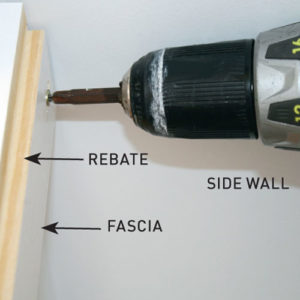
To create a smooth, sleek look, the leading edge of the shelves was recessed into a rebate in the back edge of the fascia support. The 16 x 8mm rebate was cut using a router with a 10mm straight cutting bit.
Five shelves were installed on either side, spaced 320mm apart starting 600mm above the floor. Extra 600mm spacings were provided above the third and fifth shelves.
Cut the components
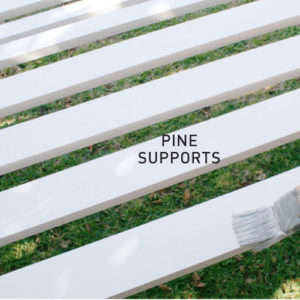
Use a circular saw and straightedge guide to cut the shelves from 16mm MDF or have the supplier cut them to size. The side and back supports, and the wider fascias are cut from primed finger-jointed (FJ) pine.
Start by measuring the height, width and depth between the floor, ceiling and walls then decide how many shelves are needed.
Space the shelving to fit the books and items to be showcased.
TIP Standard hardcover books are about 240mm high while taller albums are about 320mm high.
Fasteners
The fascia, side and back supports for the shelving were secured to the stud framework with 50mm x 8g timber screws.
Attach the 10 MDF shelf panels to the pine supports from above using PVA adhesive and 40 x 1.6mm panel pins.
Install the shelves