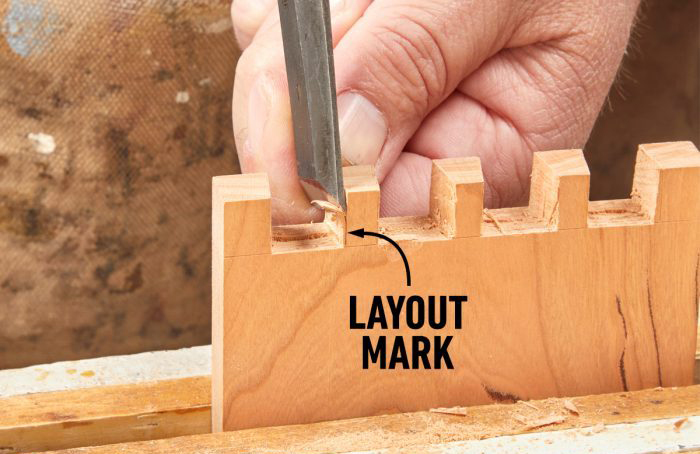
Step 9: Transfer tails to pin board

Advertisement
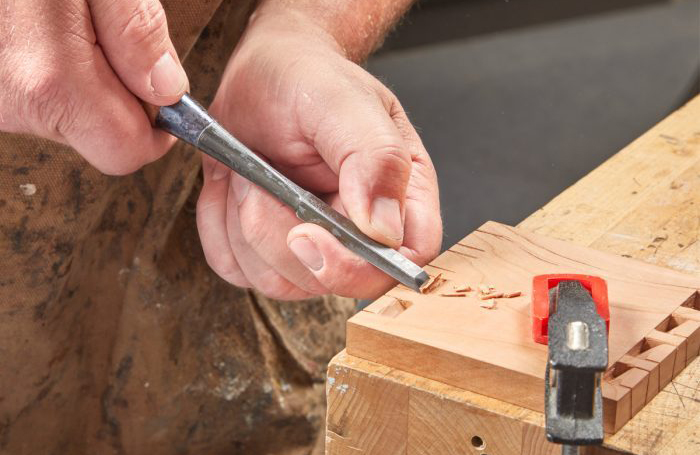
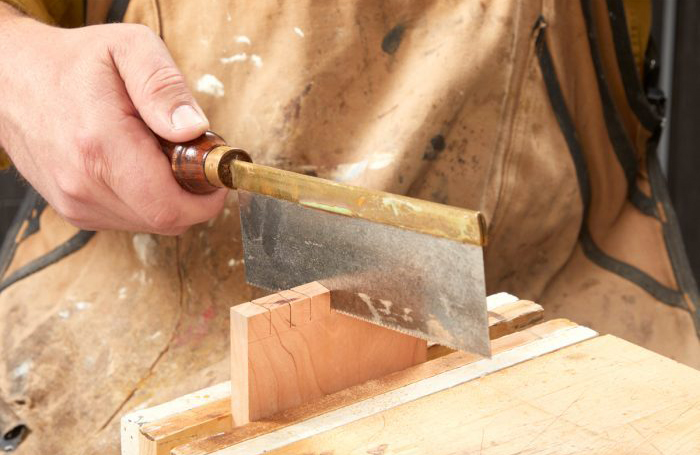
Step 10: Cut to the lines
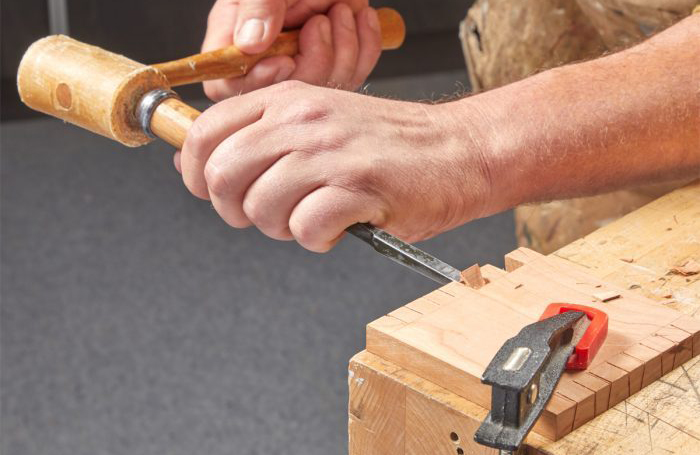
Step 11: Chop out first side