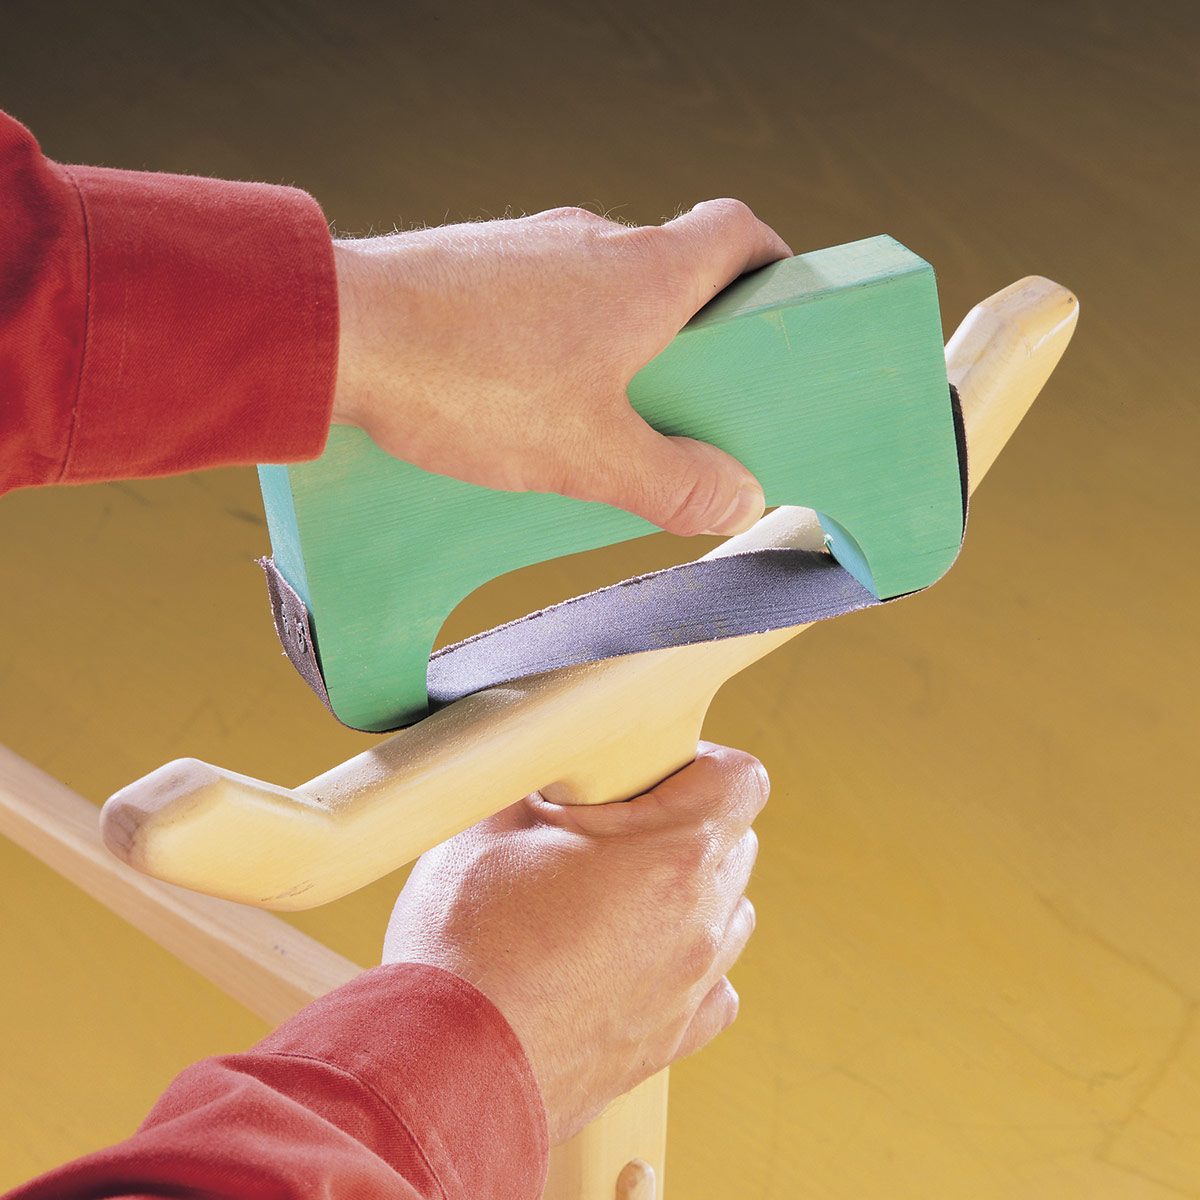
Low-tech edge sander
Advertisement
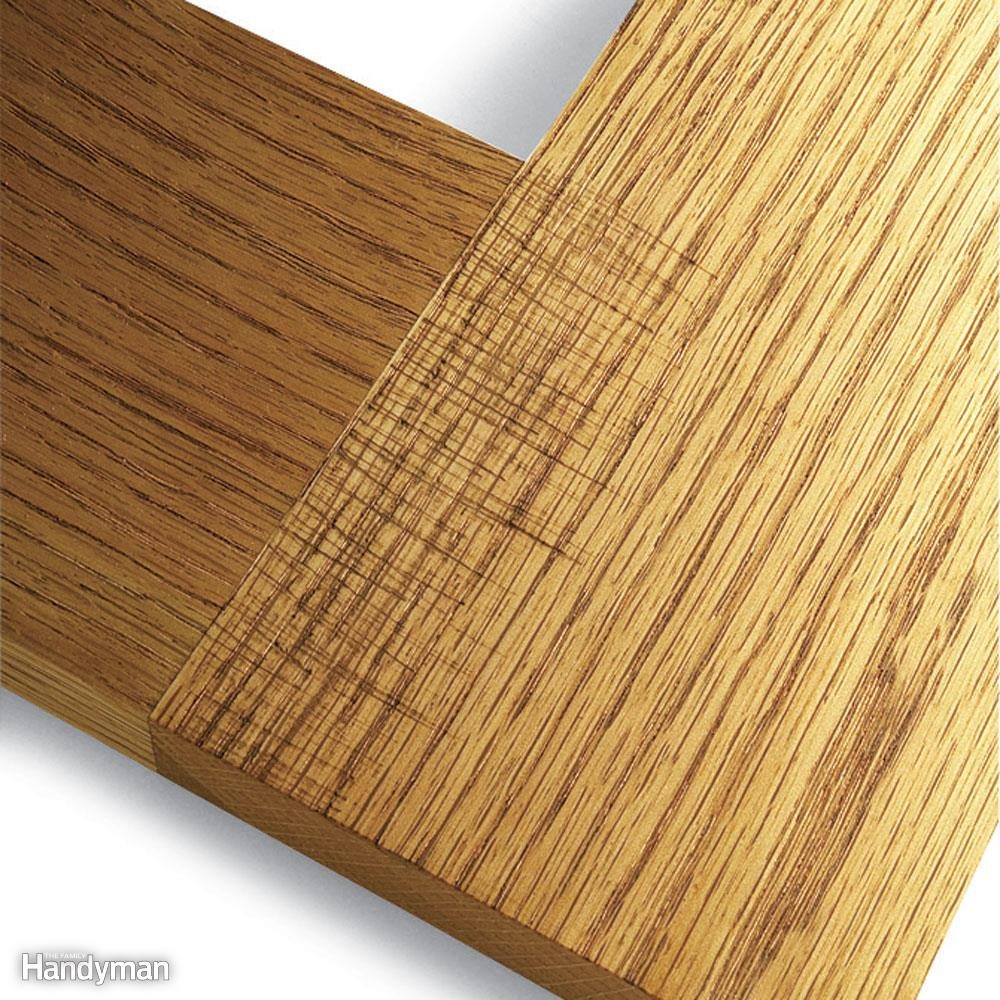
Thick-skinned sandpaper

Sponge grit label