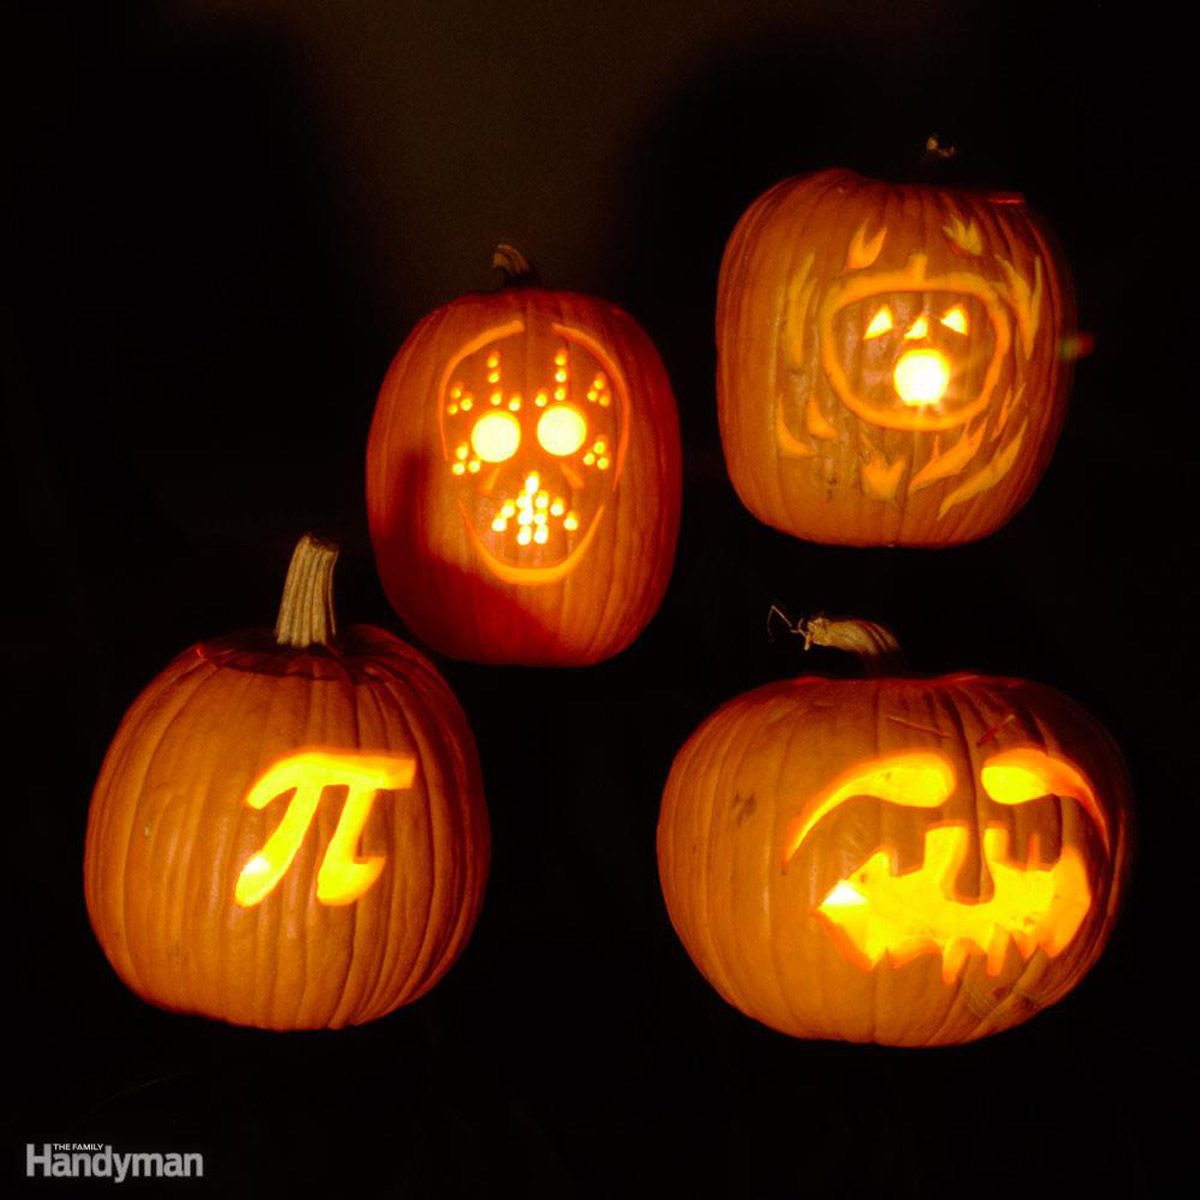
Create amazing jack-o-lanterns
Advertisement
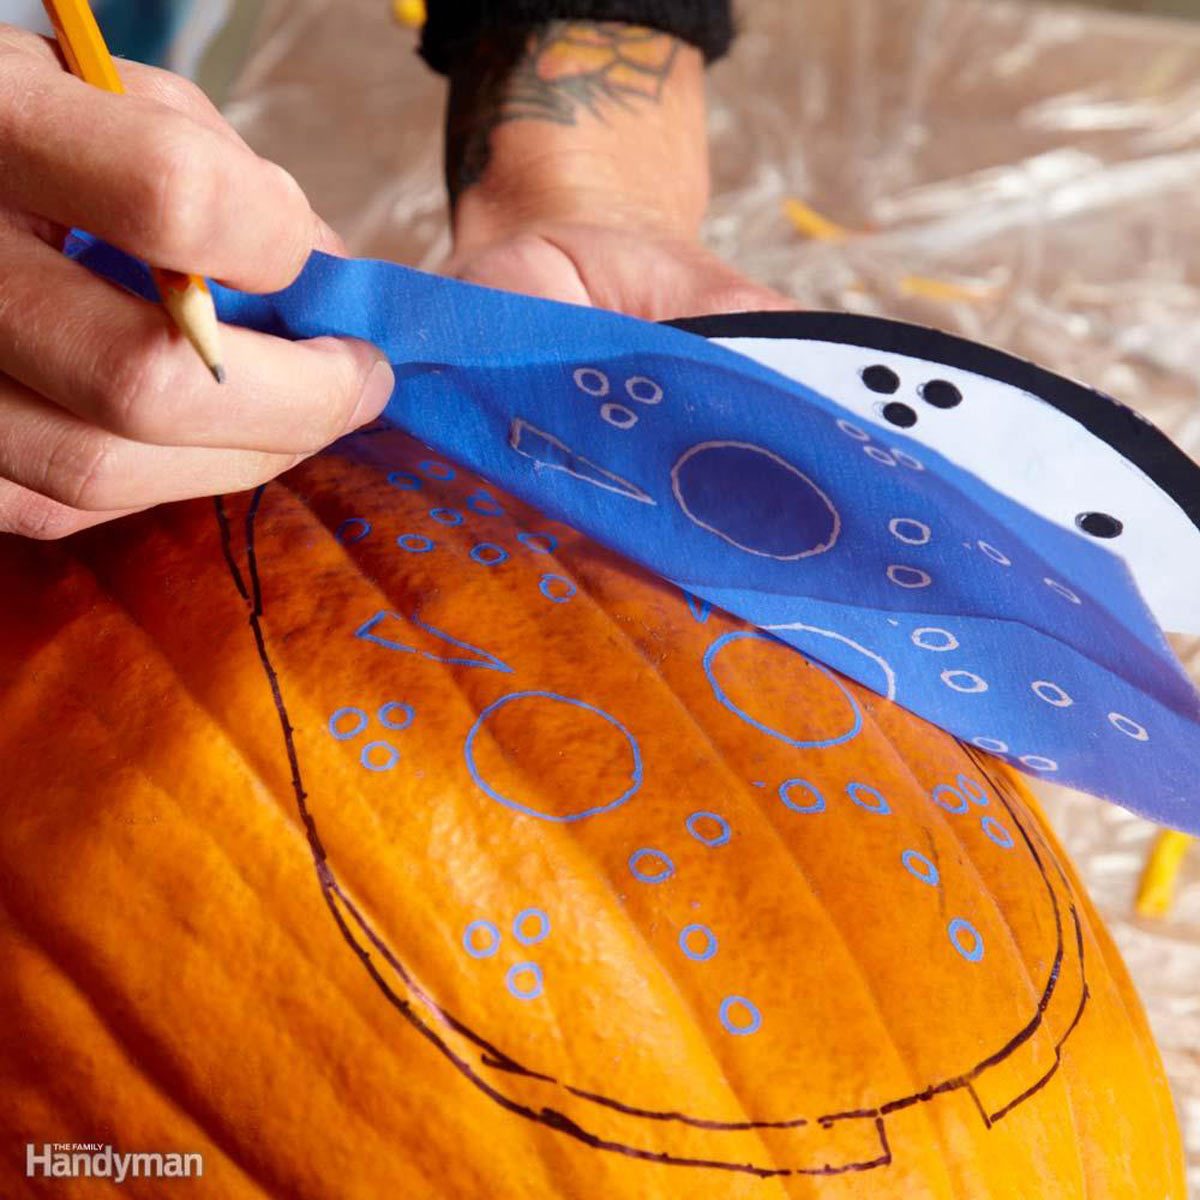
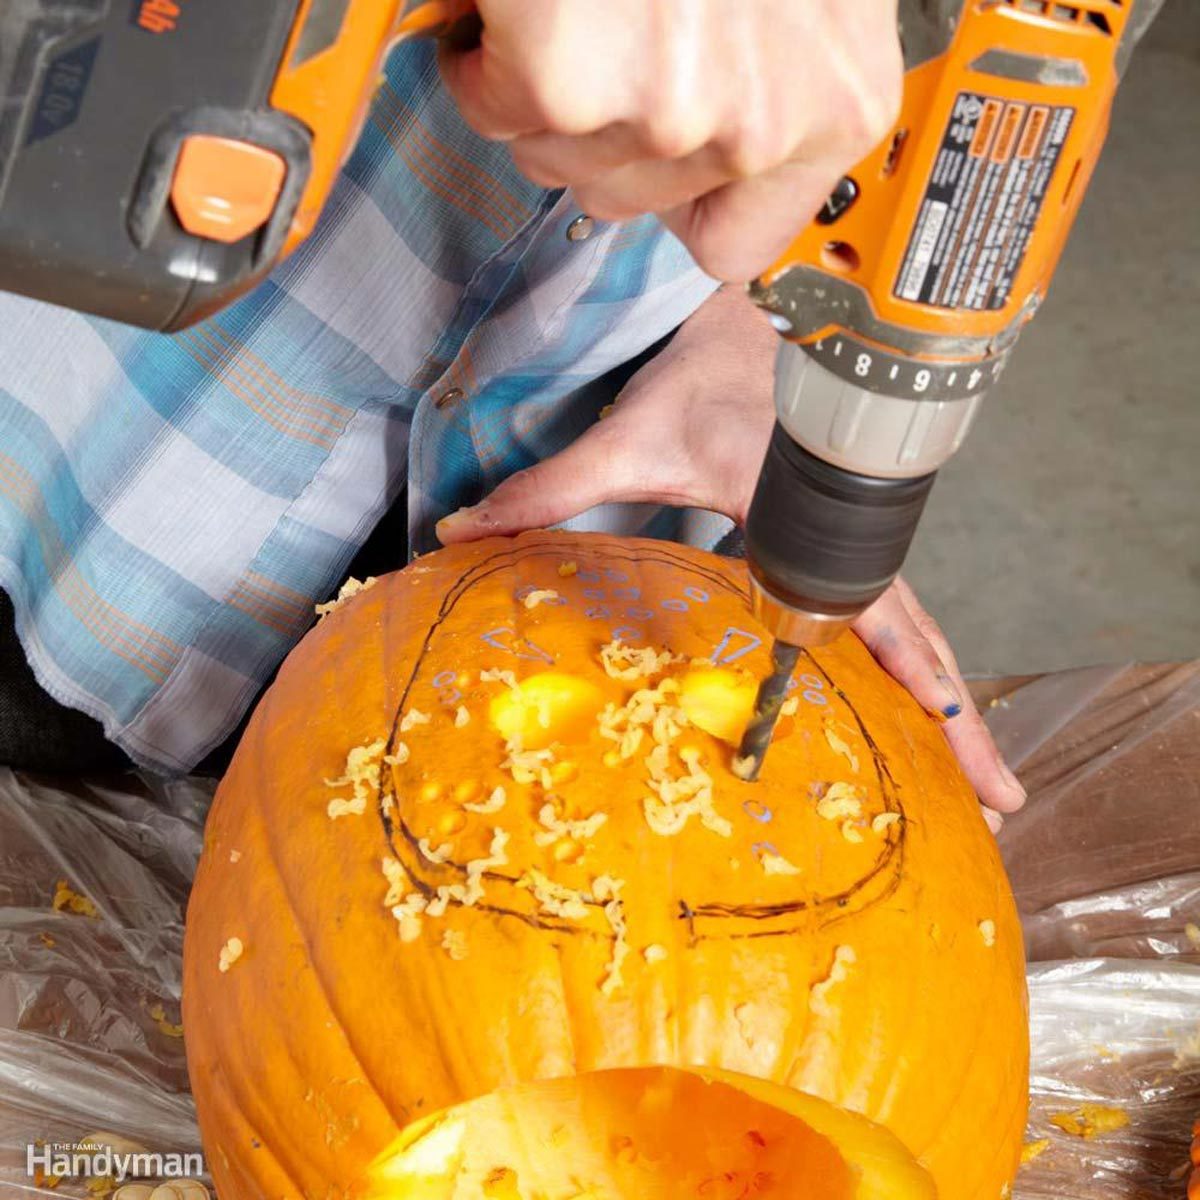
Start with a pattern or draw your own
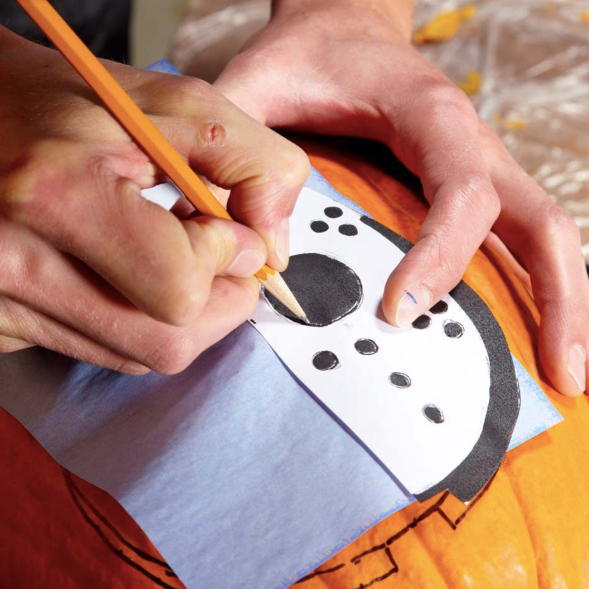
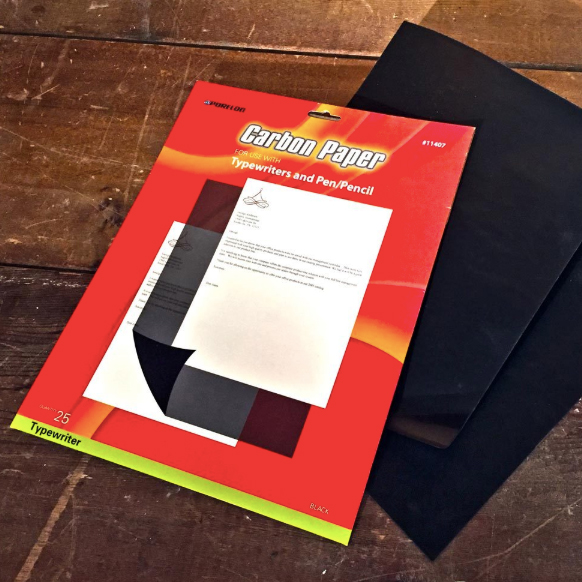
Tracing paper makes it easy