Bathroom renovation guide

Bathroom renovation guide
Getty Images

It’s usually one of the smallest rooms in the home, but a bathroom renovation can be a big deal, as well as costly.

First decide if a complete overhaul is needed, or if a refresh and repaint would suffice. There are many great products on the market to paint tiles and enamel, which can serve as a good interim solution if the budget is tight.

Improvements such as re-grouting tiles, deep-cleaning and replacing fixtures can give a tired bathroom a facelift, but if it’s time for a full reno, plan ahead with this eight-point guide.

Advertisement

Draw up plans

Draw up plans
Getty Images

Ensure you take the time to research what is achievable and what kind of bathroom is going to work best for you.

The internet is a great source of inspiration, and most of the big bathroom suppliers have online galleries and catalogues.

Draw up initial plans, as this helps you get your ideas onto paper. It also makes it easier for the tradies and contractors to submit detailed cost proposals and avoids confusion on site when it comes to executing the works.

Be sure to follow these 10 bathroom design rules.

You can pay to have plans drawn up or try an app such as SketchUp, which is designed to make the planning process easy.

If structural work is involved, you’ll need a licensed builder or architect to draw up plans.

Work out costs

Work out costs
Getty Images

Now you know what you want, you need to shop around and work out how much it’s going to cost.

The costs fall into two groups. One is fixtures, fittings and materials, and the other is tradies and contractors.

Don’t underestimate the time you will need to choose all the elements – tile selection alone can take the best part of a weekend.

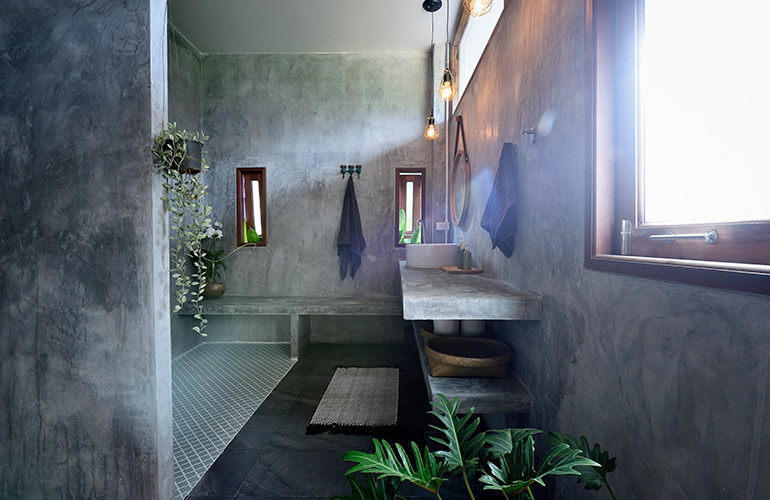
Here are 6 ideas on how to create a luxury bathroom for less. 

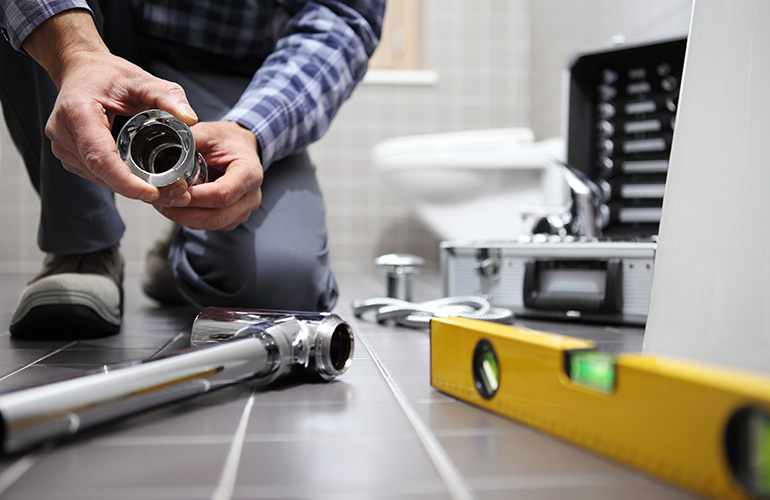
Call the tradies you’re going to need and obtain initial quotes.

A plumber, electrician and waterproofer are essential, and depending on what you plan to DIY, you may need to factor in a tiler, plasterer, builder and painter.

Set a schedule

Set a schedule
Shutterstock

The order of the works, supplies and deliveries needs to be properly arranged to keep costs under control. This will also prevent expensive mistakes and ensure the project is completed within the timeline. The easiest way to draw up a comprehensive schedule is by using a computer spreadsheet.

Get firm dates from your tradies and suppliers about timeframes. You could consider getting them to sign contracts to guarantee the works will be completed within these dates.

DIY or tradie? Work out what you can do yourself to save costs. 

Remove the bathroom

Remove the bathroom
Shutterstock

After all the services have been properly disconnected, demolishing the old bathroom is something you can DIY to save money.

Hire a skip for the waste and make arrangements for alternative bathroom use. You should have an idea of the time the reno will take from your schedule, but in general terms, allow at least two weeks.

If your home was built pre-1984, there is a high likelihood of there being asbestos in bathroom walls. This is especially dangerous because it can be waterlogged and decayed. It is essential asbestos is removed by a licenced specialist.

Don’t miss our ultimate guide to domestic demolition.

Certify the waterproofing

Certify the waterproofing
Shutterstock

The most common reason for a bathroom failing to meet Australian building standards is because of the waterproofing.

There can be many reasons that waterproofing fails, such as poor workmanship, not enough coats, an inferior product and not extending far enough into the wet area.

If there is a problem with the waterproofing, it can undermine the whole renovation. Always use an expert who is a member of an industry body, with a proven record of accredited work. This could be your tiler, plasterer or builder.

All waterproofing should be completed to the Australian Standard 3740-2010 Waterproofing of Domestic Wet Areas.

Learn how to design a small bathroom to maximise the space.

Plan the tiling

Plan the tiling
Shutterstock

Buy a selection of sample tiles and lay them out on the floor to see how they look.

Many tiles are sold in European sizes, and this can often include a grout joint, so you’ll need to factor this in when calculating the quantity and finalising the layout.

A good tiler will set up a job beforehand, and decide where cuts should go to avoid small cuts, or will allocate them to inconspicuous areas.

They’ll also work out details such as tiles lining up with vanity features.

If tiles are to go to ceiling height, the wall substrate has to be fixed off according to Australian standards.

Think beyond white when planning your bathroom tiles with these ideas.

Install the bathroom

Install the bathroom
Getty Images

After the tiling has cured, it’s time for the cabinets and new fixtures to be installed.

The plumbing and electrical elements, such as the bath, toilet, shower, sink and lights need to be fitted by licenced tradies, then tested. If replacing the toilet, be aware that not all suites will be compatible with the current outlet. Ask your plumber before choosing a new model. New doors and windows are next, including the shower screen.

If there are unavoidable delays, such as a sick contractor or delayed delivery, communicate it down the line as quickly as possible.

Discover 30 secrets your plumber won’t tell you.

Prep and paint

Prep and paint
ISTOCK

Choose a water-based, semi-gloss paint that is mould and mildew resistant to stand up to the wet and steamy conditions in the bathroom.

Cover the fittings and surfaces and apply painter’s tape where necessary. Cut into the edges and apply two coats. For the ceiling, use a long-handled roller.

Learn the painting tips professional painters don’t want you to know.

Sign up here to have Handyman’s favourite stories delivered straight to your inbox.