Brilliant bar clamp cover

Brilliant bar clamp cover
FAMILY HANDYMAN

Iron pipe clamps can easily mar softer woods or react with the glue to stain the wood. My solution is to cut a section of plastic PVC pipe to size and place it around the pipe. If you have several short lengths, you can space them strategically to accommodate different widths of stock wood.

Advertisement

Overhead spring clamp storage

Overhead spring clamp storage
FAMILY HANDYMAN

If you have a shop in the garage, try this tip. Clip all of your spring clamps on the top garage door brace. The clamps are always right at hand whether you’re working with the door shut or al fresco.

Foam stabilisers
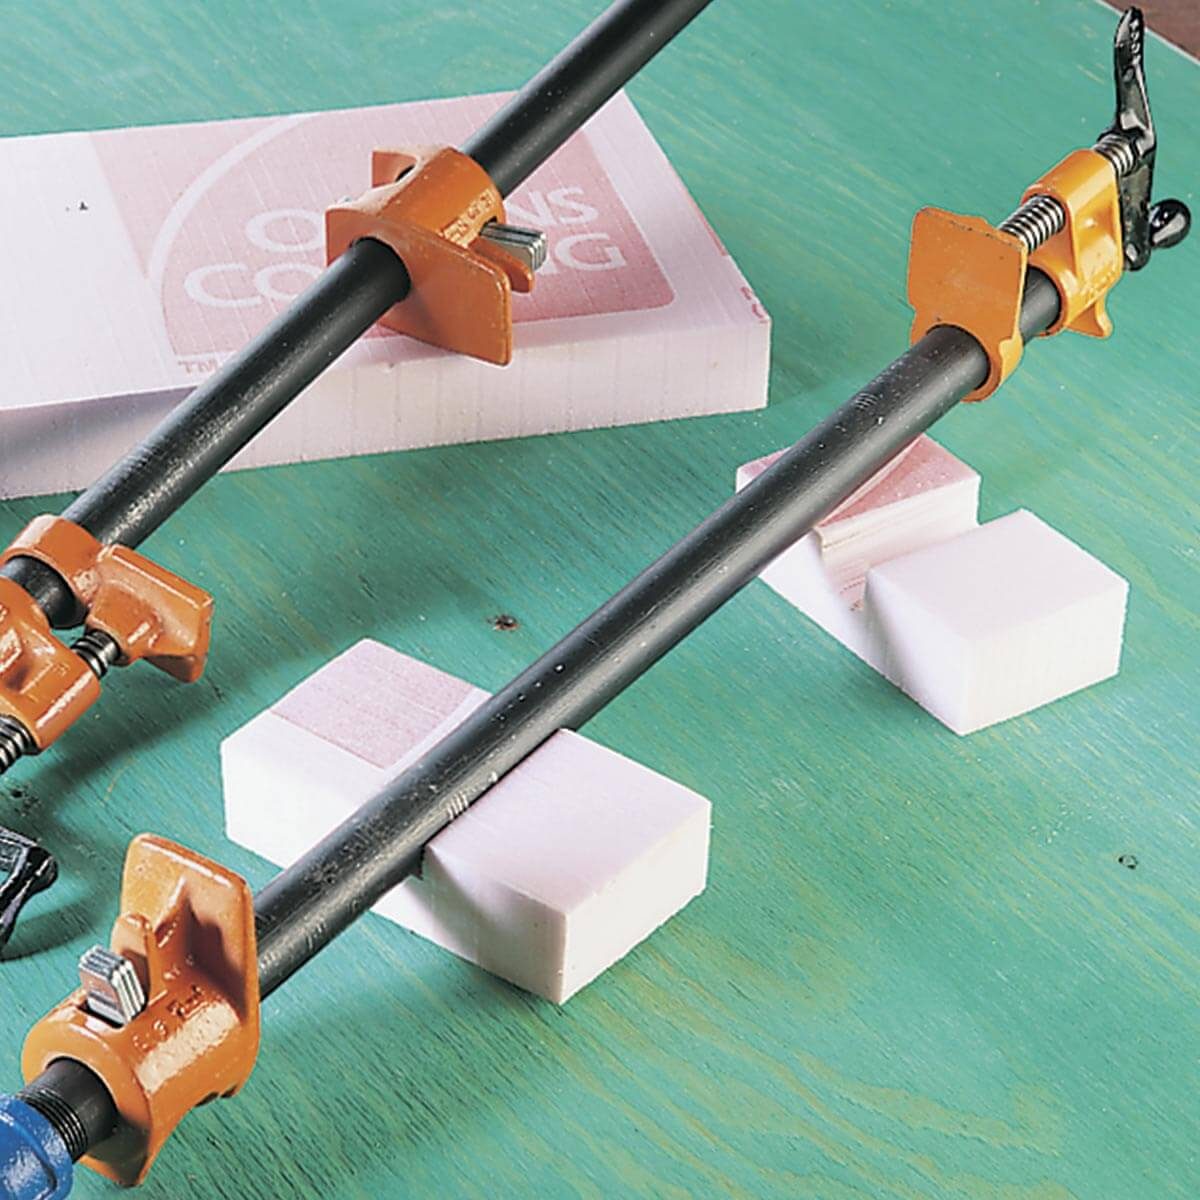
Foam stabilisers
FAMILY HANDYMAN

Do your pipe and bar clamps flop over during adhesive jobs – and cause you to come unglued along with the boards? Make supports for your clamps from 38mm thick rigid foam insulation. Use a utility knife or saw to cut friction-fit slots for the pipes or bars. Now the clamps – and you – will remain stable during adhesive jobs.

Learn how to glue wood.

Screw clamps work like a charm

Screw clamps work like a charm
FAMILY HANDYMAN

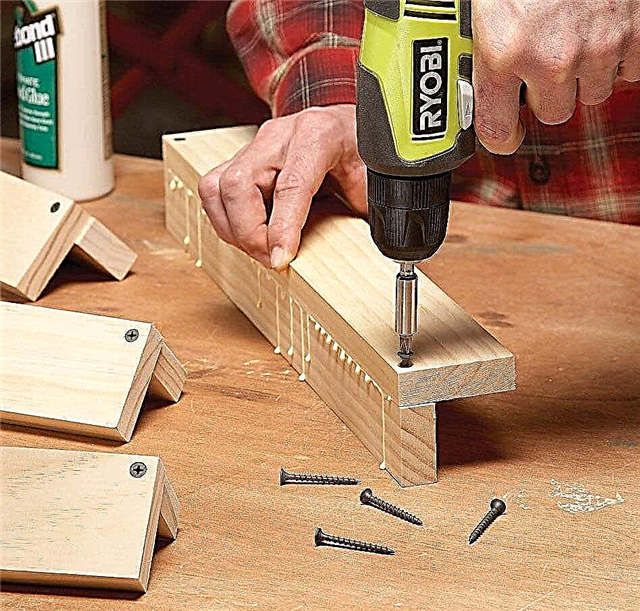
You don’t always need clamps. Cut your workpiece a little long, fit the parts, then drill holes near the ends. Glue up the pieces and screw them together; they’ll line up perfectly. Add clamps in the middle if no glue is squeezing out there. Then just cut off the ends when the glue dries.

Home-made mitre clamps

Home-made mitre clamps
FAMILY HANDYMAN

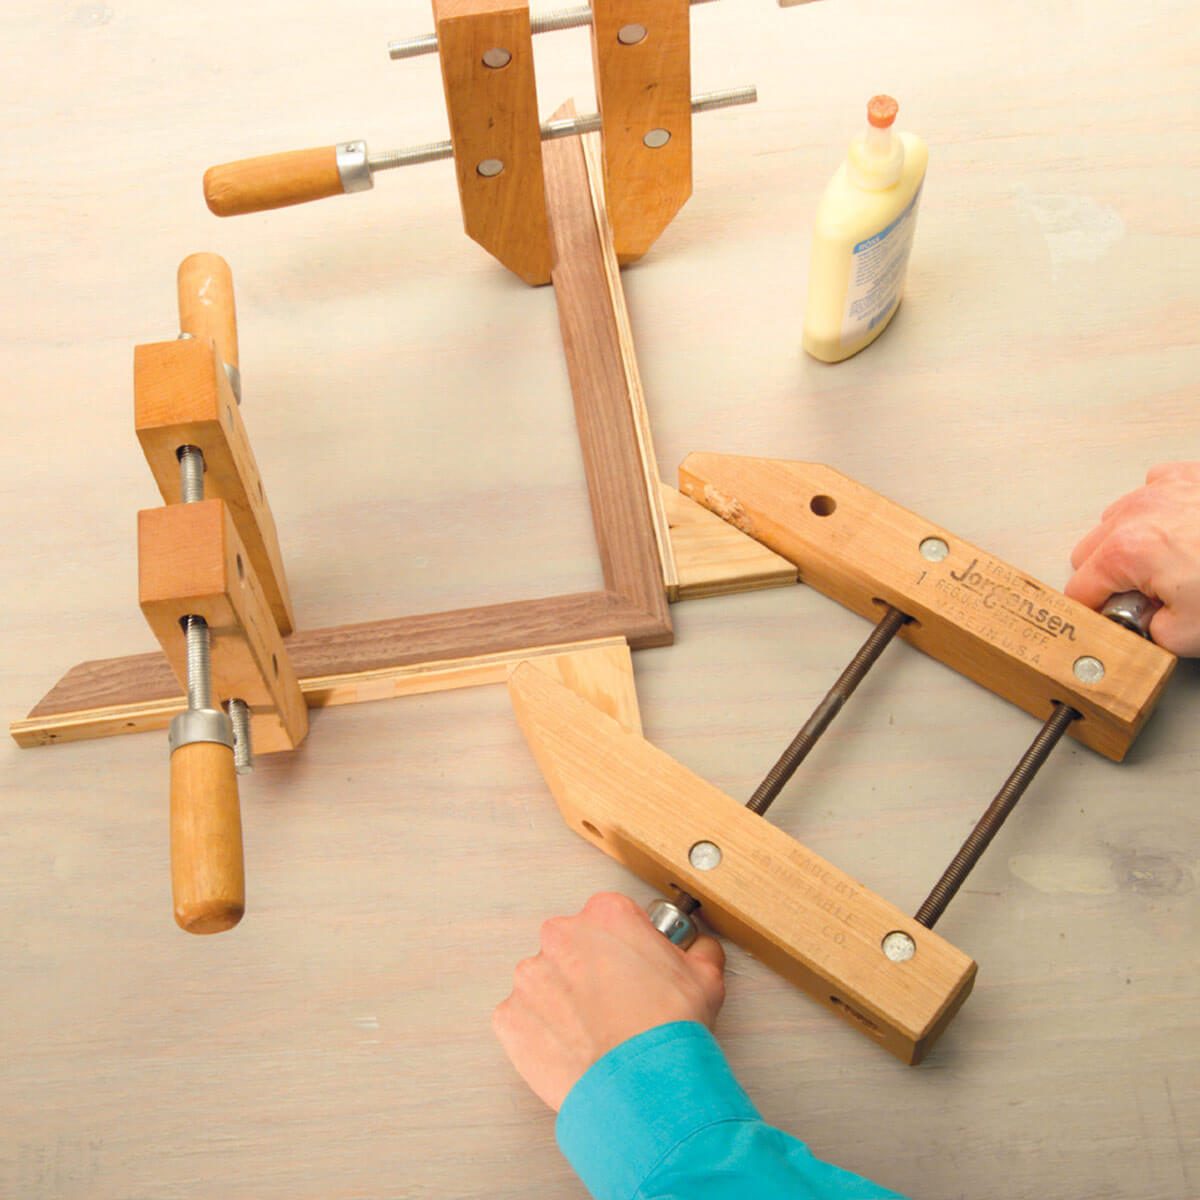
Don’t spend money on store-bought mitre clamps—make your own! Cut a couple of 200mm x 20mm x 3mm strips of hardwood and screw a couple 50mm x 50mm plywood triangles on the ends. Place the mitred pieces on a flat surface and attach your home-made clamps to the outside edge of each, aligning the long side of the triangle parallel with the mitre joint. Apply glue to the joint faces and clamp the joint. Hand screws work best because they grip tighter and won’t scratch the workpieces.

On-board hold-down

On-board hold-down
FAMILY HANDYMAN

This easy-to-build hold-down clamp adds great clamping versatility to any workbench and is quick to install.

Edge-gluing made easy

Edge-gluing made easy
FAMILY HANDYMAN

For about $30, you can fortify your bar clamp arsenal with these mighty tools. These clamps apply pressure horizontally as well as vertically, so the joint edges are wedged tightly together and stay level.

How to un-clamp with a clamp

How to un-clamp with a clamp
FAMILY HANDYMAN

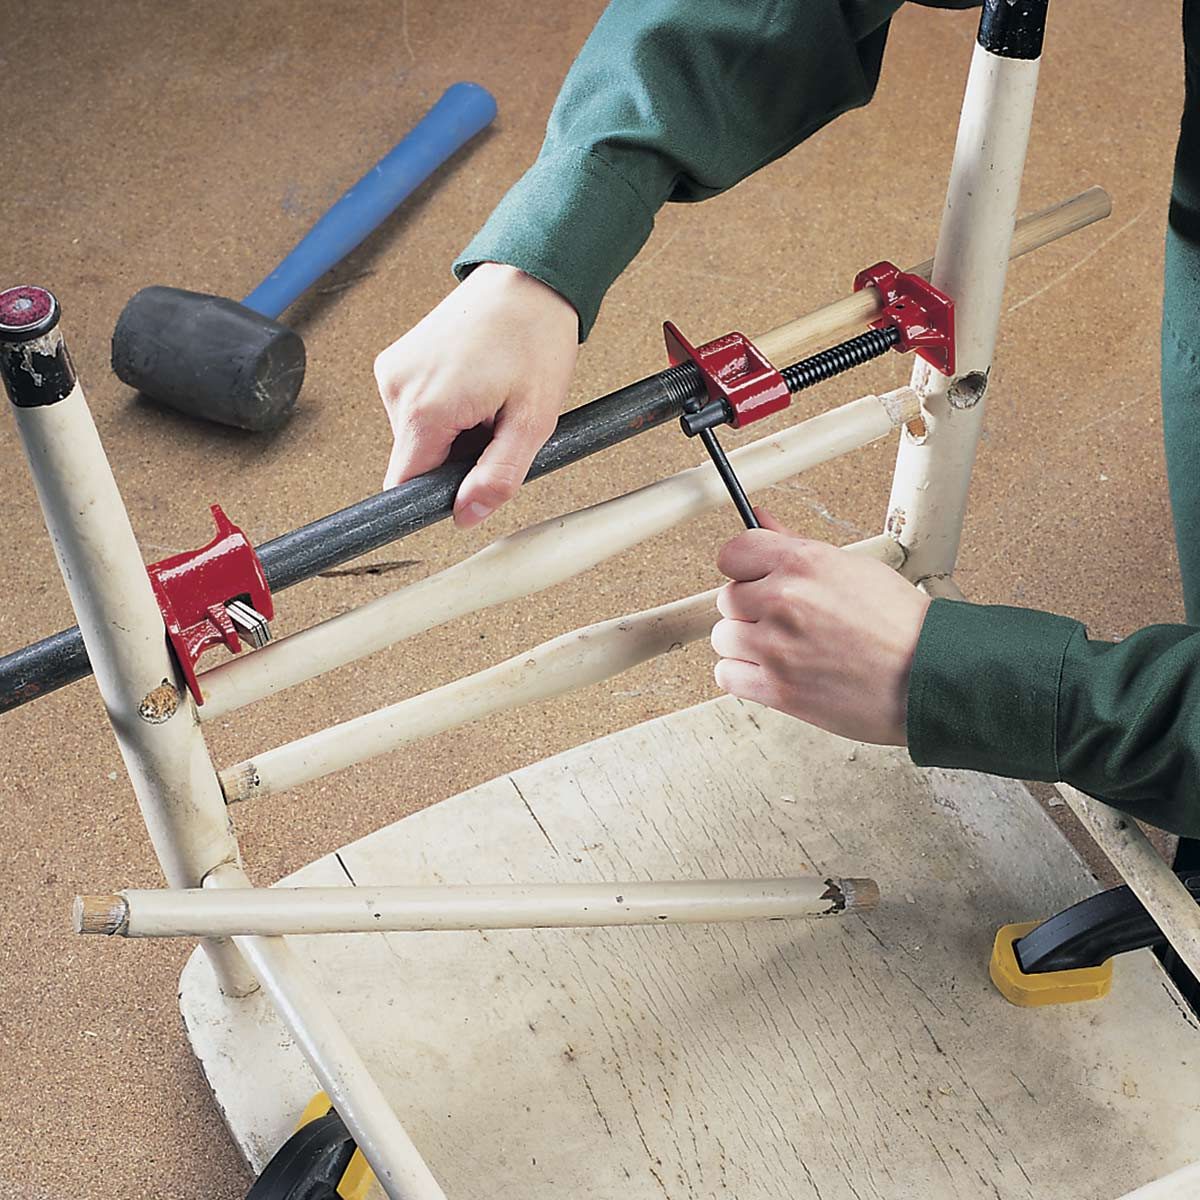
Convert a pipe clamp – the type with a sliding crank handle – into a handy aid for disassembling old furniture. Unscrew the fixed jaw that has the crank and screw it on backward – so the jaw faces away from the pipe. Now reverse the direction of the sliding jaw and use the clamp to gently break apart the joints you’ll be repairing. When the handle hits the pipe, just slide it to its opposite end and give it another half crank.

Low-profile bench vice

Low-profile bench vice
FAMILY HANDYMAN

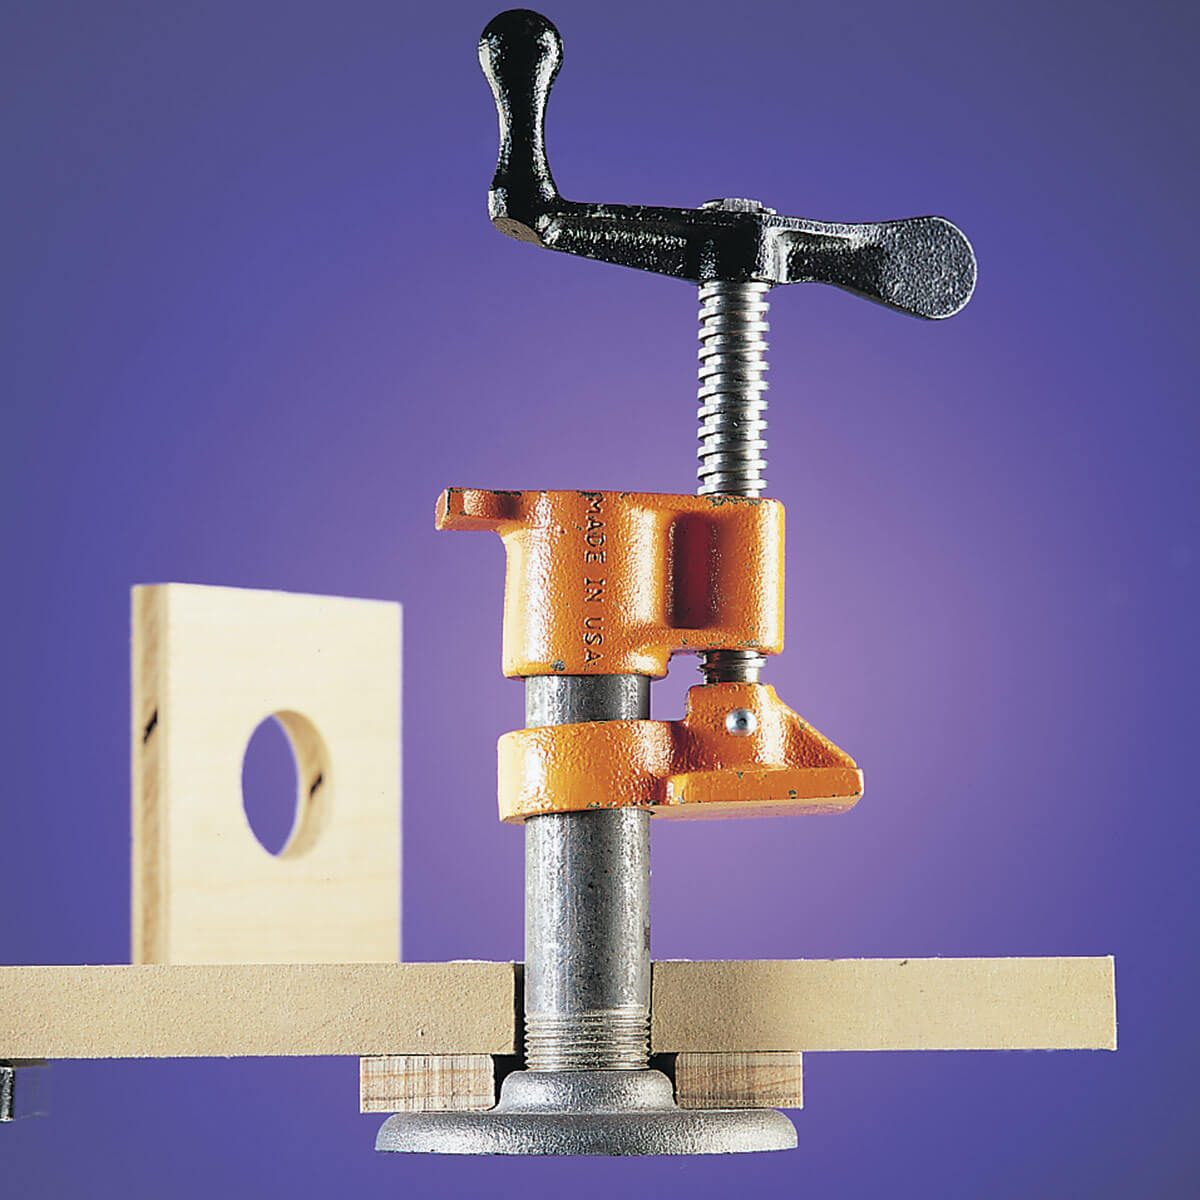
Increase your workshop’s vice-atility with 12mm pipe clamps screwed to one end of your workbench. It works like a third hand for all kinds of jobs and only takes a half hour to install.

Irregular object? No problem

Irregular object? No problem
FAMILY HANDYMAN

Here’s a cushy way to make glue repairs on small or delicate objects without having to hold them together by hand until the glue dries. Flatten out a ball of Play-Doh modeling compound, then apply glue to the edges of the object you’re repairing and press the pieces into the clay. The clay will hold the pieces together while the glue dries, and then you can peel it right off.

Sign up here to have Handyman’s favourite stories straight to your inbox.

Source: Family Handyman