Separate your timber

Separate your timber
FAMILY HANDYMAN

When you unload timber at a job site, set the studs, top plates and bottom plates in different piles. That way, every time you start a new wall section, you won’t have to move 20 studs to grab the top plate buried at the bottom of the pile. Also, moving timber from one side of the room to the other is not an efficient use of time, so make sure your pile is located in a close but out-of-the-way location.

Advertisement

Pull those nails

Pull those nails
FAMILY HANDYMAN

A good rule of thumb: “Never let a chunk of timber leave your hand until you’ve dealt with the nails.” If you’re going to reuse timber from a demo job, make sure you pull the nails right away. If you aren’t going to reuse the wood, just bend the nails over. Stepping on a nail is a bad way to remember that it’s been 10 years since your last tetanus shot.

Learn more tool safety for DIYers.

Faster concrete fastening

Faster concrete fastening
FAMILY HANDYMAN

A concrete screw installation tool allows you to use one tool without having to switch between a masonry bit and a screw-driving bit. Just drill the hole and slip the driver shaft over the masonry bit and then sink the screw. If you have a bunch of concrete fasteners to install, it’s definitely worth the money.

Learn more about the best ways of connecting to concrete.

Make big pieces

Make big pieces
FAMILY HANDYMAN

Tearing out plasterboard can be frustrating because it always seems to crumble into little pieces, and it takes a long time to demo a wall one handful at time. Take a little extra time to find the seams between the sheets, and cut them open with a utility knife. Then bust out a couple of holes for your hands to fit through. Instead of pulling super-hard right away, tug and wiggle the plasterboard away from the studs until the screw heads break through.

How to hang plasterboard: pro tips for cutting and installing.

Be a smarter packer

Be a smarter packer
FAMILY HANDYMAN

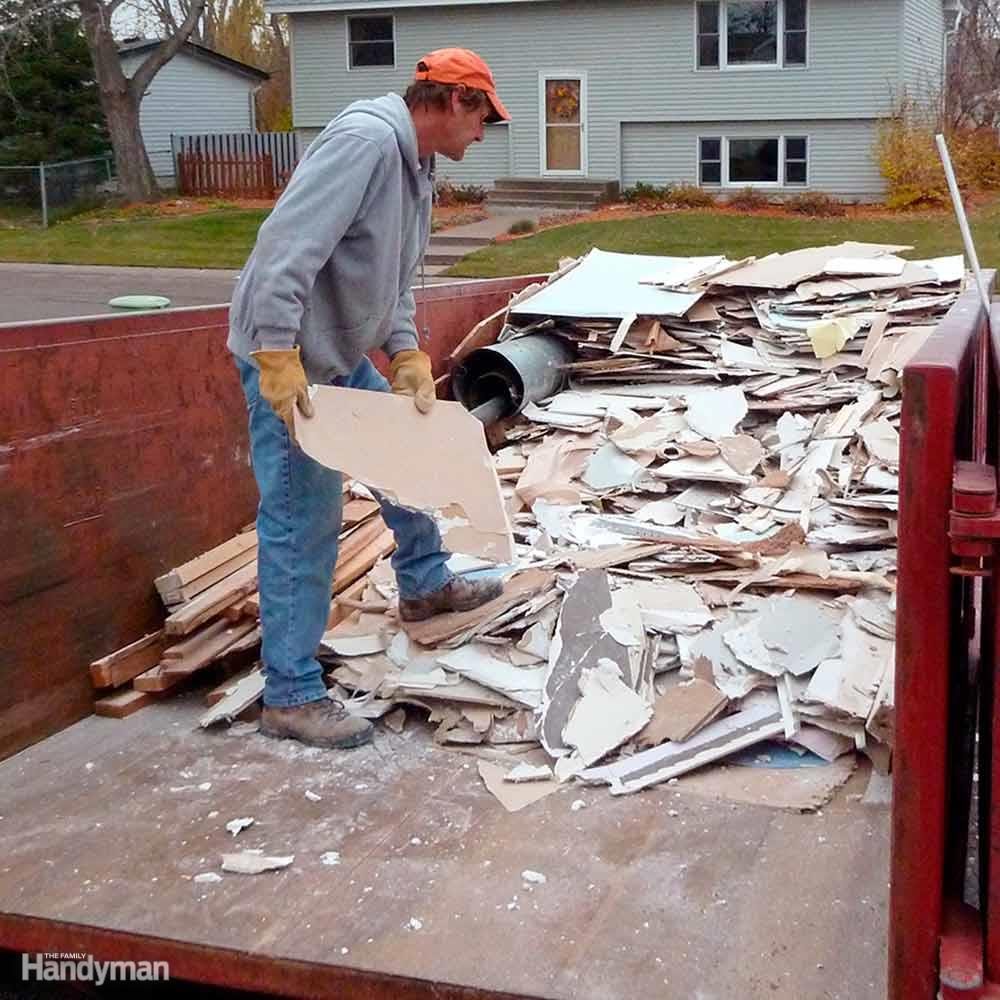
Renting a skip isn’t cheap, so take advantage of every square centimetre of it by strategically placing the debris in the container instead of tossing it in willy-nilly. Long boards should always run the length of the container. Set in large, hollow items like bathtubs or sinks open side up so you can fill them in instead of creating a void.

Use small pieces to fill in and around large ones. Think of the debris as puzzle pieces, each with its own proper spot. If your skip has a door, don’t park the bin so close to the house that you can’t open it. Walking in heavy items is a lot easier than lifting them over the side. Also, make sure you order the proper size. If you explain your project to the hire company, the staff should be able to suggest a skip size that’s right for your project.

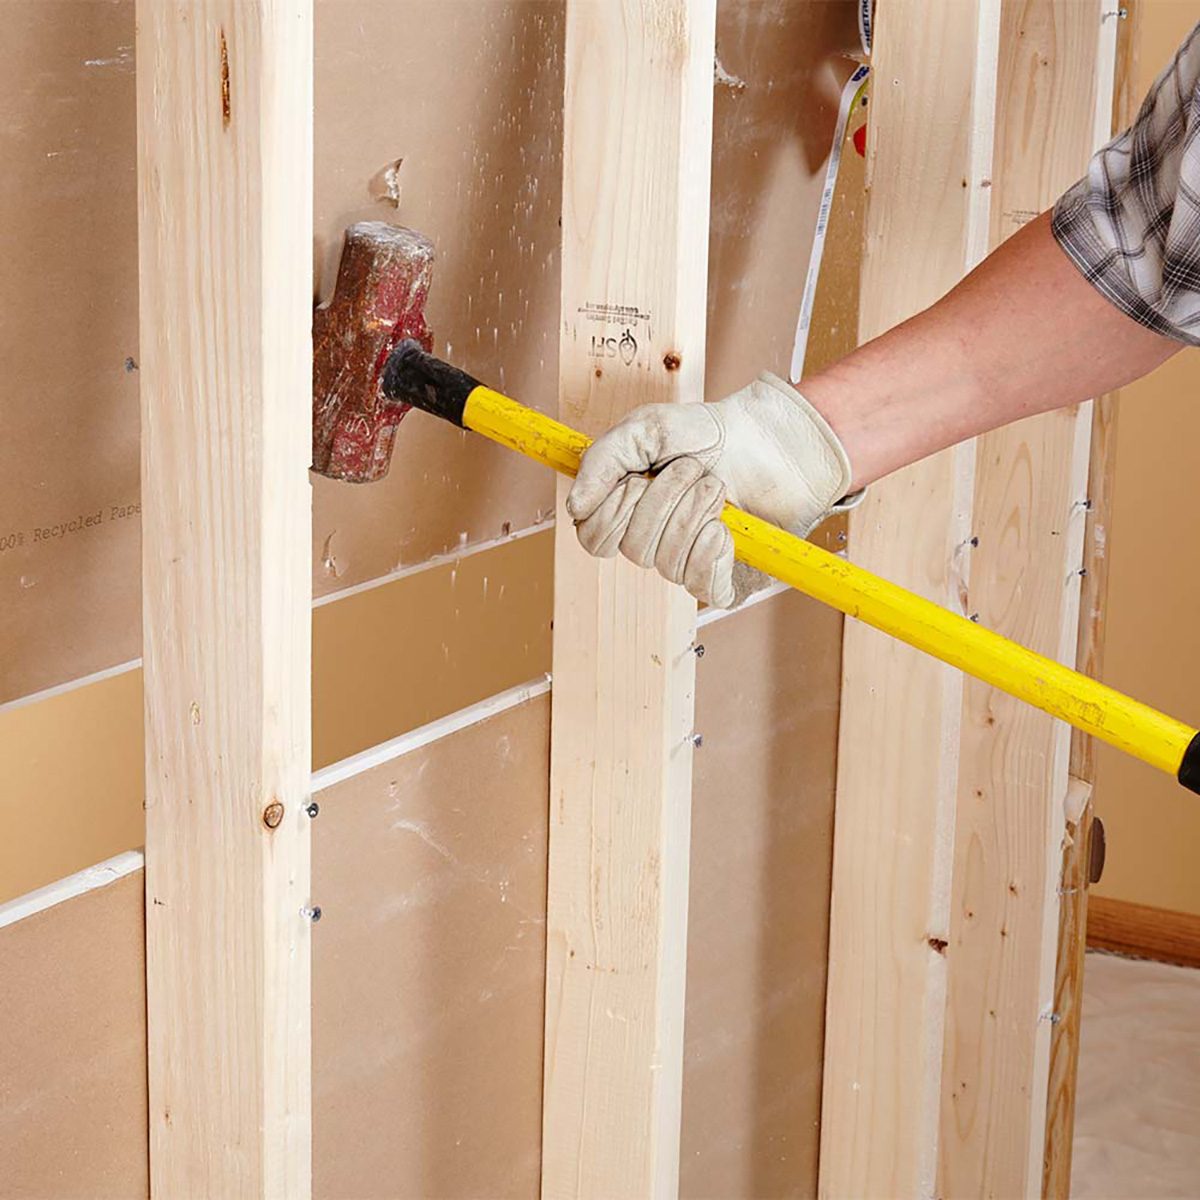
Here are more DIY demolition tips you need to know.

Make a plastic passage

Make a plastic passage
FAMILY HANDYMAN

Hanging sheets of plastic from the ceiling is a good way to isolate a room that’s being renovated. But instead of hanging one continuous sheet to keep the dust in, hang two and overlap them 120cm or so. That way you’ll have a handy door to walk through, which beats having to duck under the plastic every time you come and go. Lay a scrap piece of timber on the bottom of the plastic to keep it in place.

Knock it off from the back side

Knock it off from the back side

Who says you have to pull plasterboard from the wall? If the plasterboard on one side of a wall has already been removed, pound off the other side from the back with a sledgehammer. You should be able to remove several large chunks at a time if you keep the blows close to studs and don’t pound too hard.

Now, disocver 32 ways to save during a home renovation.

Sign up here to have Handyman’s favourite stories straight to your inbox. 

Source: Family Handyman