DIY concrete footpath tips

DIY concrete footpath tips
FAMILY HANDYMAN

A concrete footpath is a great addition to any home that can go a long way toward adding some kerb appeal. It’s also a great DIY project for beginners tackling their first concrete project.

If you do decide to add a walkway to your house, you’ll want it to be strong and crack-free to prevent future headaches. These 10 tips from concrete pros will help with everything from forming edges, levelling, smoothing, curing and other vital steps in creating a first-rate concrete pour.

You’ll also want to know the 12 most common mistakes when pouring concrete.

Advertisement

Overbuild your concrete forms

Overbuild your concrete forms
FAMILY HANDYMAN

Every builder who’s poured a concrete slab or walkway has a horror story about forms that bulged or even collapsed under the force of wet concrete. To avoid a horror story of your own, build strong forms. Use 38mm-thick boards (2x4s, 2x6s, etc.) except on curves. If you’re using 2x4s or 2x6s, place stakes no more than a metre apart.

If the forms extend below ground, pack soil against them. If they extend more than 150mm above ground, reduce the spacing between stakes and brace each one with a second stake and a diagonal “kicker.”

Find out how to repair cracked concrete.

Form concrete footpath curves with hardboard

Form concrete footpath curves with hardboard
FAMILY HANDYMAN

Fibre cement board siding is intended for exterior walls, but it’s also great stuff for forming curves because it’s flexible and cheap. A 300mm x 4.8mm plank won’t cost much, and you can cut it to any width you need.

Because it’s so flexible, hardboard needs extra reinforcement to prevent bulging against the force of the concrete. If the forms are below ground, place stakes no more than one metre apart and pack soil against them. For aboveground forms, space stakes 400mm apart. To form consistent, parallel sides for a curved footpath, build one side first. Then use a “gauge board” – a 1×4 with blocks screwed to it – to position the other side.

In wet weather, hardboard can swell and your perfect curves might become wavy. So if rain is forecast, be prepared to cover your hardboard forms.

Keep stakes below the concrete forms

Keep stakes below the concrete forms
FAMILY HANDYMAN

Stakes that project above forms create a hurdle for your screed board – and screeding concrete is hard enough without obstacles. So before you pour, take five minutes to cut off any protruding stakes. If the tops of your forms are near ground level, make sure your screed board won’t drag against the ground; you may have to skim off a little dirt to clear a path for the board.

Learn about connecting to concrete.

Put down a solid base for concrete

Put down a solid base for concrete
FAMILY HANDYMAN

A firm, well-drained base is the key to crack-free concrete. The best plan for a solid base usually includes compacted soil followed by several centimetres of a base material such as gravel. But the best base depends on climate and soil conditions. So talk to a local building inspector who’s familiar with conditions in your area.

Packing the soil with a rented plate compactor is always a good idea, but you may be able to skip the gravel altogether if you have sandy soil.

Plunge out the bubbles in the concrete

Plunge out the bubbles in the concrete
FAMILY HANDYMAN

When you pour concrete, air pockets get trapped against forms, leaving voids in vertical surfaces. That usually doesn’t matter on footpaths or driveways. But above ground, on cement steps, kerbs or walls, the results can look like Swiss cheese. To prevent that, just grab a 2×4 and “plunge” all along the forms. Then go all along the forms with a hammer, tapping the sides.

Avoid too much water in the concrete mix

Avoid too much water in the concrete mix
FAMILY HANDYMAN

When you have concrete delivered, the first words out of the driver’s mouth may be “Should I add some water?” Unless the concrete is too dry to flow down the chute, your answer should be no. The right amount of water is carefully measured at the plant. Extra water weakens the mix. More water makes it easier to work with right away, but will lead to a weaker slab.

If you’re mixing concrete yourself, do this test: Plow a groove in a mound of concrete with a shovel or hoe. The groove should be fairly smooth and hold its shape. If it’s rough and chunky, add a smidgen of water. If it caves in, add more dry concrete.

Learn more about how to properly mix concrete.

Don’t delay floating the concrete

Don’t delay floating the concrete
FAMILY HANDYMAN

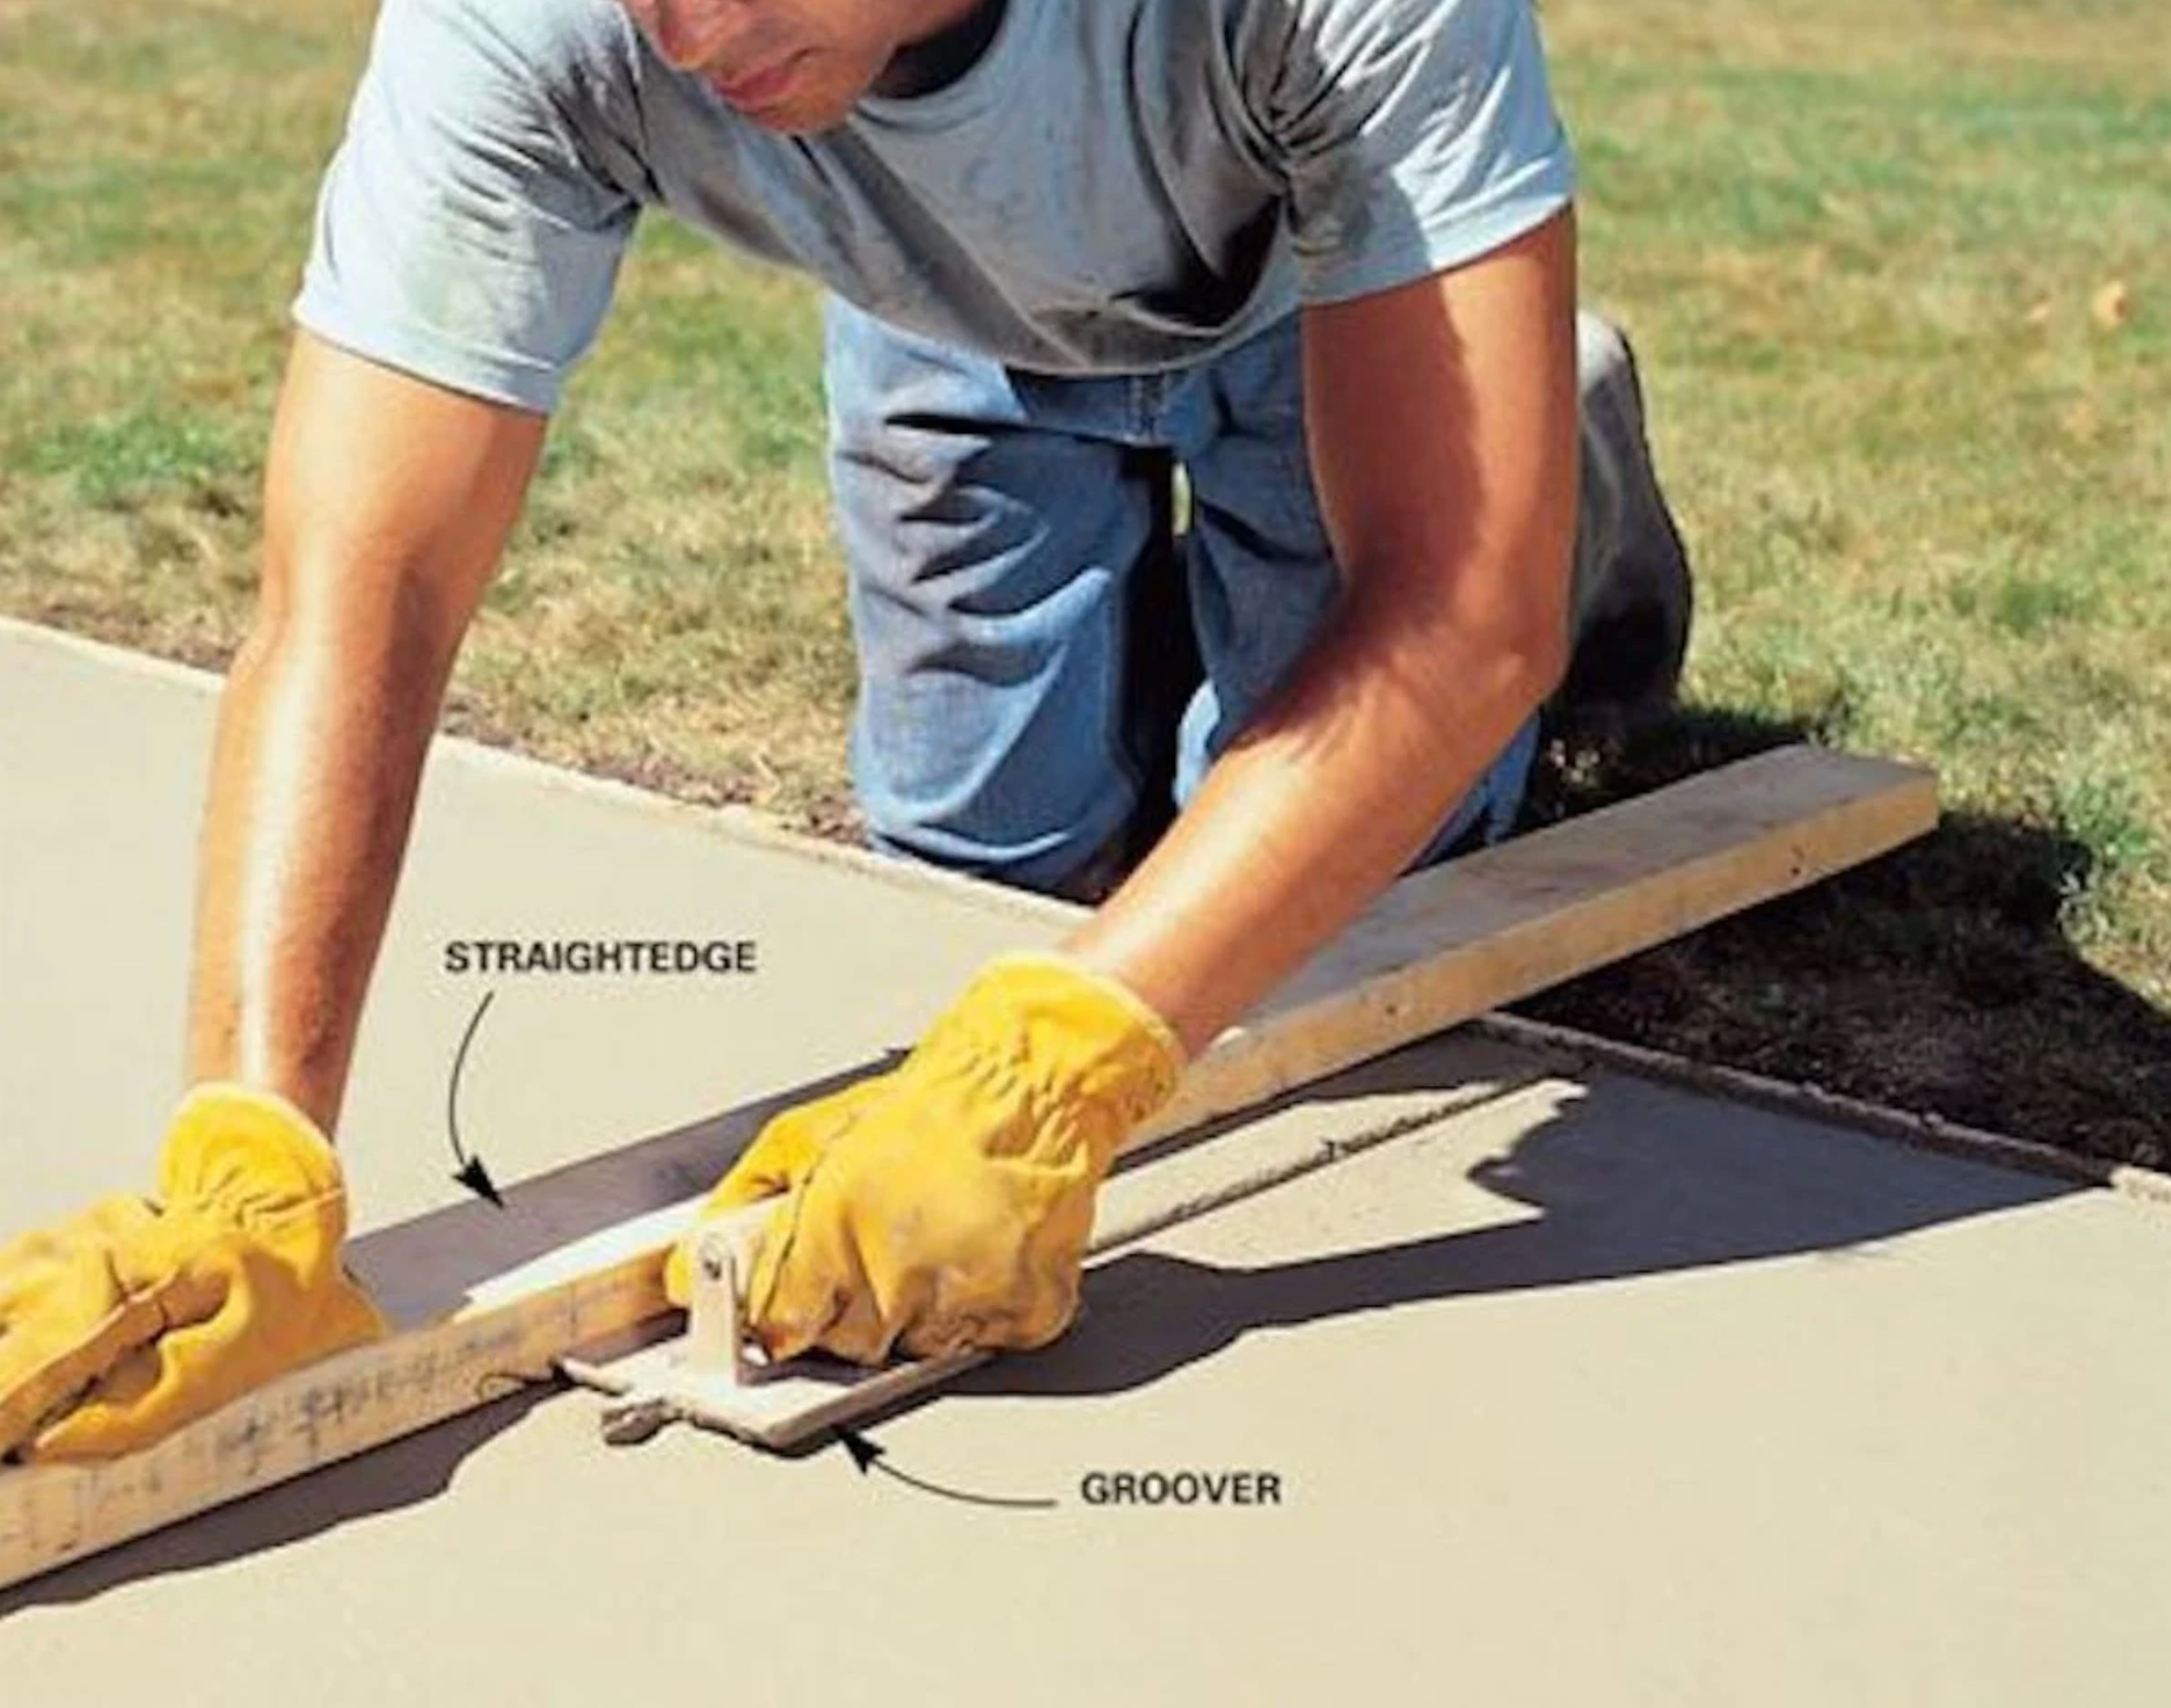
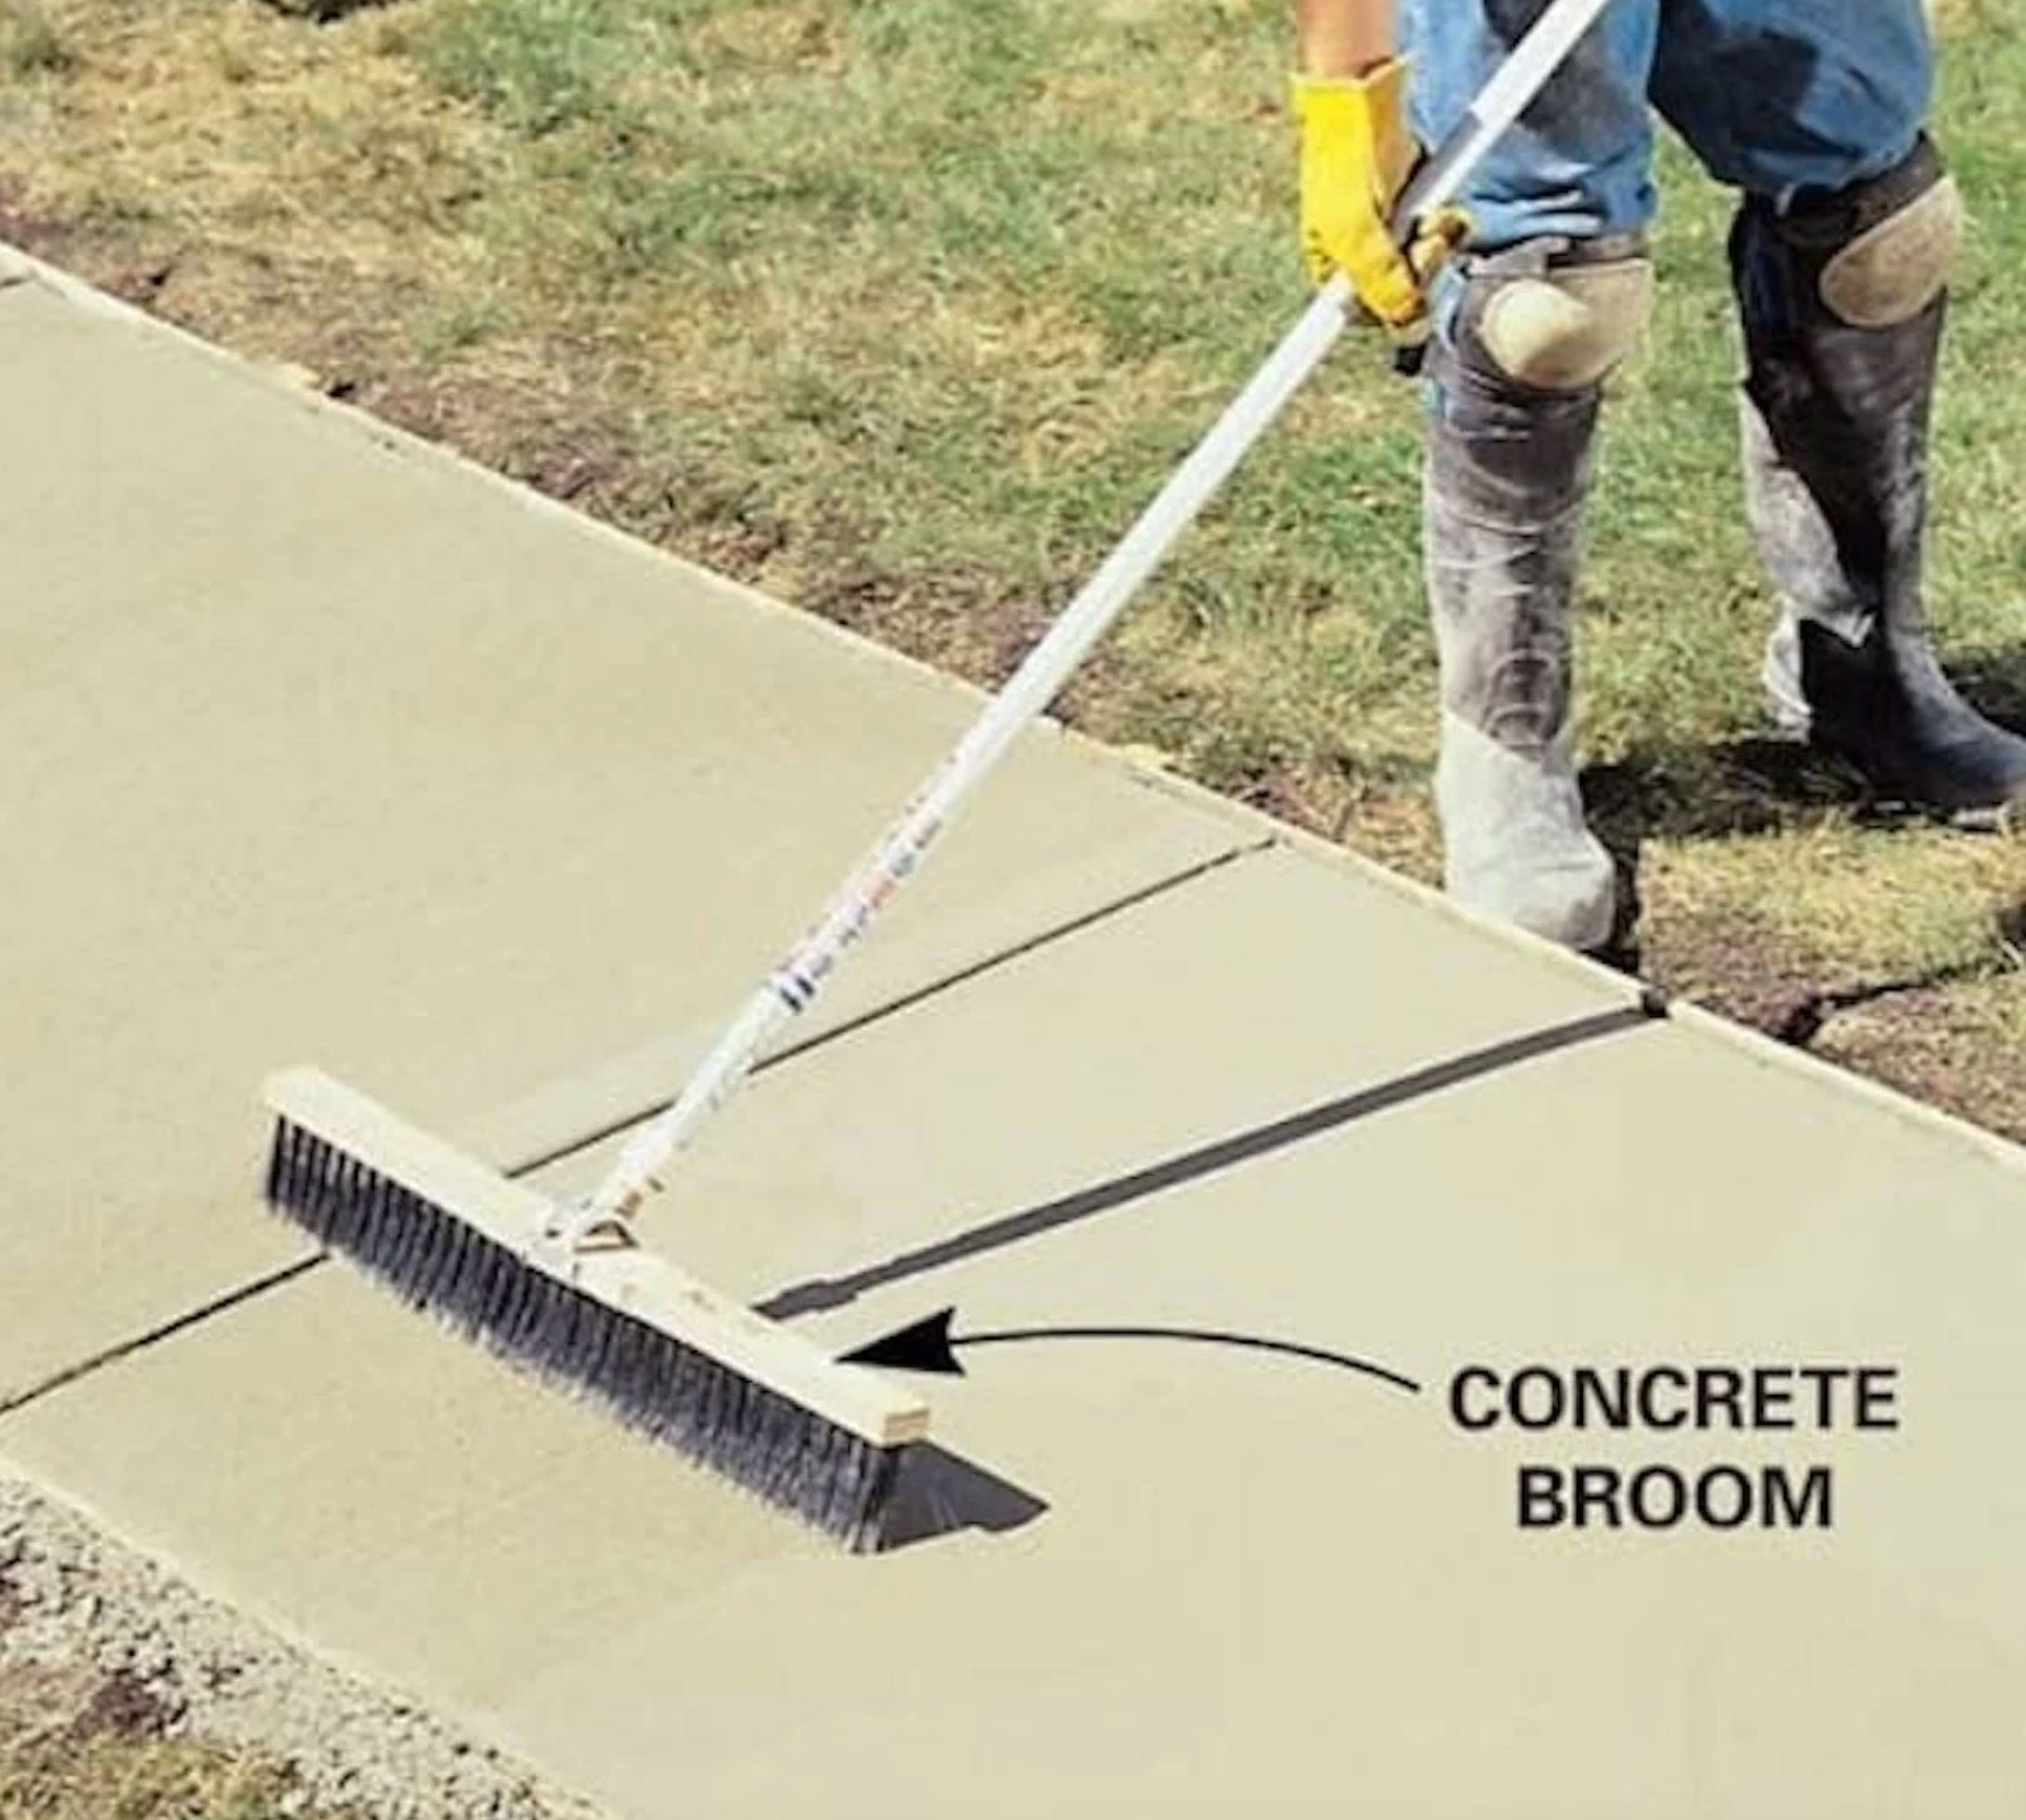
After screeding concrete, the next step is to “float” it. Floating forces the stones in the mix down and pulls the cement “cream” to the surface so you can trowel or broom the surface later without snagging chunks of gravel. If you wait too long and the concrete begins to stiffen, drawing the cream up is difficult or impossible. So the time to float is right after screeding.

On a long footpath or driveway, it’s best to have a helper who can start floating even before all the screeding is done. There is one reason to delay floating, though: If puddles of water form on the surface after screeding, wait for them to disappear before floating.

On small projects, you can use a hand float made from wood or magnesium. The “mag” float glides easier for less arm strain. But for bigger projects like driveways or patios, don’t mess around with a hand float. Instead, use a bull float. The long handle extends your reach and makes the job easier, while the broad head covers the surface quickly and flattens out any bulges or depressions. To make the surface as flat as possible, float it in both directions.

Learn how to pour a concrete patio.

Cut deep control joints in the concrete walkway

Cut deep control joints in the concrete walkway
FAMILY HANDYMAN

The grooves in concrete are called “control joints” because they control cracks in the surface. Concrete shrinks as it dries, so cracks have to happen somewhere. Control joints create straight breaks rather than an ugly spiderweb pattern. They also limit cracks that form later. On a footpath, space joints 1.5 metres apart or less; on a slab or driveway, no more than 3 metres apart.

There are two ways to make control joints: Plow them in the wet concrete right after floating or cut them the following day with a saw. You can buy a diamond blade for your circular saw at home centres. Creating joints with a “groover” in wet concrete is less work and less mess. Joints should be at least one-fourth the depth of the concrete.

Finish concrete with a broom

Finish concrete with a broom
FAMILY HANDYMAN

Most people reach for a steel trowel to finish concrete, but the smooth surface it creates is too slippery for outdoors. Instead, drag a broom over the concrete. You’ll get a nonslip texture and hide imperfections left by floating or trowelling. You can use a plain old push broom, but a special concrete broom cuts finer lines.

The sooner you start, the rougher the finish. Make your first pass about 15 minutes after floating. If the texture is too rough, smooth it over with a mag float and try again in 15 minutes. Drag the broom over the concrete in parallel, slightly overlapping strokes. You may have to rinse off the broom occasionally to avoid a too-rough finish.